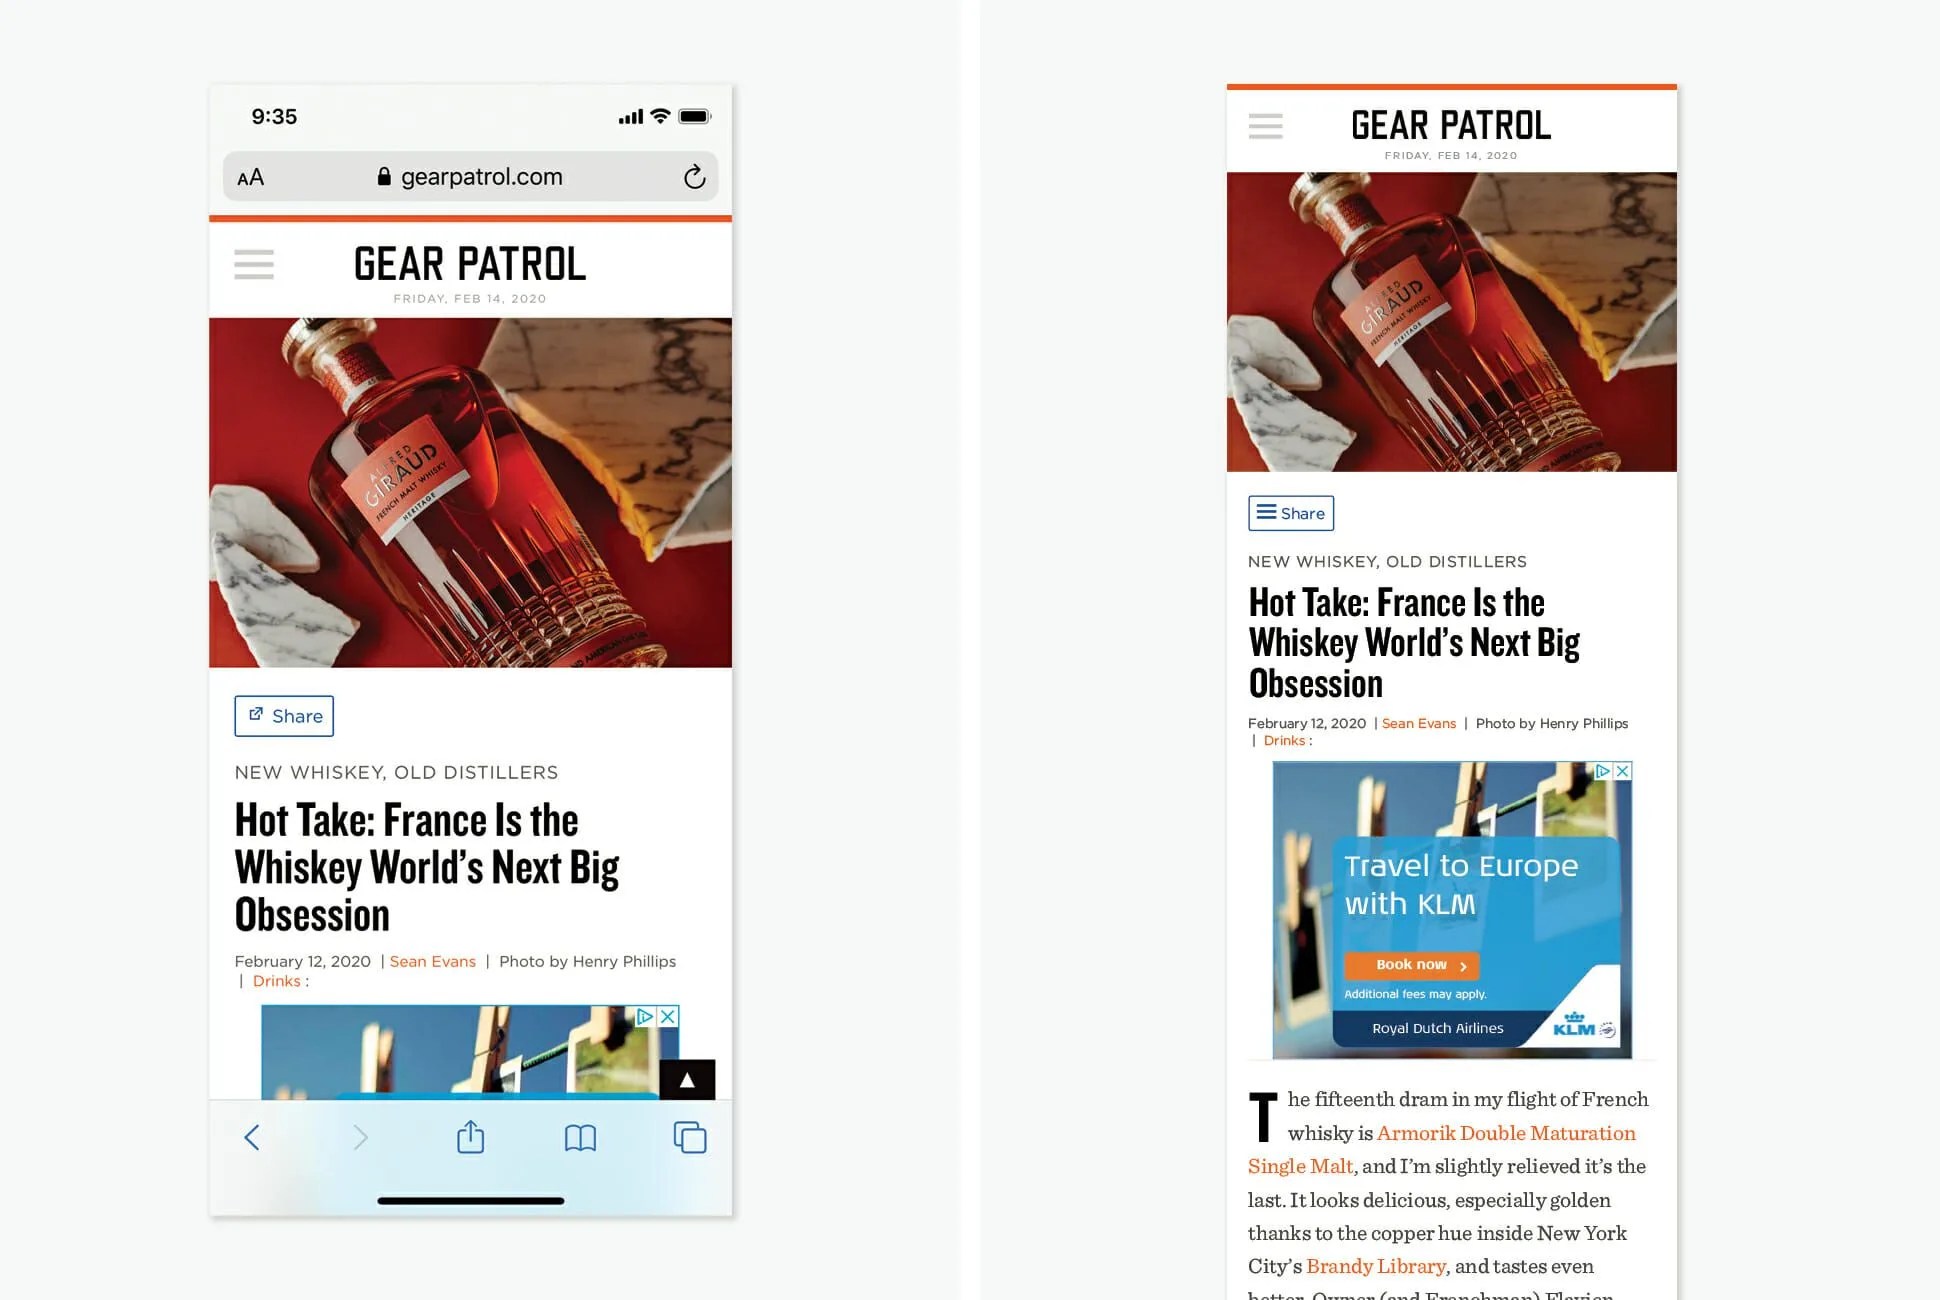
Did you know you can take full-page screenshots with your iPhone? Apple rolled out the new feature with iOS 13 and it’s largely gone unnoticed. There’s also a catch, as you can’t take a full-length screenshot of everything. It only works on webpages in Safari. If you use Chrome as your default web browser, you’ll only be able to take regular-sized screenshots. Likewise, you won’t be able to take full-page screenshots within apps like Twitter, Spotify or anything outside of Safari.
How to Take Full-Page Screenshots on Your iPhone
1. Your iPhone or iPad must be running iOS 13 or later.
2. Open Safari and go to an article that you want to take a screenshot.
3. Take a screenshot as you normally would.
- • To take a screenshot on an iPhone X or later: press the side button and the volume up button at the same time.
• To take a screenshot on an iPhone 8 or earlier: press the side button and the Home button at the same time.
4. Once the screenshot is taken, tap the preview link that appears in the bottom left-hand corner of your screen.
5. You’ll then be given the option to save the image as “Screen” or “Full Page.” Select the latter.
6. Select “Done” in the top left corner of the screen.
Once the full-page screenshot is taken, you’re given the option to easily mark up and edit the PDF — which makes it easy to do a bunch of neat things. If it’s an article, you can circle or underline different important points (like a teacher editing a student paper). If it’s an image, you can also draw over it or magnify certain areas. If it’s a document that needs signing, you can also quickly add your signature.
The other catch with taking full-page screenshots is that the image needs to be saved as a PDF, meaning once you capture it you won’t be able to find it in your Photos app. You’ll have to save these PDFs in your Files app, instead.

