To Take Better Photos, Start Shooting in Manual Mode. Here’s How

If you want to be a better photographer, learn to take control with this strategy.

shoot in manual gear patrol lead full Henry Phillips

For many new photographers, manual mode is a total no-fly zone — a mysterious land visited only by grizzled National Geographic veterans and exacting studio pros. It’s a dark alley filled with inscrutable menu settings and vague icons that nobody really understands. “M,” beginners assume, is not for the faint of heart.

Except that’s just not true. In fact, manual mode is the camera’s simplest, most natural state. There’s no digital guesswork going on about the exposure, no assumptions about what kind of shot you’d like to get from a scene. It’s the place where with just a few conscious decisions about what you’re doing, you can in most cases achieve far better images than the camera can of its own accord. Think of it this way: If shooting manual is the equivalent of riding a bicycle, shooting auto is like riding a fully autonomous, self-balancing electric scooter — i.e., a whole lot of really heavy-duty technological interventions and assists to do a relatively simple thing that you can do yourself and probably be way better off for.

So give your creative talent the respect it deserves, and start shooting manual. You can easily work your way there with a few simple steps.

The Problem with Automatic

Beginners tend to assume that the camera knows best, so why second-guess it? To an extent, they’re right. In automatic mode, the camera assesses the scene and makes decisions about shutter speed, aperture, and ISO — the light-sensitivity setting, in which 100 is common for bright scenes and you increase it as the scene gets darker — then it slaps a quick edit on top of the image and coughs up a JPG, the compressed image most photographers are very familiar with. Usually, the images are fine, sometimes they’re even awesome. After all, the camera makers have worked hard on these capabilities over the years. Other times, though, they’re murky, overexposed messes.

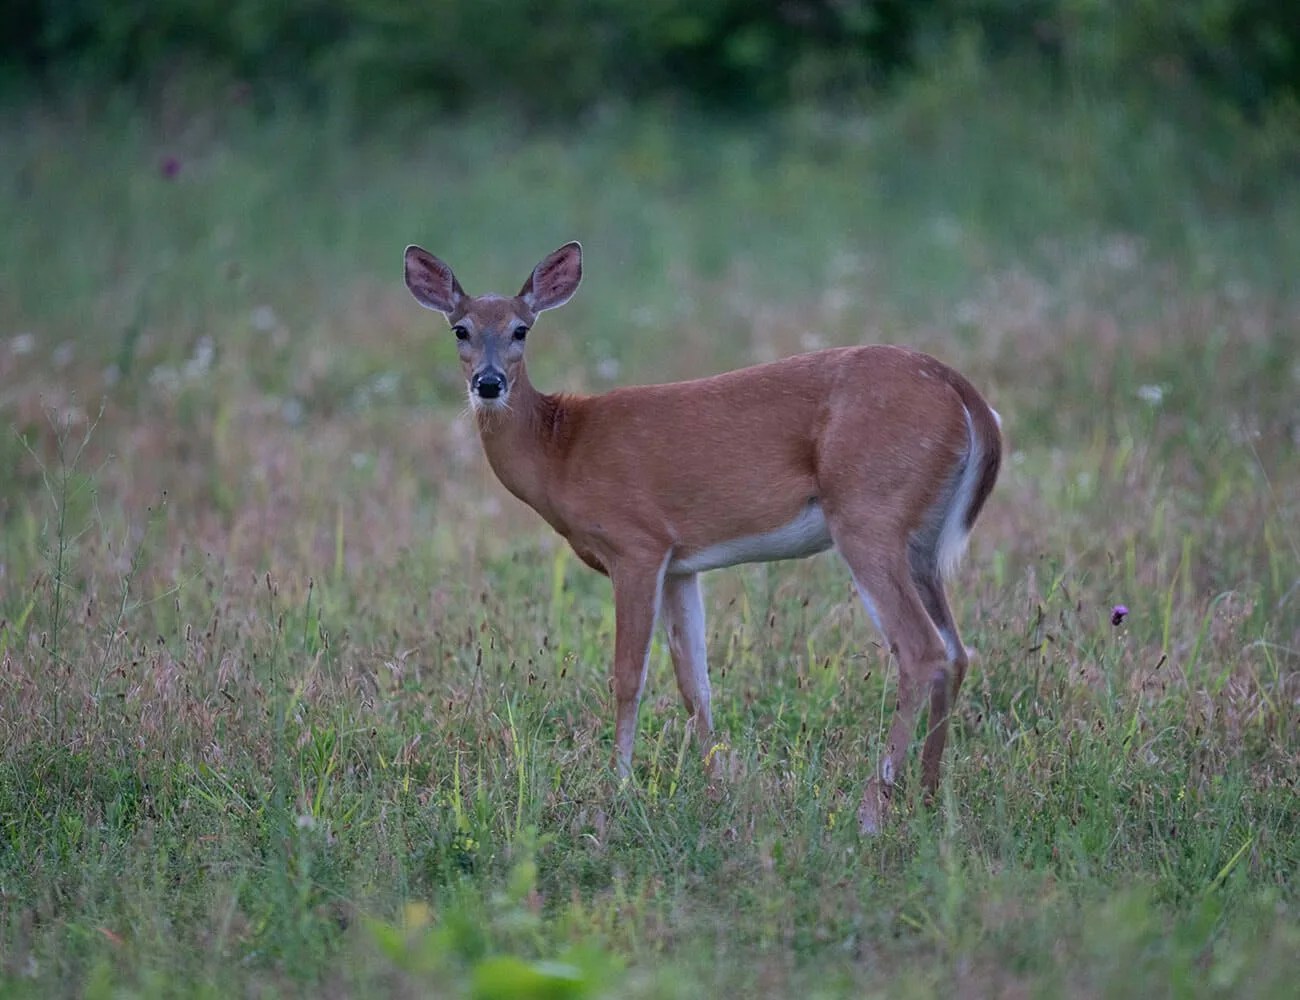
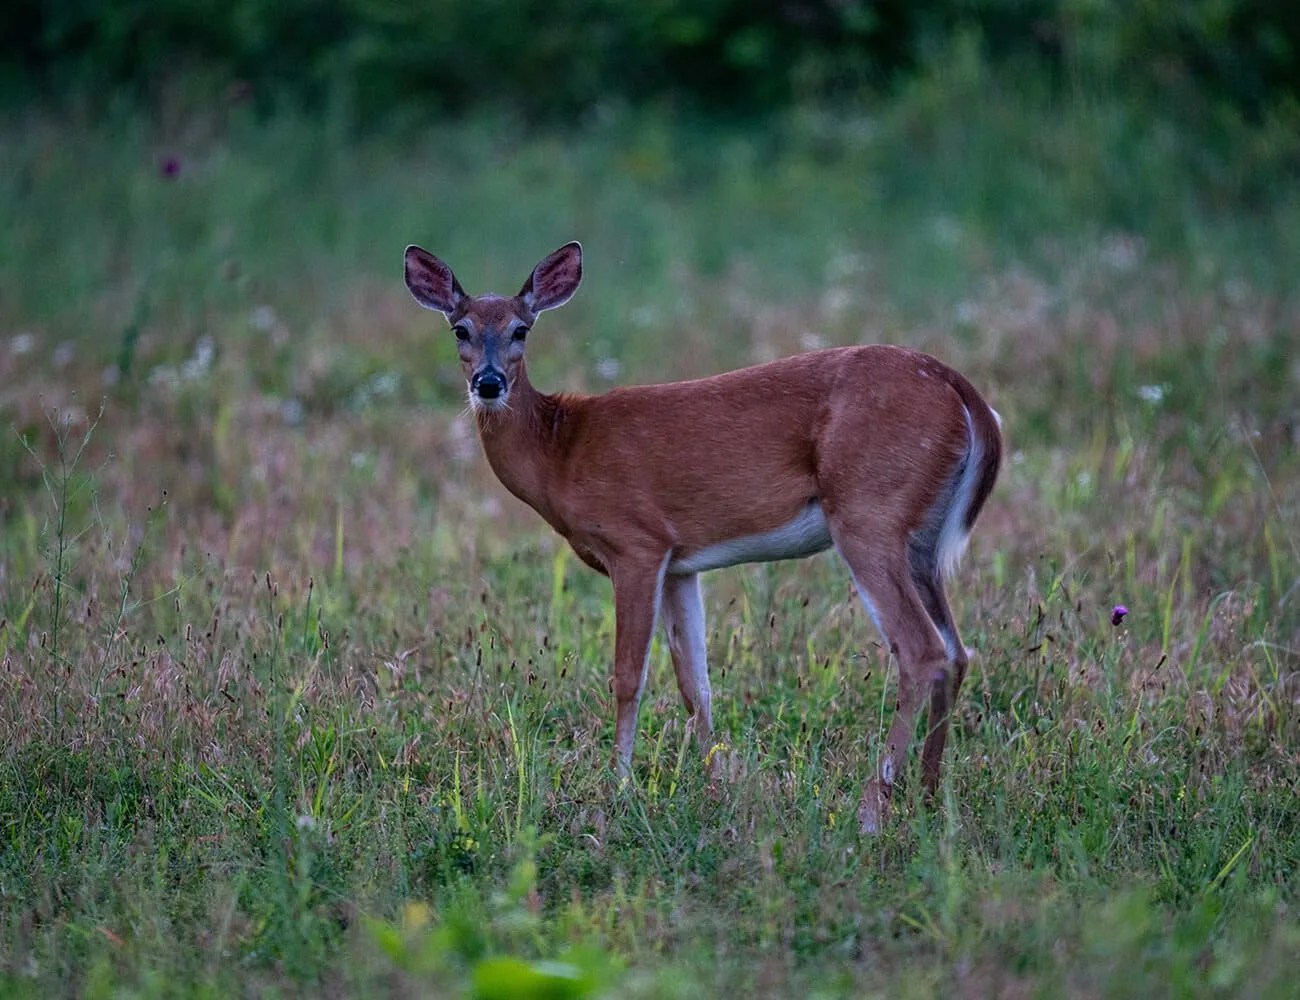
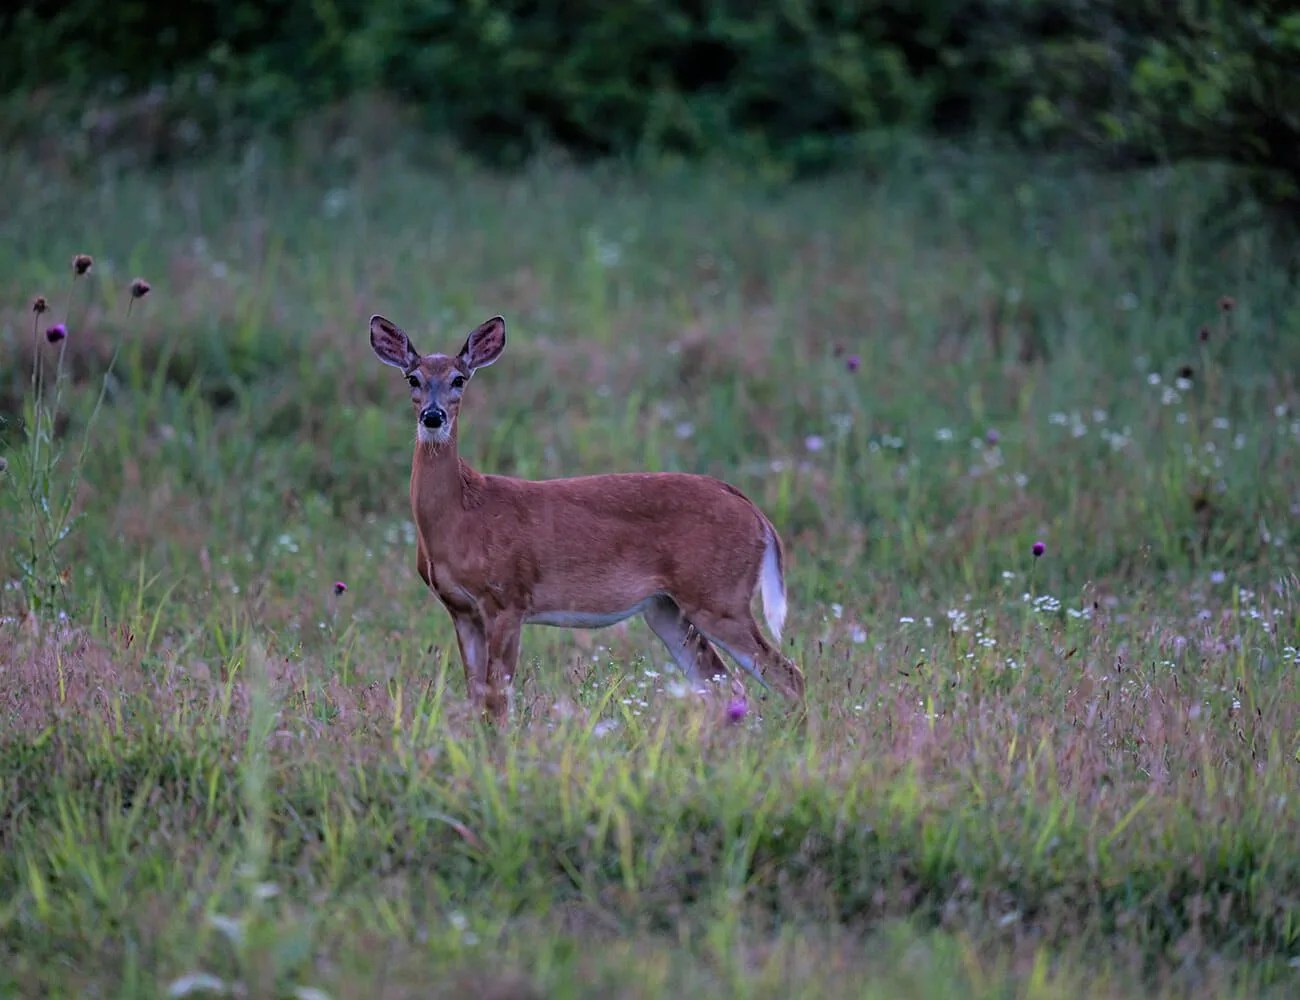
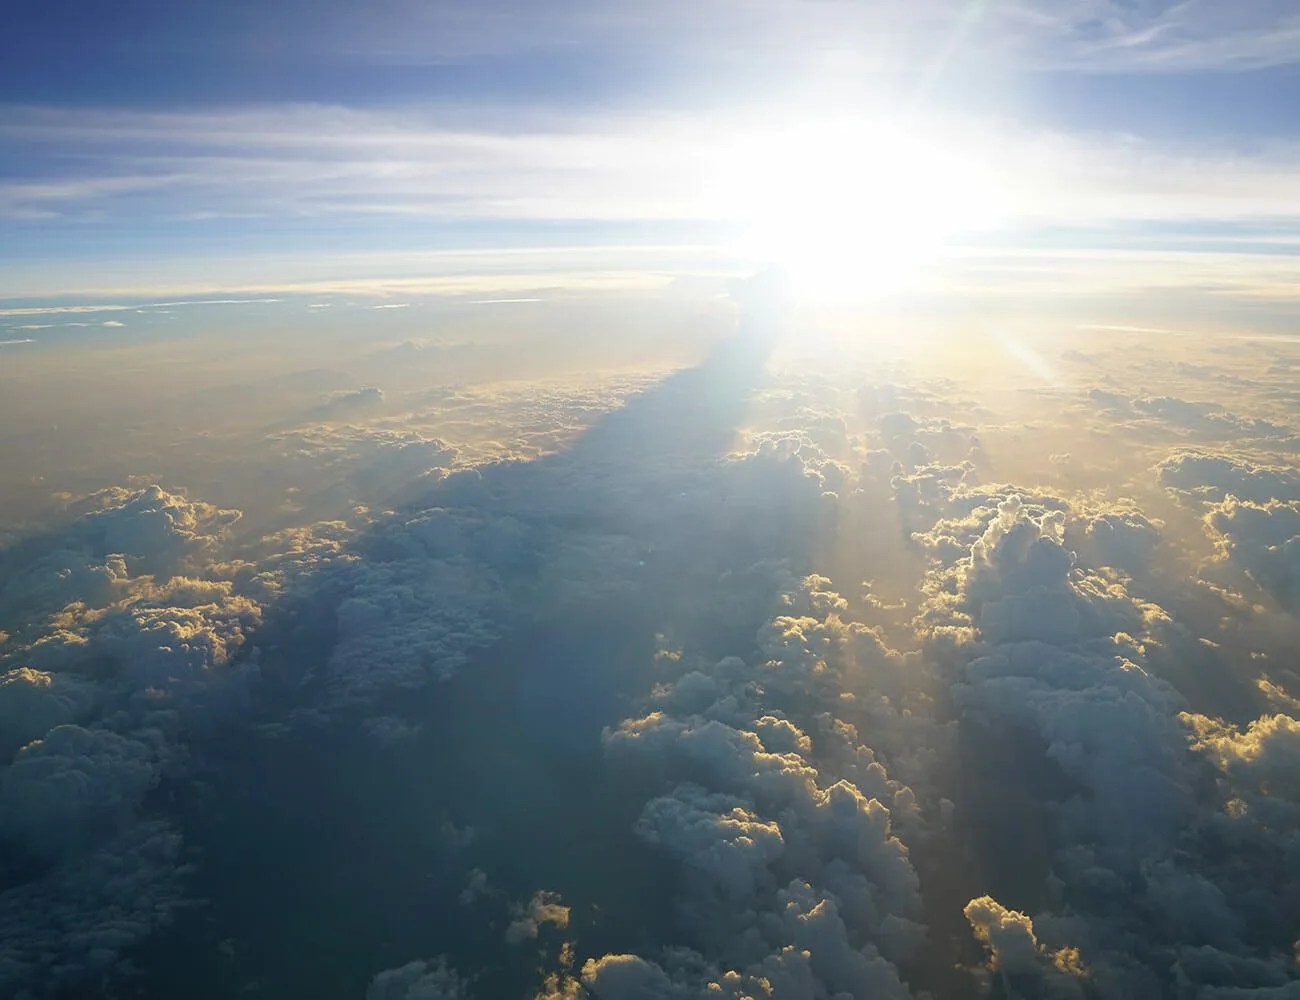
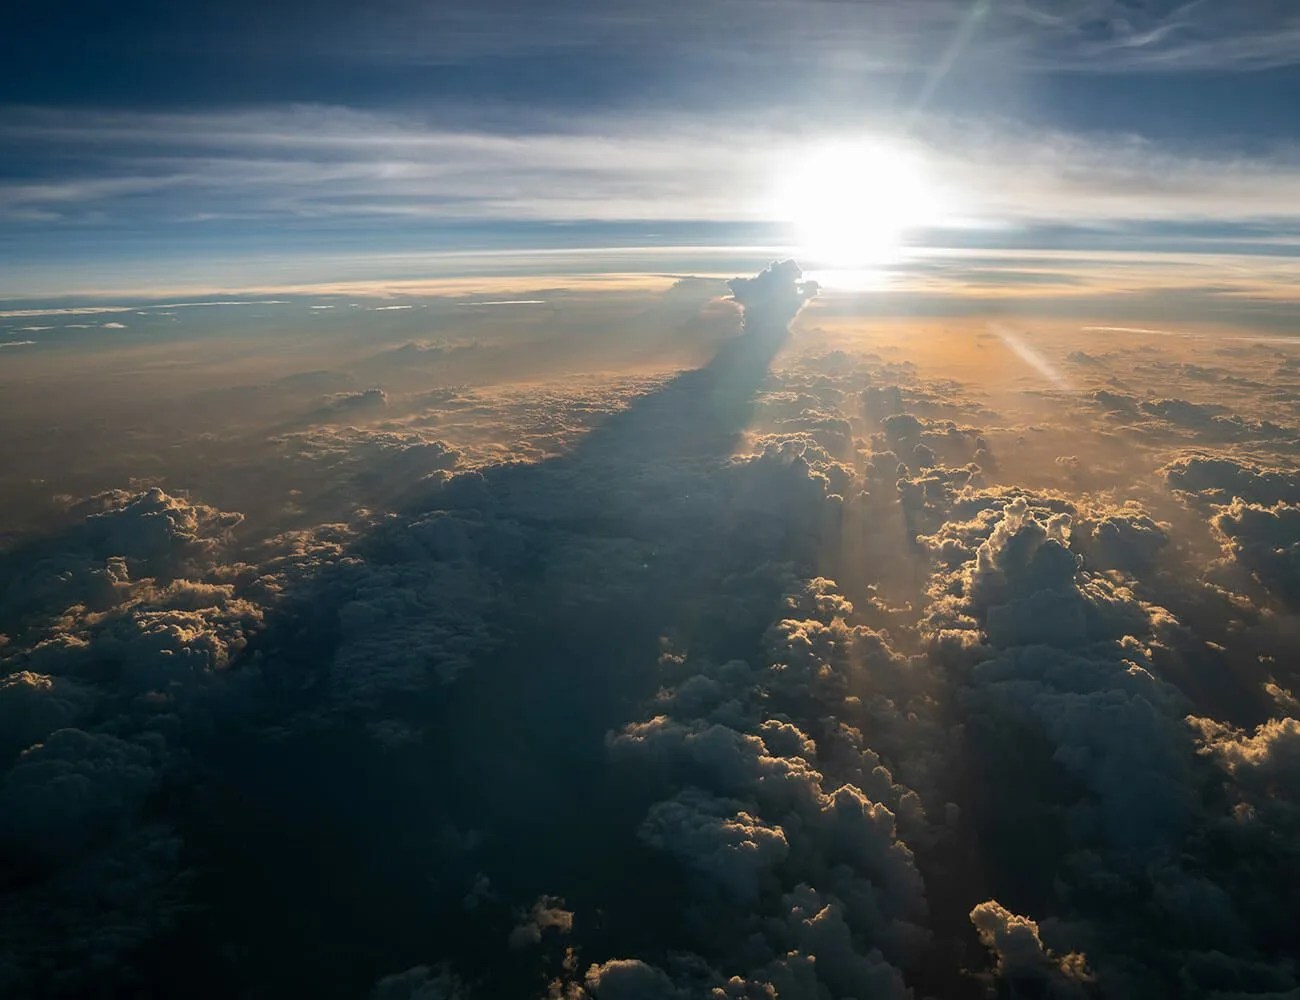
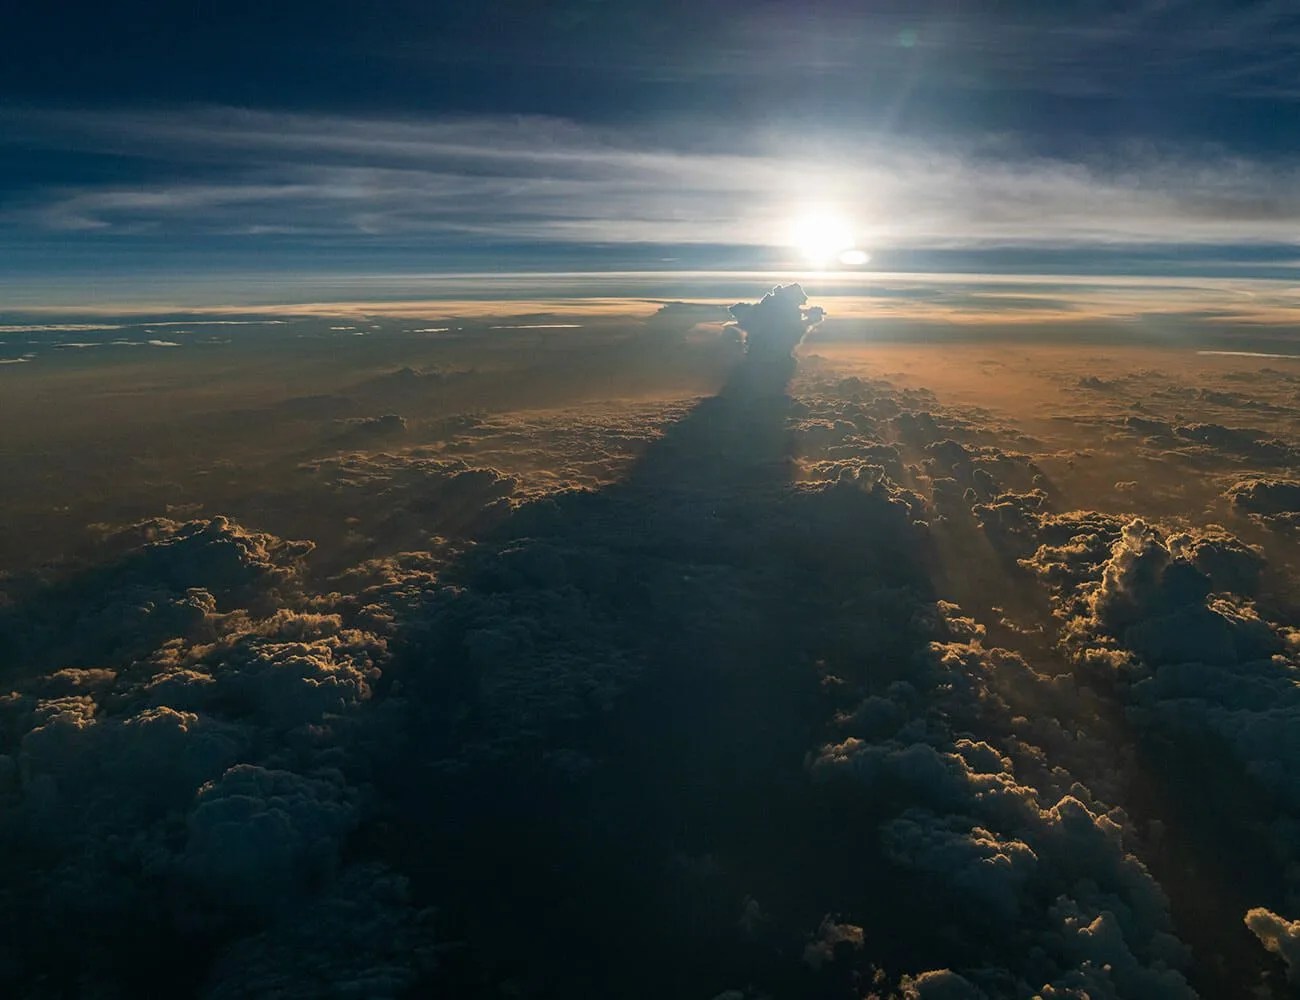
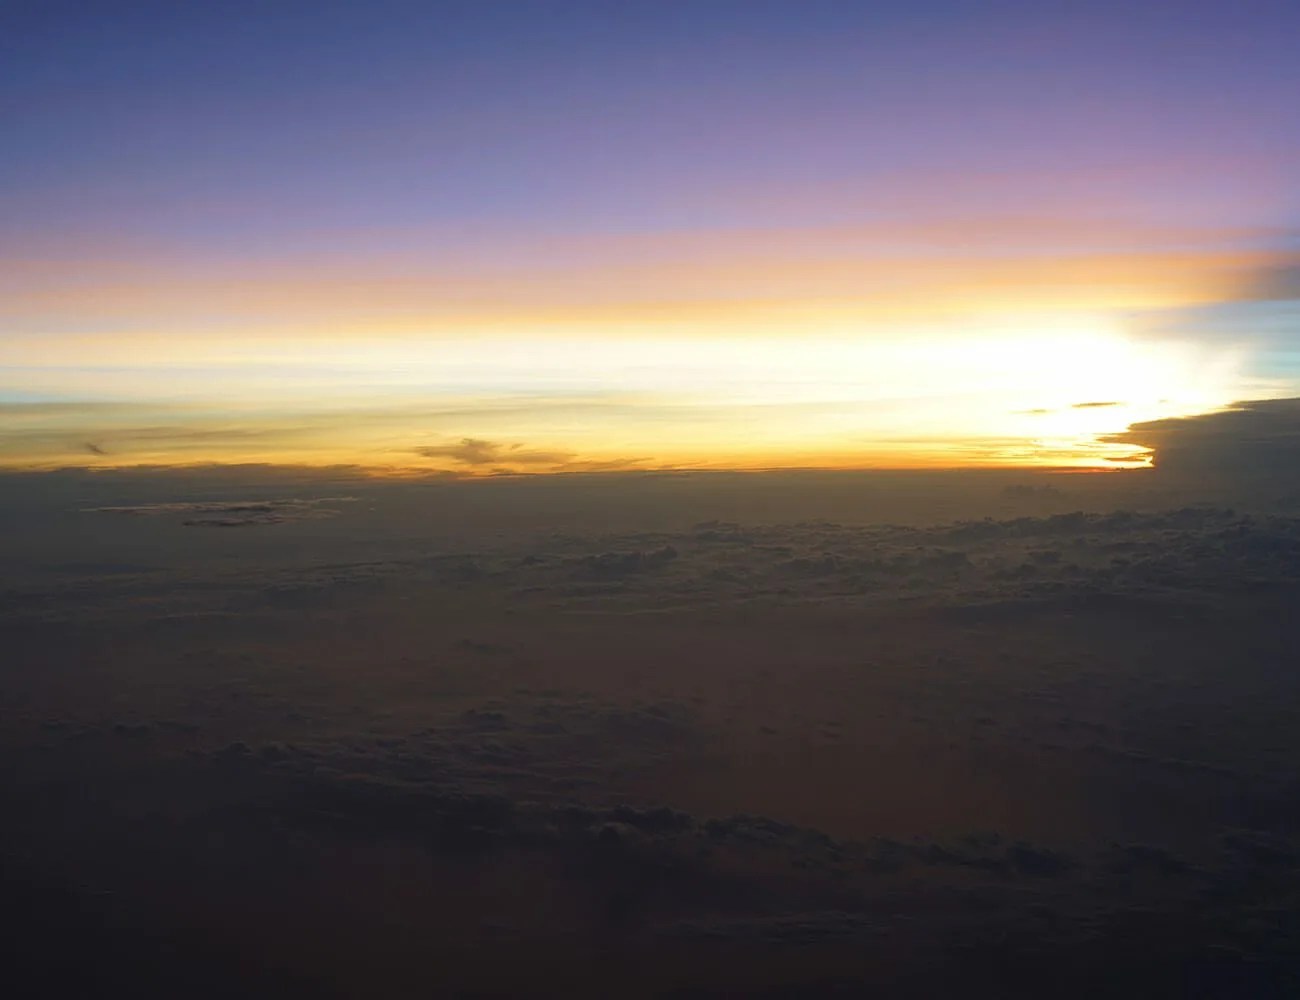
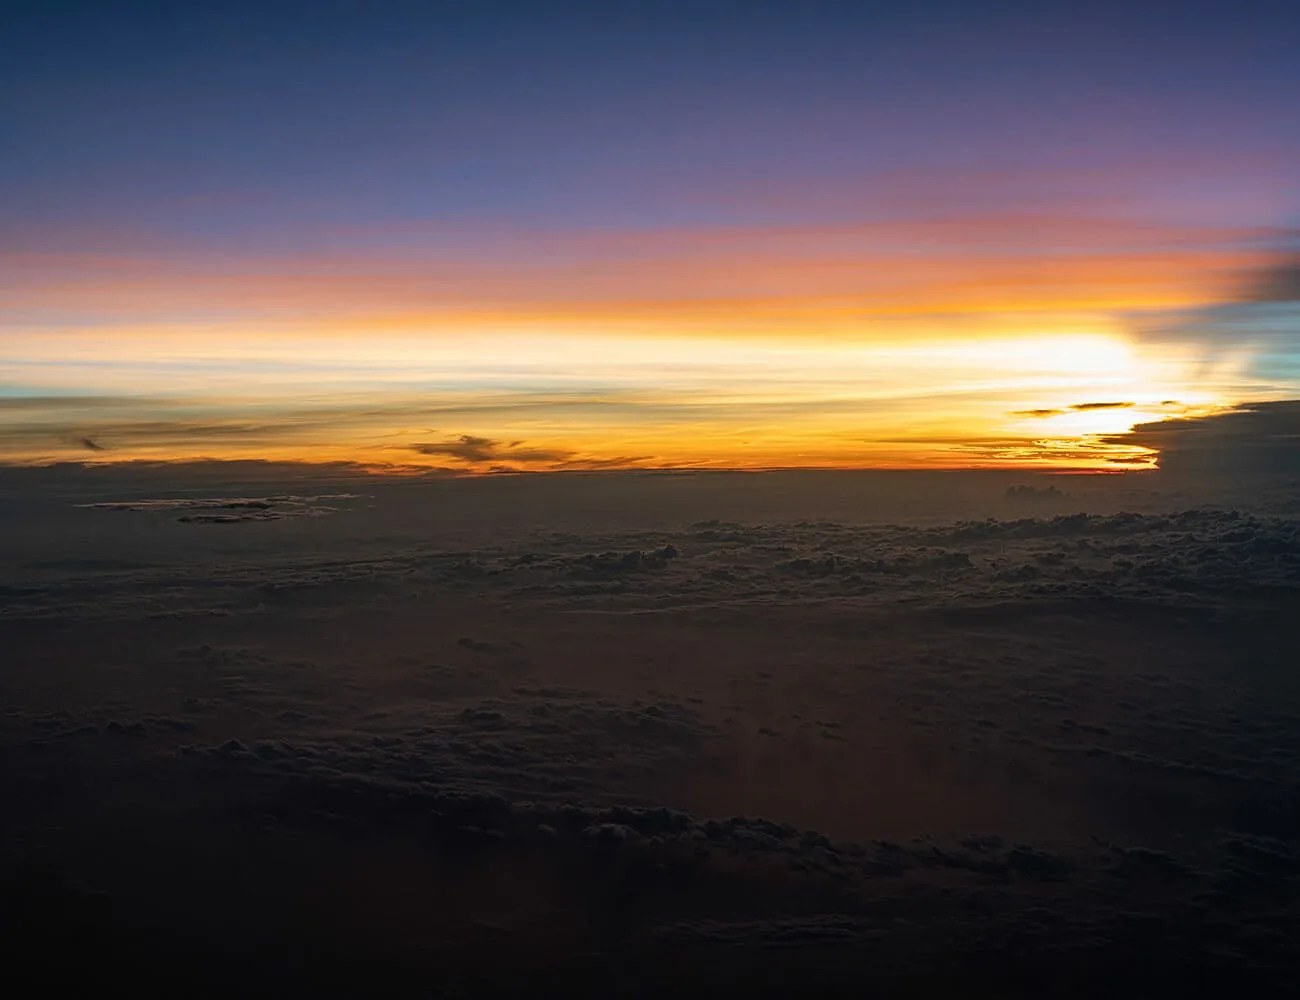
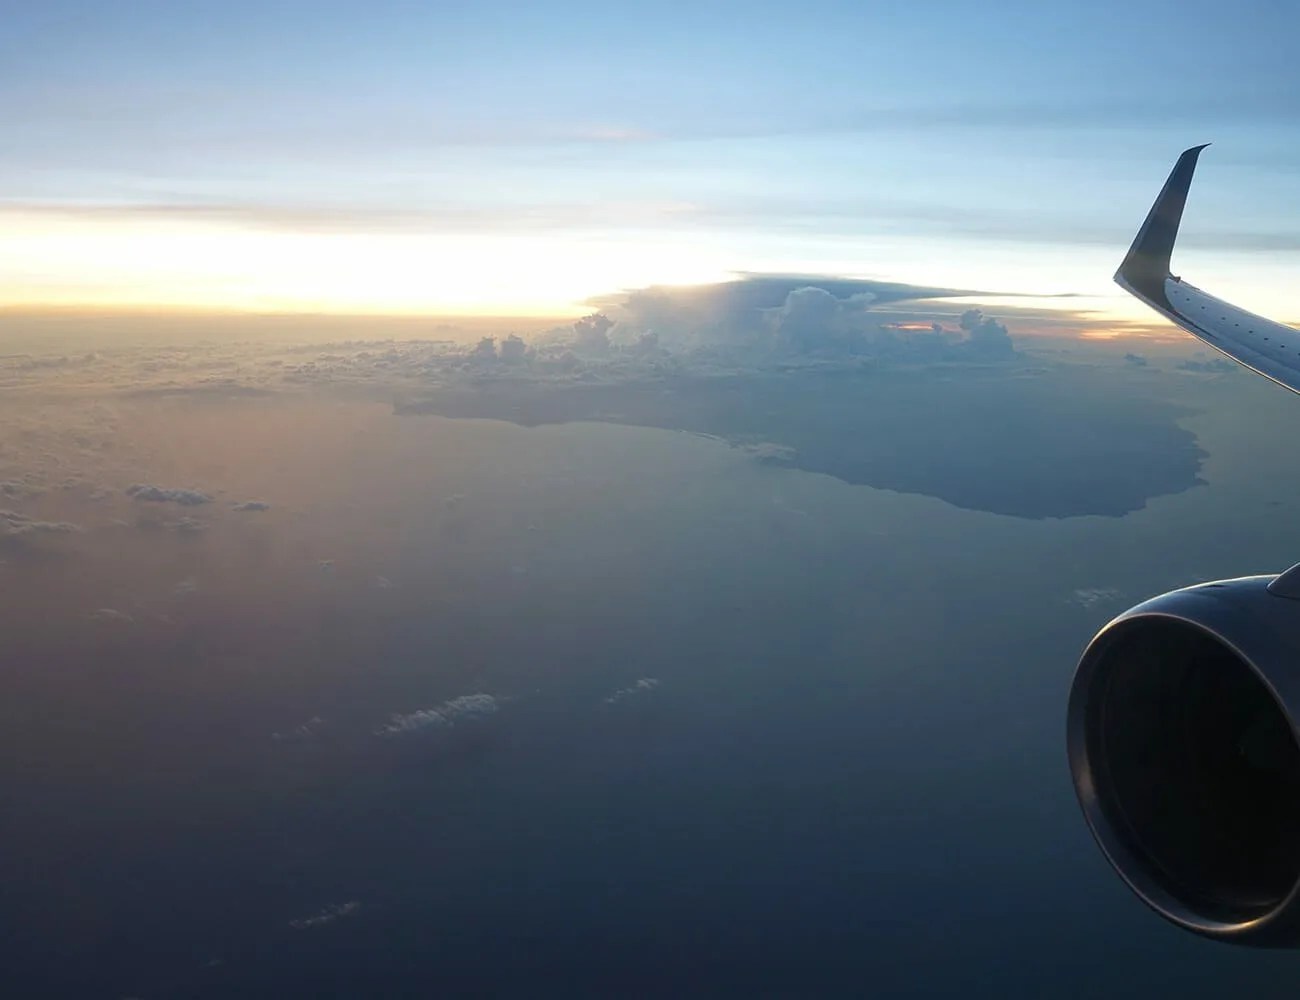
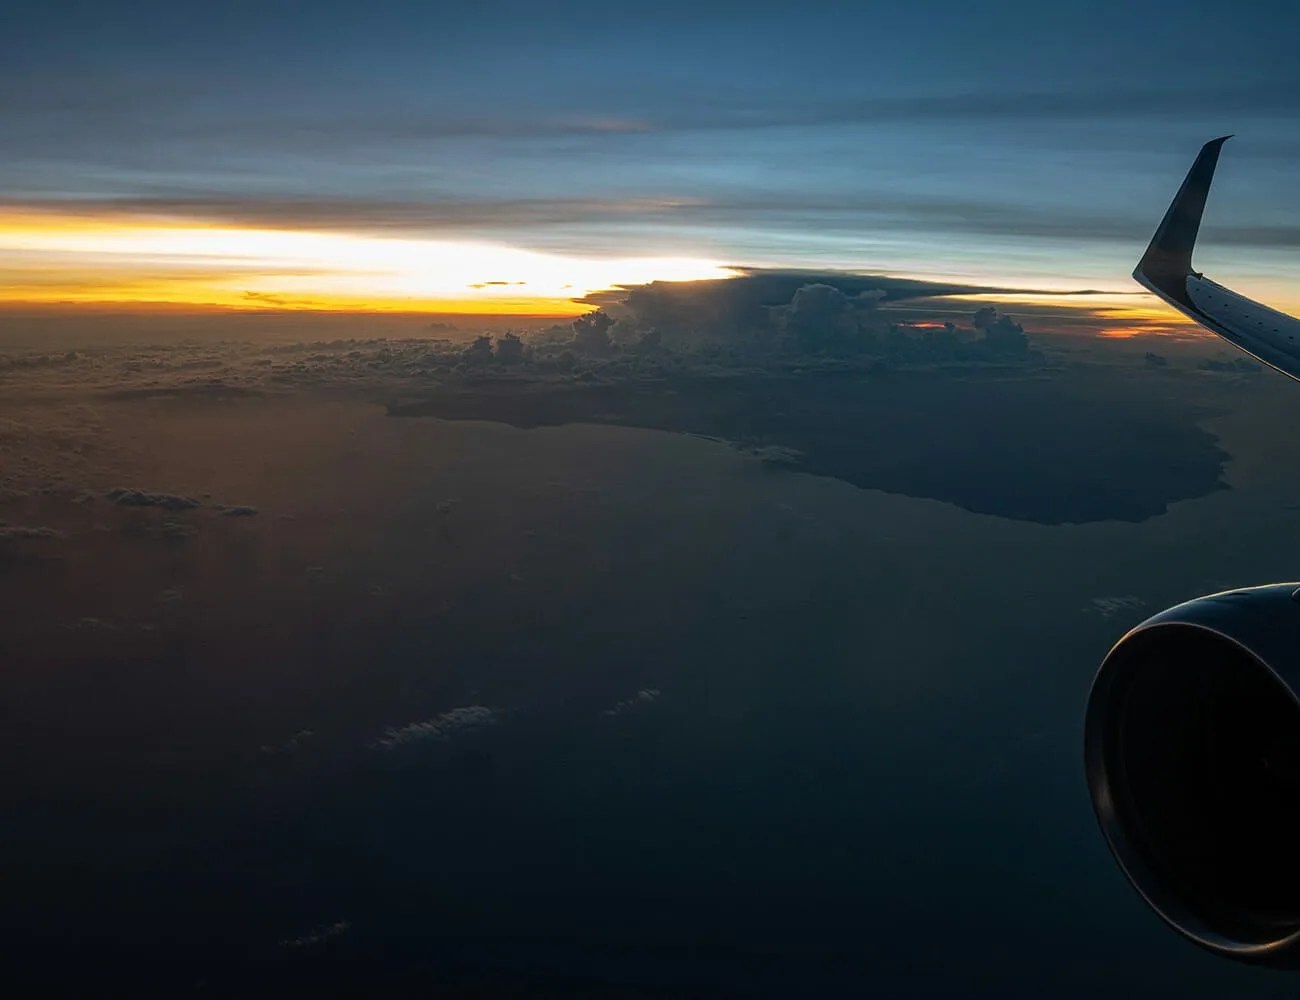
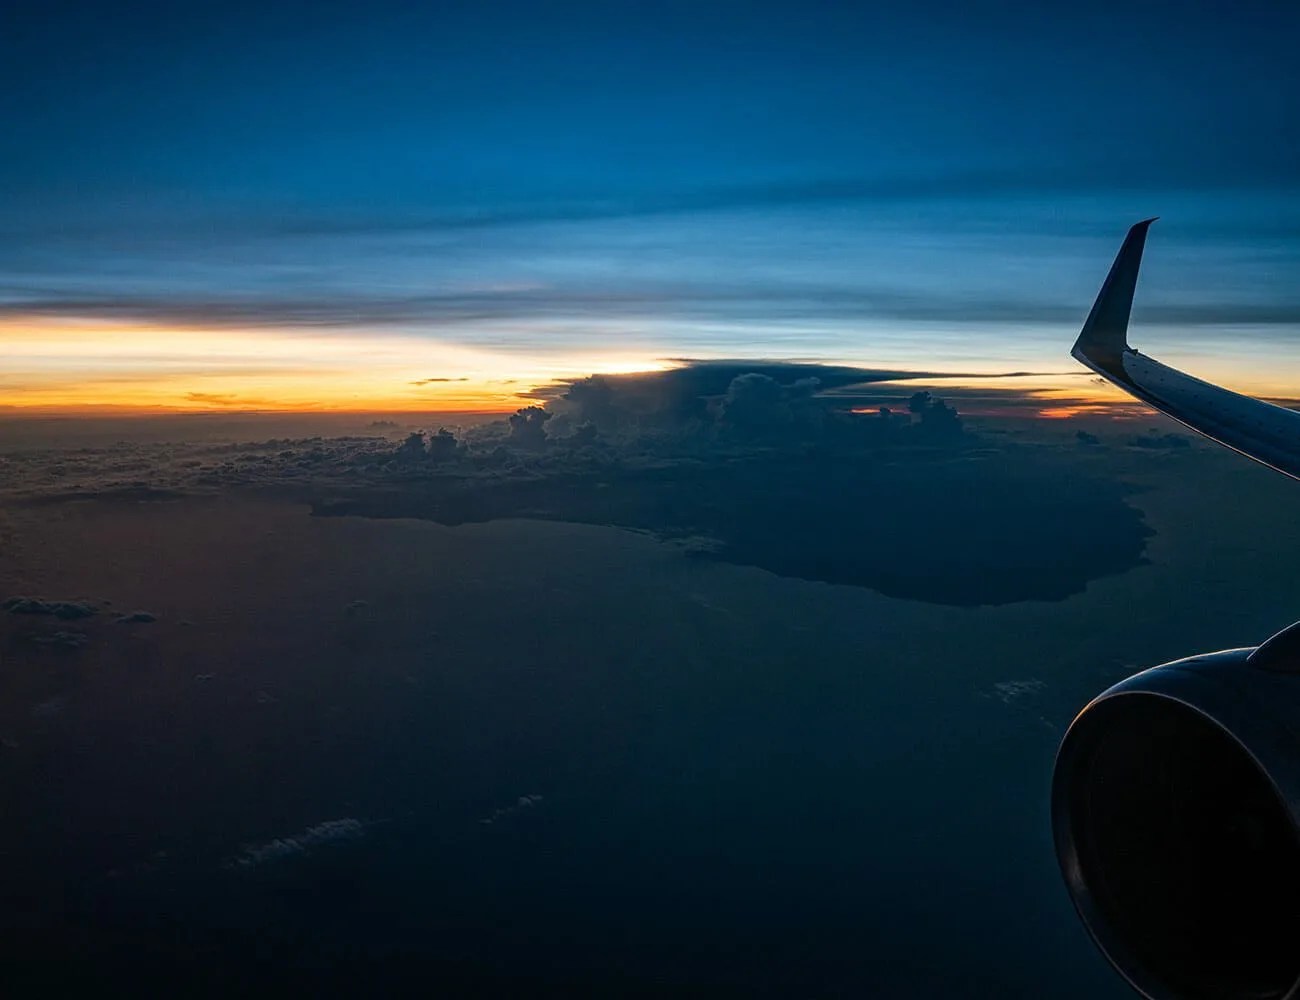
The problem comes when you’re trying to do something specific, are working under challenging conditions, or just don’t want your image to look like the averaged-out product of a slew of universal algorithms. One of the most notable instances of the automatic setting galloping way out of bounds is low-light shooting. You may be taking a portrait of a particularly exquisite sunset or a friend illuminated by a candle. The processors will try to even out the scene by lightening the dark areas, even though the image needs them to generate the mood, or it will wash out the delicate strains of multihued clouds above the horizon, or it will jack up the ISO to above 2000 or 3000, generating an excessively grainy image. Not cool. When shooting manually, you can expose for the region you want to be highlighted, and leave the rest dark or even bring it out later in a photo editing program or app. The point is, the decision is yours about how you want the scene to look.

If you’re at least semi-serious about what you’re up to, shooting automatic is really just rolling the dice with each frame and hoping that it lands

That brings us to another ding against automatic shooting: It relinquishes quite a lot of creative control. After all, composing a great shot in the first place is only part of the battle — exposure settings and post-processing are the rest. But when shooting full-auto, the camera will have no qualms about making decisions that can impact the quality of your image, and even inflicting significant creative decisions on your behalf. It may reduce the aperture to the point that the depth-of-field is manipulated against your will, for instance. Thus, foreground or background objects may not be in focus, or they may be in focus when you don’t want them to be. Sometimes the result is actually great — a pleasant surprise—but other times it’s frustrating and confusing.

Conversely, if you’re out shooting action scenes such as sports or car racing, the camera won’t know what you’re up to, so may use a slow shutter when you want a fast one, or the opposite if you’re doing a panning shot. Finally, the camera doesn’t know when you’re using a tripod or otherwise stabilizing the camera — on a fence, say, or on the roof of your car—and are thus able to manage much longer exposures of five, ten seconds or more. So it might err on the side of wider aperture rather than a longer shutter speed when that’s not really necessary.

True, many cameras these days have modes that will help you out—little icons showing mountains (landscapes), swimmers (sports), or people (portraits) — but even then, they aren’t giving you better control. They’re just limiting the chances that it (not you) will screw the image up. So ultimately, if you’re at least semi-serious about what you’re up to, shooting automatic is really just rolling the dice with each frame and hoping that it lands at least close to what you want.

Deer: This shot shows how the camera captures a deer in “auto” mode. Note that the image is flat and washed out. Editing it can fix a lot of that, but the depth-of-field is still fairly random. The “manual” image show how much you can work with the image to make it pop, and also more precisely control depth-of-field when you’re the one setting the aperture, which controls it that aspect of the photograph.

How to Start Shooting in Manual Mode

Step One. Start, of course, by actually reading the manual. (Maybe that’s why it’s called “manual” mode…) You don’t have to memorize the thing, or even understand most of it — you just need to have a baseline familiarity with the camera’s control organization, some of the vocabulary around manual operation, and anything the manufacturer chooses to highlight.

That done, proceed through what I like to call the “SAM system.” It stands for “shutter,” “aperture,” and “manual.” More specifically, it refers to the three letters found on most mode dial on the top of camera bodies, designating shutter-priority mode, aperture-priority mode, and full manual mode. They serve specific purposes, which I’ll get to momentarily, but they also happen to be great stepping-stones to learning how to shoot fully manually. (Program mode is the fourth option, but it’s an exceptionally nuanced mode and is not really necessary to dig into at this stage.)

Briefly, shutter priority mode — sometimes designated as “Tv,” or time value, in certain cameras — means the photographer determines the shutter speed, and the camera takes care of everything else, including ISO and aperture. It’s a great tool for determining the look of a motion-intense scene. You may want to shoot a cat jumping through the air with a fast shutter like 1/250s to freeze the action, or you may want to pan with a racing car at the track and generate a blurred background, in which case something like 1/50s will be a good starting point. Or if you photographing a waterfall, you might try a setting as low as 1/20s or lower to make the water appear in fine streaks. This mode lets you control a specific variable without having to worry about the others — and it lets you determine the look of your image, whether its blurry movement or frozen action.

Take a few photo walks or go to a sporting event and experiment with different shutter speeds until you’re able to grasp and eventually predict the results. Remember, however, one of the side effects of shutter speed: Brightness. Faster shutter speeds will dim images, slower shutters brighten them. You’ll eventually learn to balance these effects in manual mode, but for now shutter-priority will help by adjusting ISO and aperture to generate a suitably bright image.

Clouds: In these images from an airplane, the unedited “auto” shots show an overexposed sun and an accompanying lack of detail at the horizon. Editing the shot can retrieve some of that, but you quickly reach the limit of the image before it starts to look strained. With the “manual” image, edited from a RAW file, you have much more dynamic range and are able to bring out shadows, dial down highlights, and retain detail both at the horizon and in the foreground clouds.

Step Two. Next up, aperture-priority mode, also “Av” in some cameras. This controls the camera’s aperture, or f-stop, which determines the amount of light to be allowed through the lens and onto the sensor. Most camera lenses have ranges from, say, f/4 up to f/18 or so. (Pricier lenses go down to f/2.8 or f/1.4.) The lower numbers open the aperture more, creating brighter shots, while the higher ones close it more, dimming the image. While this is a good way to adjust the brightness of an image, the more critical impact is actually on depth of field. DoF represents the amount of the scene in front of you that’s in focus, and it extends in front of and behind your chosen focus point. For instance, in a portrait of a person, a shallow depth of field, generated by lower f-stops, limits the in-focus area to roughly the subject, with foreground and background subjects becoming blurry. When you increase the DoF, everything else comes into focus. The effect is used very deliberately by photographers to isolate subjects or give the viewer more to look at.

Because this is a bit more complicated to grasp than the shutter speed, it’s a good second step. Go out and experiment again in aperture-priority mode. Focus on composing shots with foreground and background elements, and adjusting which ones are in focus. Remember that at a distance or when shooting “flat” scenes, the effect diminishes. So shooting down a row of ballerinas will allow you to adjust who’s in focus, but when you’re shooting the row from the side they’ll all be in focus.

Step Three. The final step will be taking a crack at full-manual, in which case you have to make both of these settings yourself as well as the ISO. To ease that transition, you can set the ISO to “auto” and then learn when to monkey with that setting later. (Briefly, images will tend to be uniformly bright in ISO-auto, and as the camera nudges it higher and higher in darker scenes, the images will become grainier.) So you most immediate challenge is learning to balance shutter and aperture, and if you followed this plan, starting in shutter-priority mode first and then advancing to aperture-priority mode, you should have a good sense of each one’s impact. See what I did there? Mr. Miyagi would be proud.

Sunset: In this sunset composition, the “auto” image washed out all the detail at the horizon, but the “manual” image creates a much richer and smoother spread of color across the entire sky.

All that’s left to do is go out and practice with manual mode. Don’t worry about predicting everything correctly — just make adjustments on the fly. Start with the ISO at 100 in bright scenes and 600 or so in darker scenes, aperture at f/5, and shutter at 1/100, then move each one up and down as necessary. Remember to have all your bases covered each time you’re setting up a shot — ISO, aperture, and shutter speed. Remember, too, that focus is considered a bit separately from manual mode. You can still keep the focus fully automatic while shooting manual, or you can do it manually if you’re trying to get it nailed to a specific area of the frame. Otherwise, all the rest of the buttons, features, and functions will reveal themselves to you in time as you spend more time with the camera.

Trust me: Even now, after several years taking this very seriously, there are a few buttons on my own rigs that I have no earthly idea what they do. Don’t sweat any of that other stuff — you’re shooting manual!

When to Switch Back to Automatic

Eventually, if it “takes,” manual mode will likely become your preference, as you’re able to dial in your image precisely how you like it. There are times, of course, when you might be uncertain about how best to expose a scene, even with years of experience. In those situations, I will occasionally burn off a few frames in auto just to see what the camera is thinking. If I like what it’s got better than my own results, everyone wins! But if I’m in a complex scenario and screw it up, and the camera would have nailed it, then I lose. So don’t take auto off your radar.

I also keep my camera on auto when I’m simply out in the world with the camera slung over my shoulder. The reason: Things can happen at any time and very quickly — I don’t know, a pigeon stealing a hot dog from a little boy, or a police chase zipping right by you — and if you want the shot you do need to be fast. It’s always better to start shooting in auto then switch to manual when you have time than to have to deal with sorting out settings in a hurry.

There are variations to this rule — if I’m driving through a national park I’ll keep the camera in shutter-priority mode with a relatively fast shutter (say, 1/1000s) in case some wildlife bounds across the road. Conversely, if I’m walking through a city I’ll keep it in aperture-priority mode, the better to make quick decisions about the depth of field. Doesn’t matter, the point is photo editors, your friends and followers, and award juries don’t care what mode the camera was in. They just care that you got the shot.

Engine: Similarly, this image is richer and more satisfying when shot in “manual” and slightly edited than when shot in “auto.” Even the edited “auto” image doesn’t quite reach the same level of detail, color, and texture across the entire frame.

Final Notes

Since we’re talking about getting the best results, you should also be serious enough to shoot RAW images. These are the larger, uncompressed images that require slightly more advanced photo editors like Lightroom and Photoshop to open and tweak. They allow you to dig in much deeper with an image than you could with a JPG file, even saving shots that otherwise look like underexposed, hazy disasters. No matter what you’re shooting, shoot RAW and JPEG simultaneously, even if you mostly just deal with the JPGs. After all, if a once-in-a-lifetime shot comes along and you’ve only got a JPG, you’ll be kicking yourself for the rest of that lifetime.

In terms of still using automatic mode, it’s true that you can use the camera’s exposure point to nudge it in the right direction — a strategy in which you aim the camera at the area you want exposed the best, hold down the shutter button halfway to lock in that focus and exposure, and then recompose the shot before pressing the button all the way down — but it’s not always the best option. It’s a good strategy in a pinch, though, so I’ll allow it.

As for editing, take that seriously, too. If there’s a shot you’re excited about, take it into a photo editor and tweak contrast, brightness, color, saturation, and texture to improve the image. I can’t think of a single photo I’ve shot over the years that didn’t benefit from post-processing. Conversely, don’t assume that you can rescue a photo later from whatever automatic mode does to the scene. Sometimes you can, but in the more extreme cases it can be impossible—especially if you’re shooting just JPEGs. If you have a sunset shot and it blows out the sky in order to expose the foreground, it’ll be very difficult to walk that back. Shoot manual, shoot RAW, and you’ll absolutely have the most to work with.

, ,