When I bought my first film camera last year, I knew in my heart this is where I’d wind up — hanging wet negatives in the bathroom with paperclips. Before I’d processed my very first roll, or knew what the hell it’d entail, the prospect loomed in the distance like a chemical Everest.
And now, from a peak that has turned out to be not quite that high, I’m happy to report that developing film at home is not only satisfying, but simpler than you might think. It even pays for itself, if you’re going to be shooting some film either way (which you should be).
Read More
Why to try
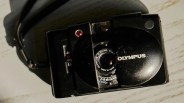
It’s fast: Film means no guess-and-check shooting, and by the time you swing by the lab you might be hard-pressed to remember taking a given shot. Developing at home is more than just instant gratification, quick turnaround can be key in mastering your camera and perfecting techniques like metering and zone focusing in as few botched shots as possible. It’s helped get much more comfortable and competent with my trusty Olympus XA2.
It’s cheap (in the long run): Chemistry and a scanner will cost you up front, but once you’ve made your investment, it reduces the cost of shooting a roll to almost just the roll itself (and a little bit of time). Take that money you would have spent on processing and splurge on better film, another camera or prints instead!
It’s reliable: No lab in town, no problem! And no shipping-and-handling required. Once you’re kitted out to develop at home, you can shoot film through the apocalypse and beyond, so long as someone is still making film and chemistry.
It’s private: Digital cameras have us accustomed to taking photos without needing to expose them to an extra set of eyes, and developing your film at home lets you maintain that expectation whether the shots are saucy or just embarrassingly bad.
It’s really not that hard: Film chemistry has come a long way since the olden days… at least that’s what I’m lead to believe. In the here and now, black and white development with a monobath is almost disturbingly easy — one liquid and a few minutes of agitation. The only slightly risky parts are loading the tank and slicing up the negatives, but the risk is part of the fun.
It’s satisfying: You know what’s even better than sharing a good photo you made? Sharing a good photo you made, developed, scanned and edited yourself. Yes, it’s more difficult, but that’s half the fun — and it will make you a more thoughtful photographer to boot.
Read More
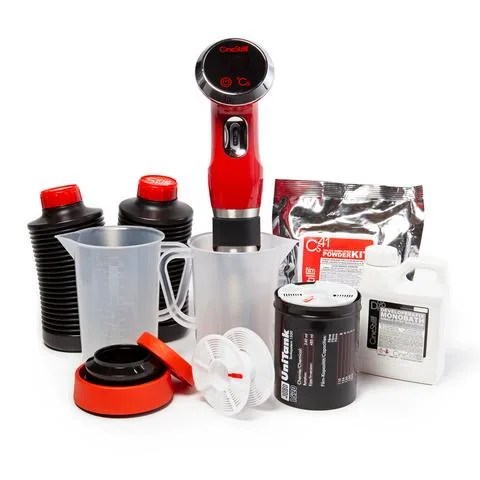
What you need
So what do you actually need? Luckily, everything required can easily be purchased online, either as individually component to suite your needs or in kit form to make matters simpler. And for a limited time, Gear Patrol readers can save 5% on all orders from CineStill using the coupon code DEVELOPYOURFILM.
 Amazon
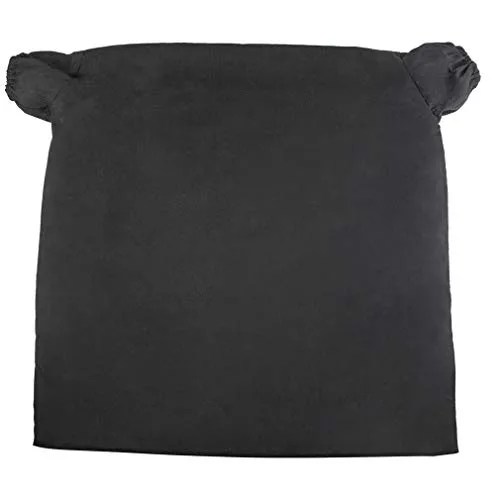
A changing bag
FIlm tanks need to be loaded in complete darkness. If you don’t have a pitch black darkroom, this is your best alternative.
 Amazon
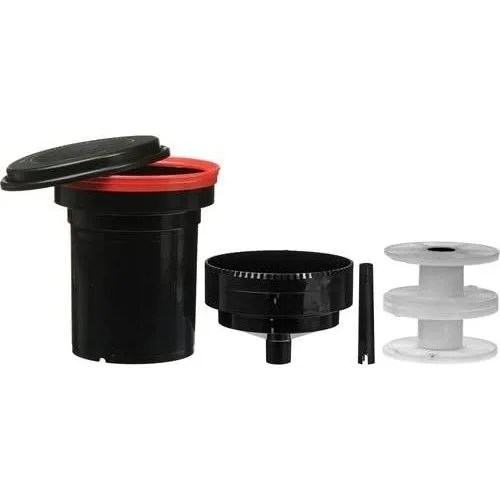
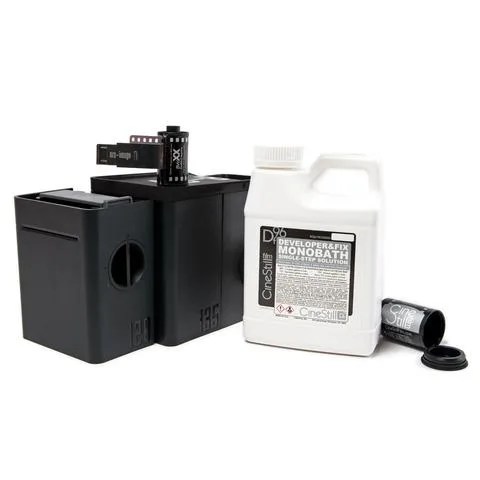
A development tank with reels
This is what keeps your undeveloped film sealed in darkness while you pour in the chemistry. Bigger tanks let you do more rolls at once, but are harder to fill in a changing bag.
 B&H Photo
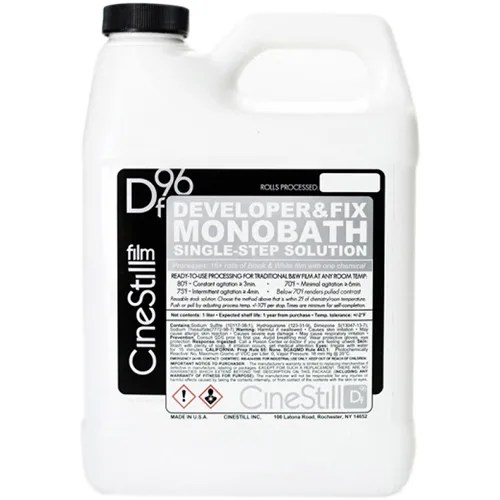
Black and white chemistry
With a monobath, black and white photography is dead simple. CIneStill’s DF96 lets you process your rolls with just one liquid (and water to rinse).
 Amazon
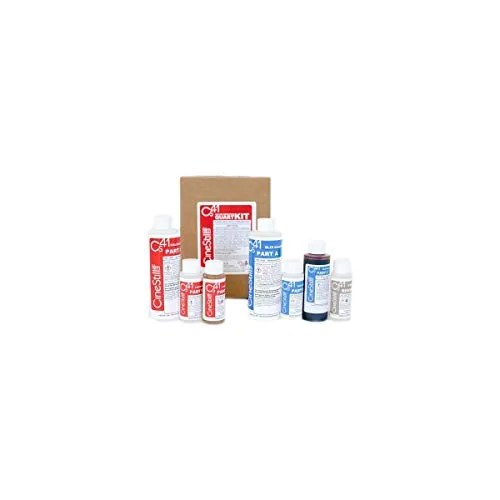
Color chemistry
The chemistry for film that uses the typical “c41” process, if you choose to go that route, is a bit more involved.
 Amazon
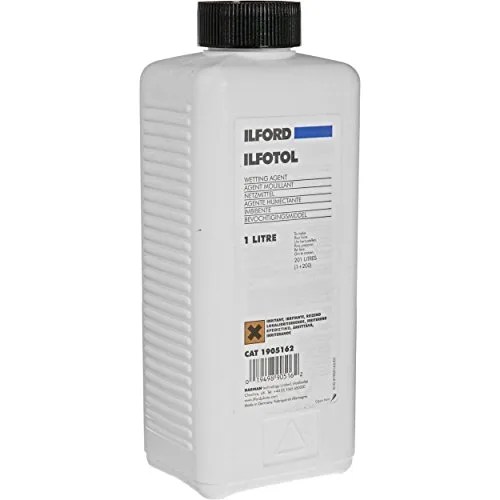
Wetting agent
This optional ingredient helps your negatives dry quickly without any water spots.
-
$34.95 (8% off)
 Amazon
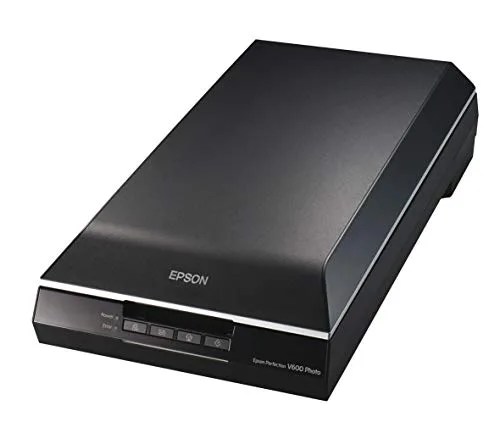
A scanner
If you want to post online, you’re going to need to scan. The Epson V600 is a go-to pick for hobbyists and what I used to scan the photos in this story.
 Amazon
A drying rack
The most convenient way to hang multiple rolls to dry, but you can (and I did) get by rigging something up with paperclips.
 B&H Photo
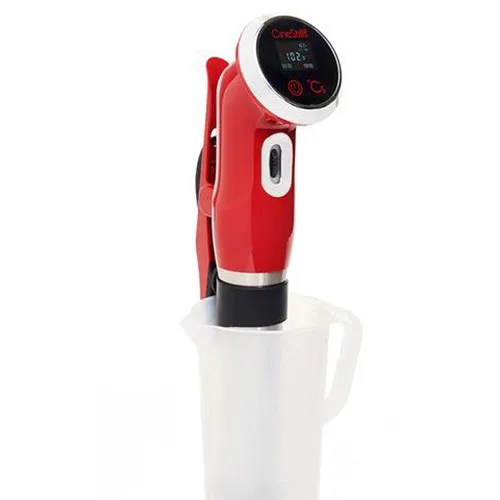
A temperature control system
CineStill makes a heating tool specifically for the precise temperatures color film chemistry requires. It has some handy features, but any immersion circulator will do.
 CineStill
B&W essentials kit
Everything you need to process black and white film (minus the darkroom/darkbag).
-
$100.97 (21% off)
 CineStill
Color essentials kit
Everything you need to process color film using the common C41 process.
 CineStill
Color and B&W essentials
Everything you need for color and monochrome.
 Cinestill
The darkroom-free solution
This expensive but brilliant design requires no darkroom or changing bag and is, frankly, too easy and basically cheating.
How it works (roughly)
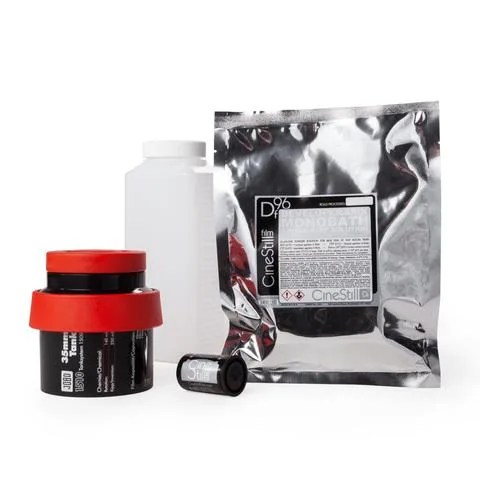
The process of developing your film is going to vary based on a whole bunch of factors, from the kind of film to the equipment you have, to the chemistry you are using, so refer to your equipment and chemistry’s official documentation for instruction. But, roughly, the process goes like this. Everything I used is included in CineStill’s Jobo Duo kit (except the dark bag and scanner).
Step one: You remove the undeveloped film from its canister and load it into a special plastic reel which you seal in a light-proof tank. This process, which has to be done in total darkness, is probably the toughest bit. If you don’t have a darkroom, you’ll need a dark bag. Either way, you’ve gotta do it totally blind. I used a dark bag (in my kitchen at night, to be safe) after practicing a few times with a roll of already-developed film. It was stressful but went fine on the first try!
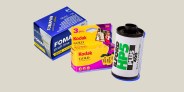
Step two: The next steps will vary based on the film and chemistry you’re using, but fundamentally it’s just a matter of pouring chemicals into the tank, shaking it very precisely, and then pouring them out. Powdered chemistries need to be mixed into liquid, color development requires various baths at various temperatures, different exposure results require specific types and amounts of agitation, and various chemicals can be reused for a specific number of rolls; all that depends on your specific chem’s specific rules. I used CineStill’s DF96 monobath to process a roll of Kodak Tri-X 400 and push it one stop, which involved shaking my canister for 3 minutes. That’s it!
Step three: Once you’ve developed your film and rinsed it according to your chemistry’s specifications, you just have to hang your negatives to dry. You can use some sort of drying rack, or you can hang your negs from a shower curtain rod using hooks you fashioned out of paperclips and hope your spouse doesn’t get annoyed that you’re hogging the bathroom. It was door number two for me.
Step four: Congratulations, you have negatives. Now what? Well now you have to scan. There are a number of ways to accomplish this, from calling in the professionals to building a rig out of a DSLR. This could be a whole post of its own. The short version: I opted to use an Epson V600, a hobbyist-grade scanner that comes with everything you need to scan negatives at resolutions of up to 6000 DPI.
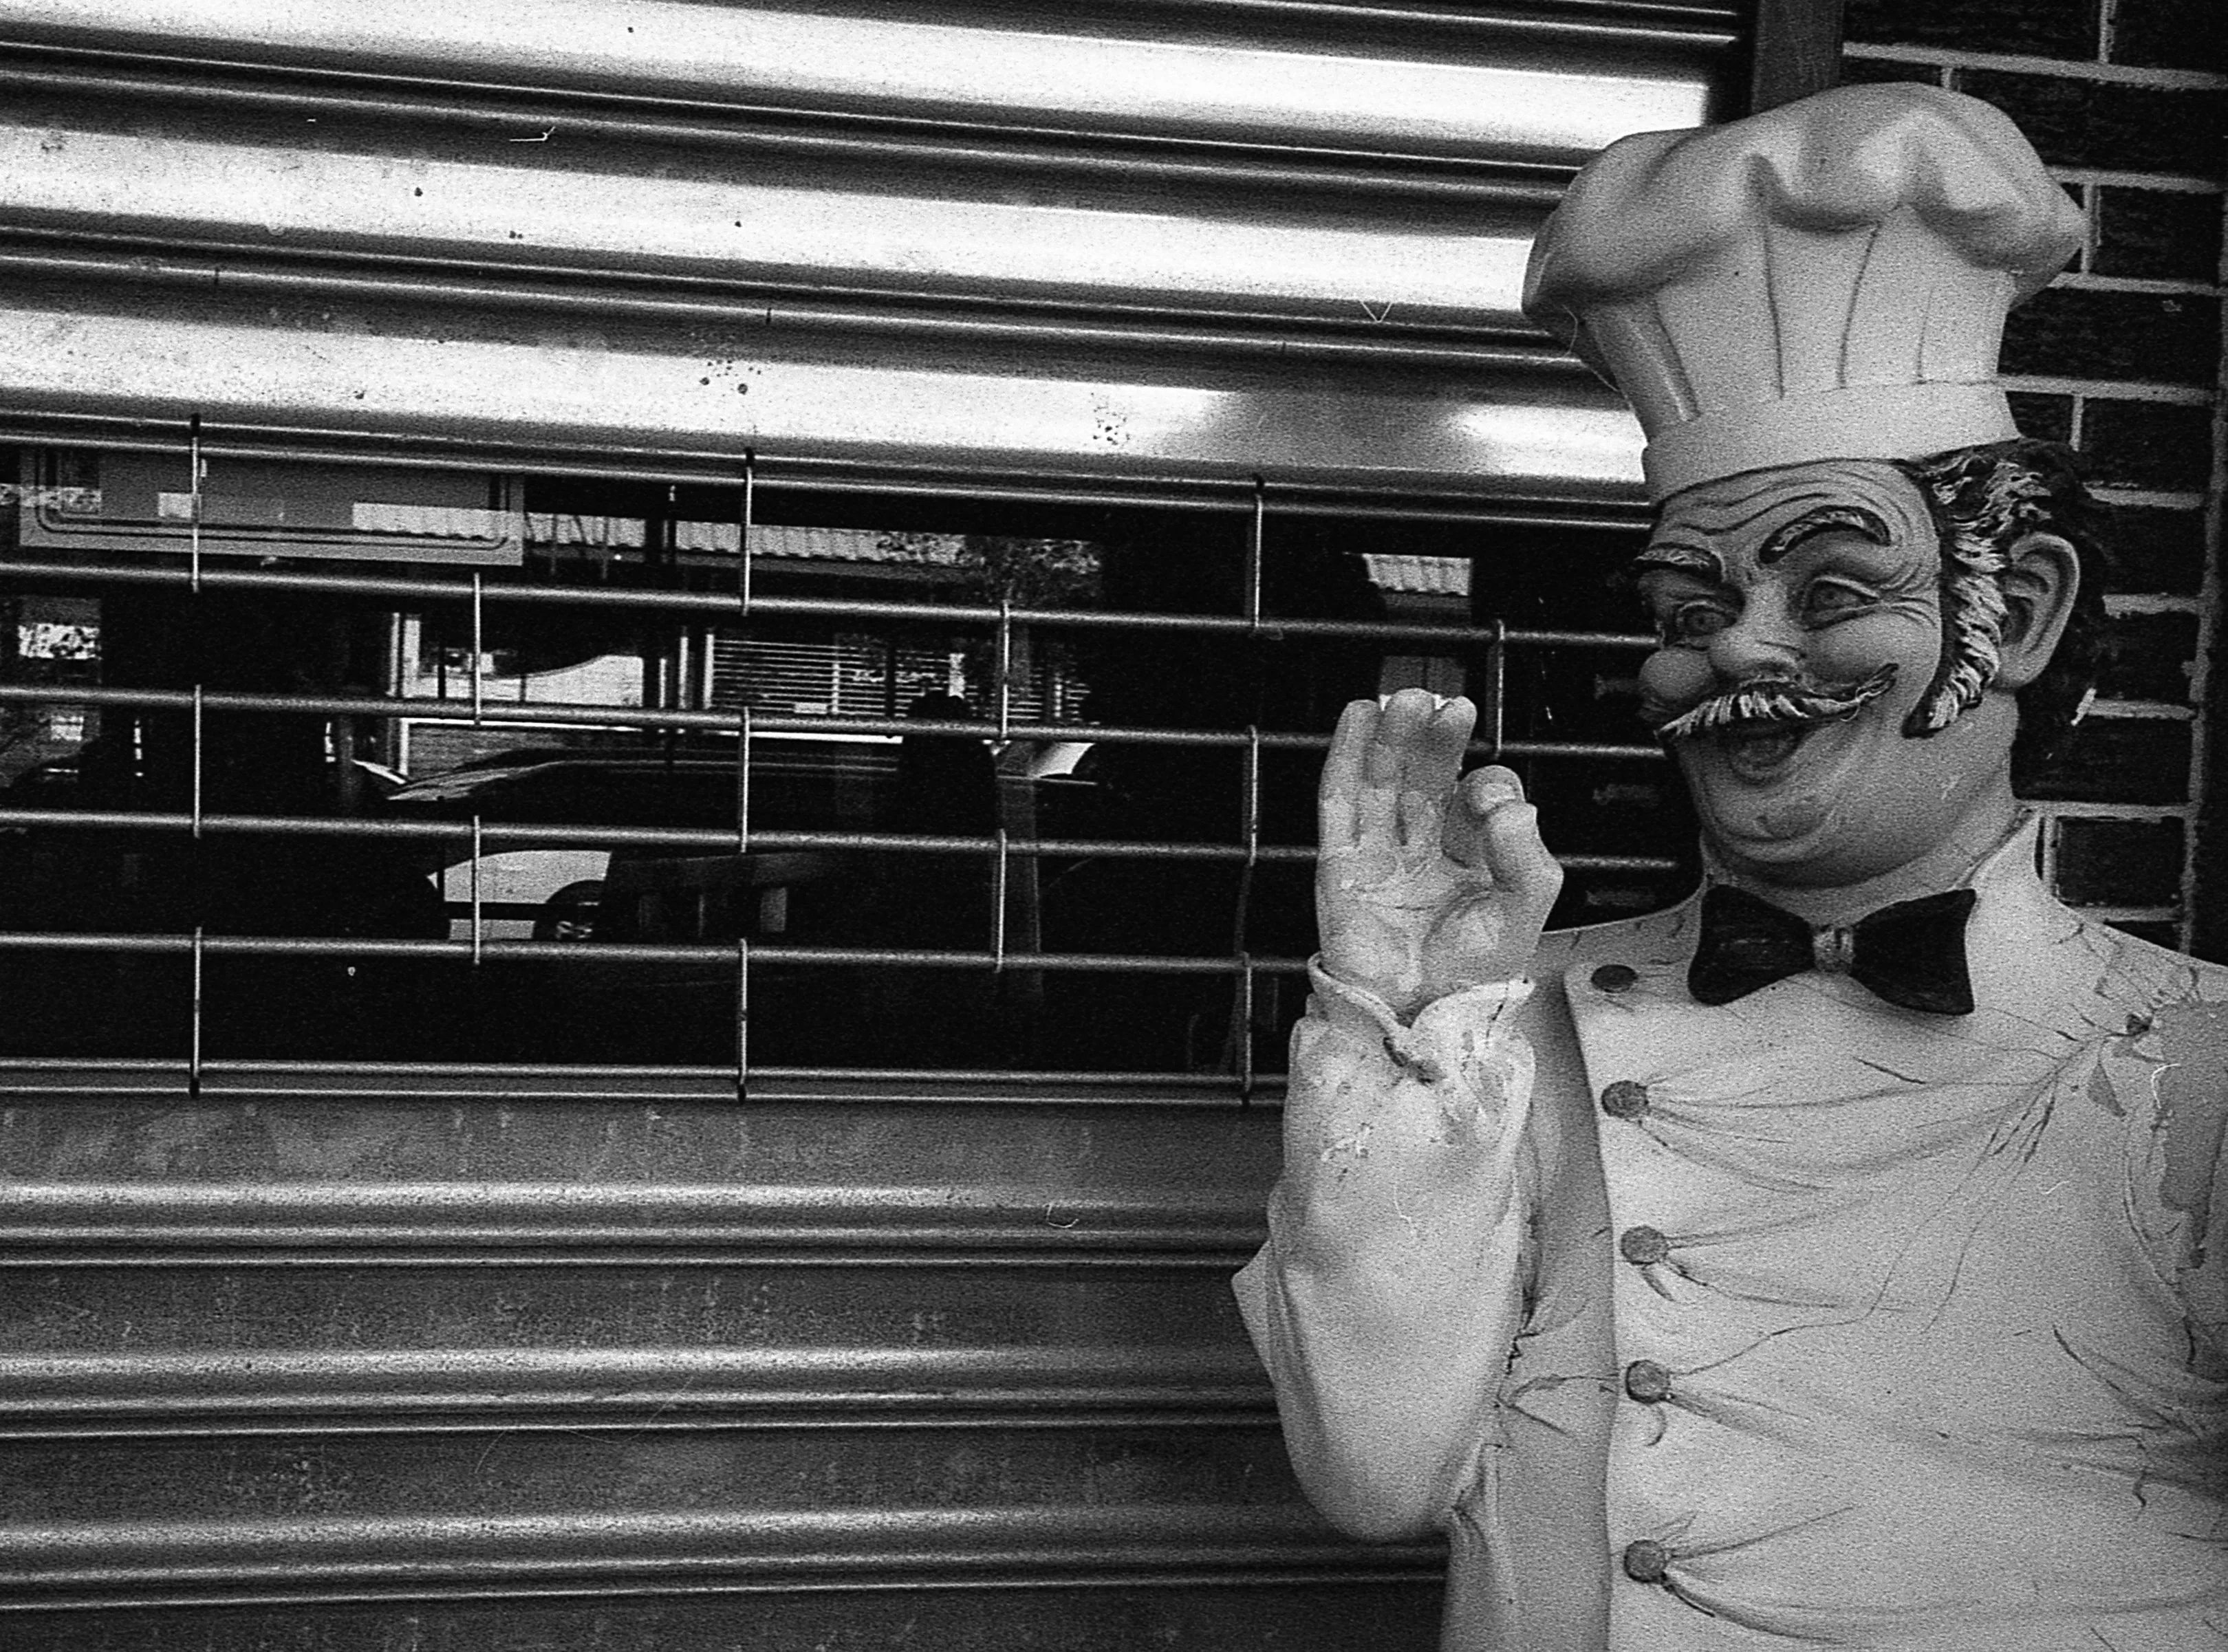
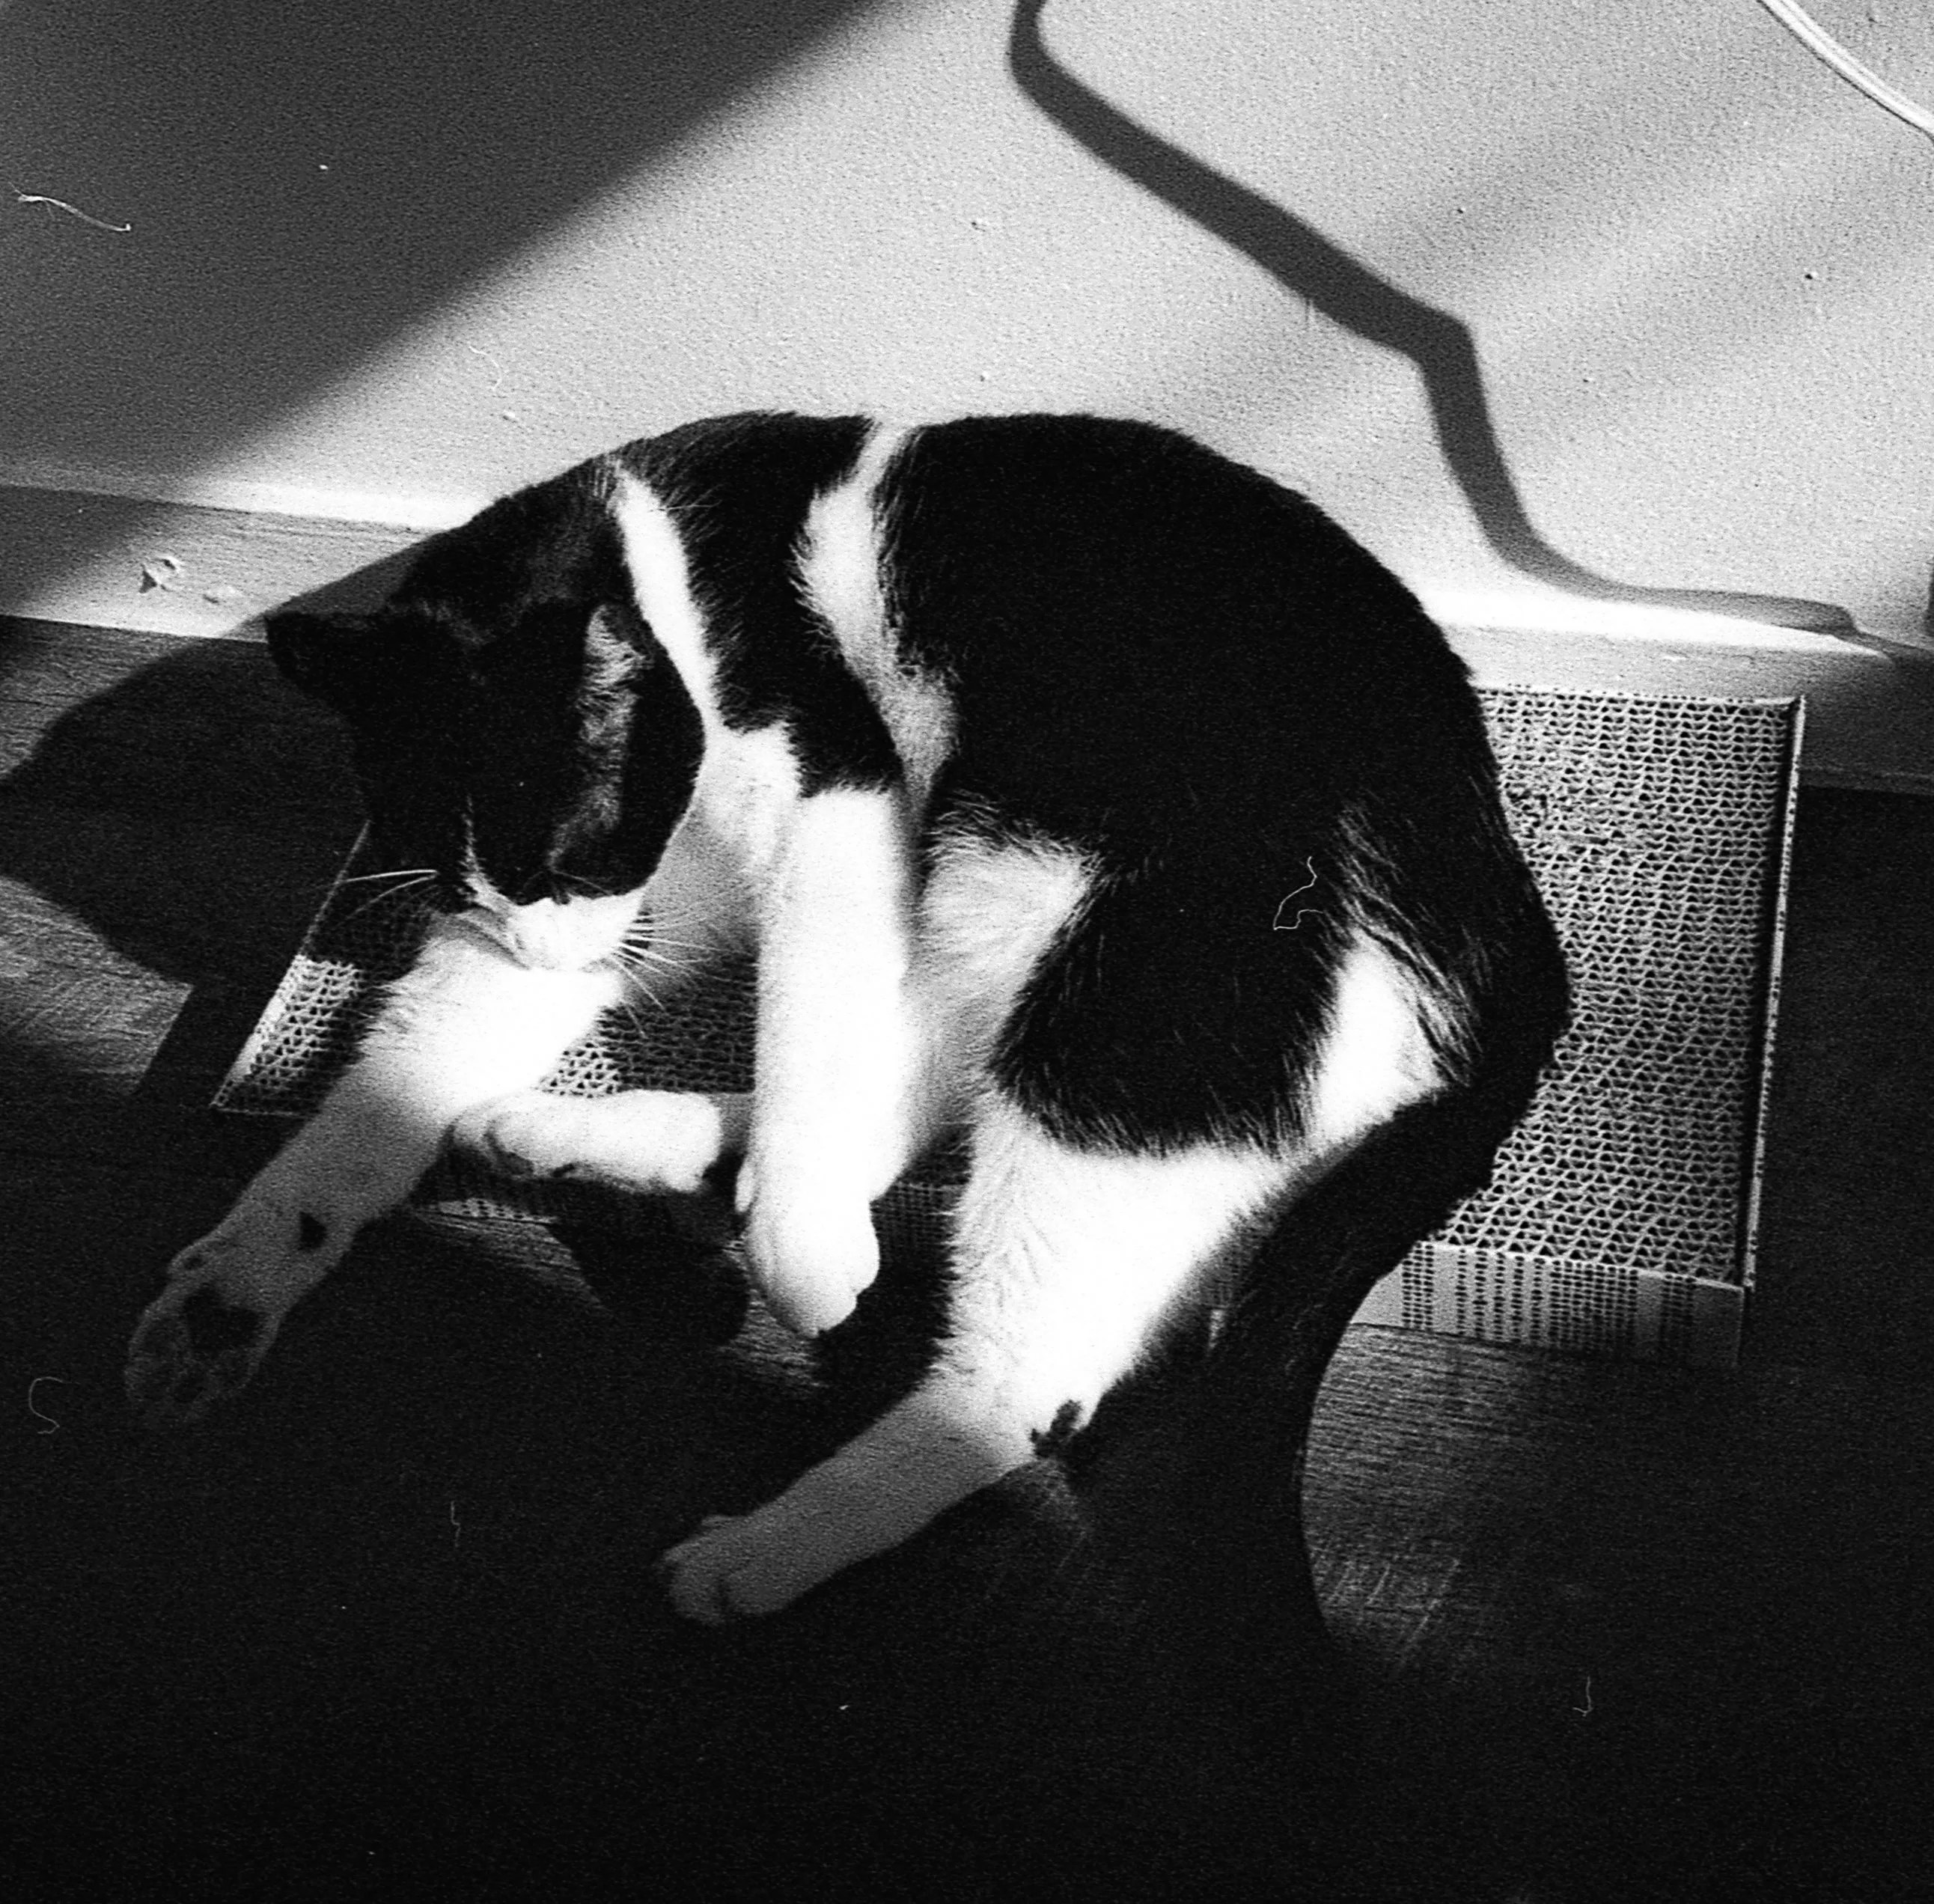
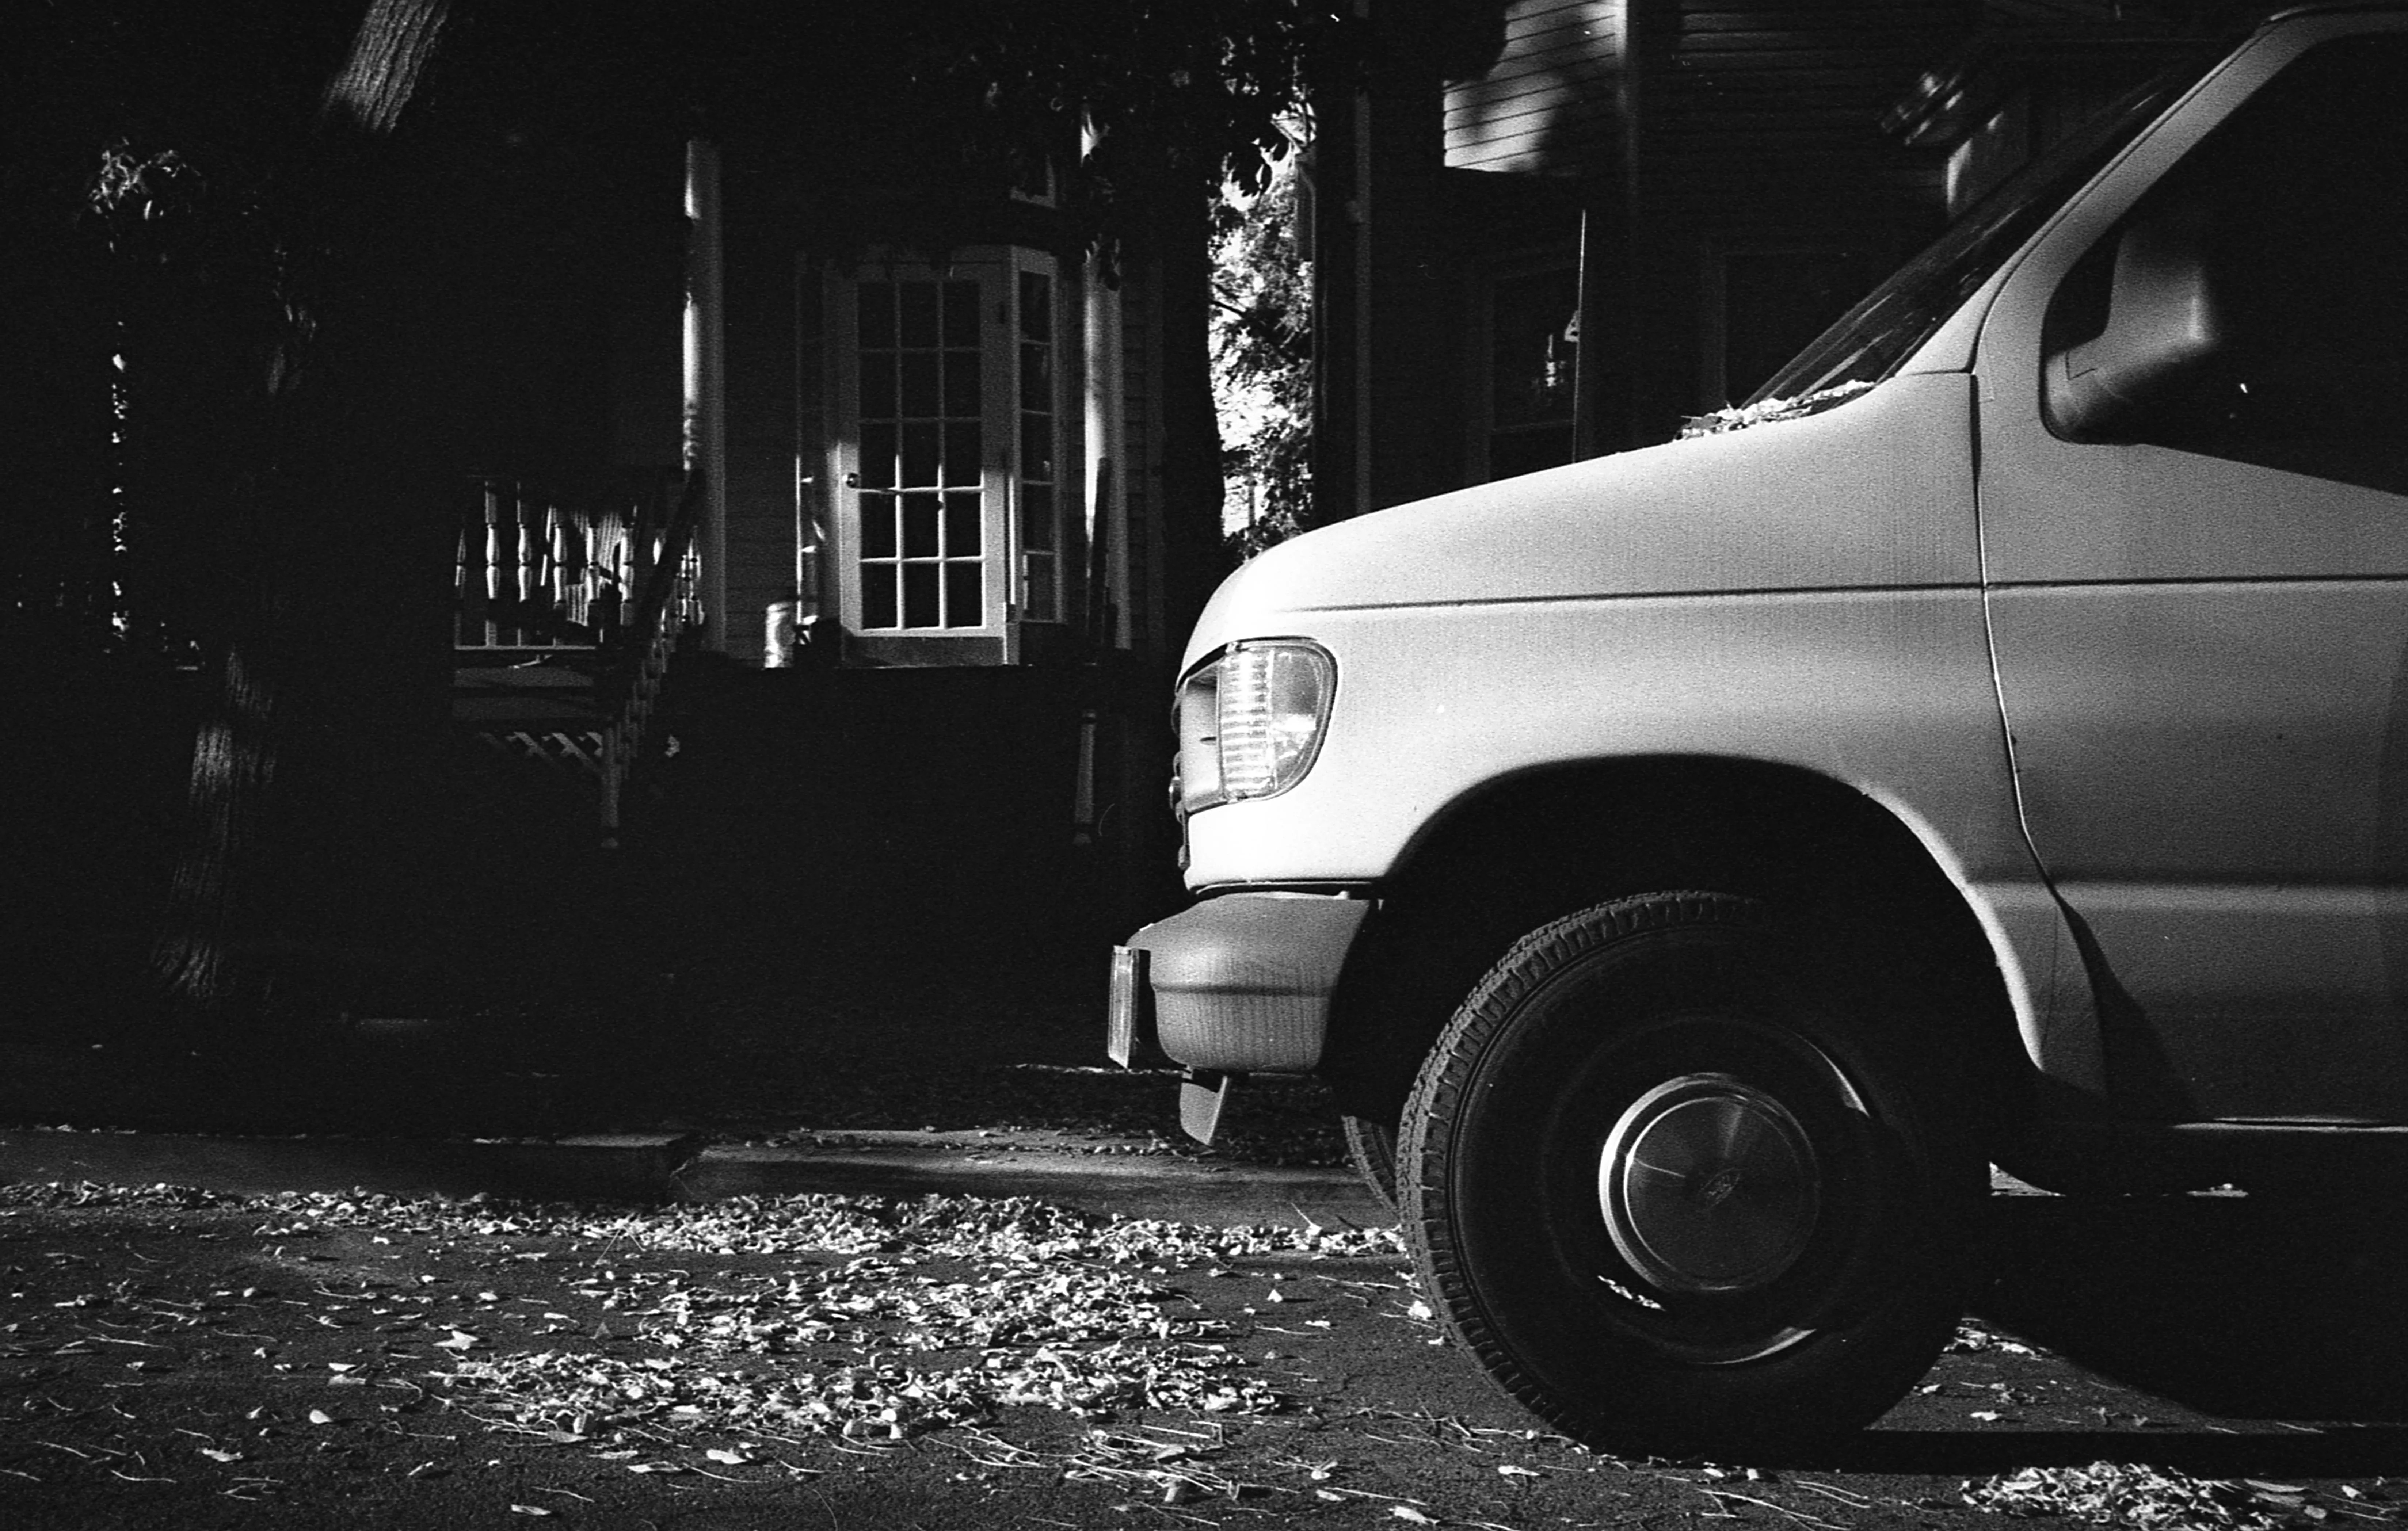
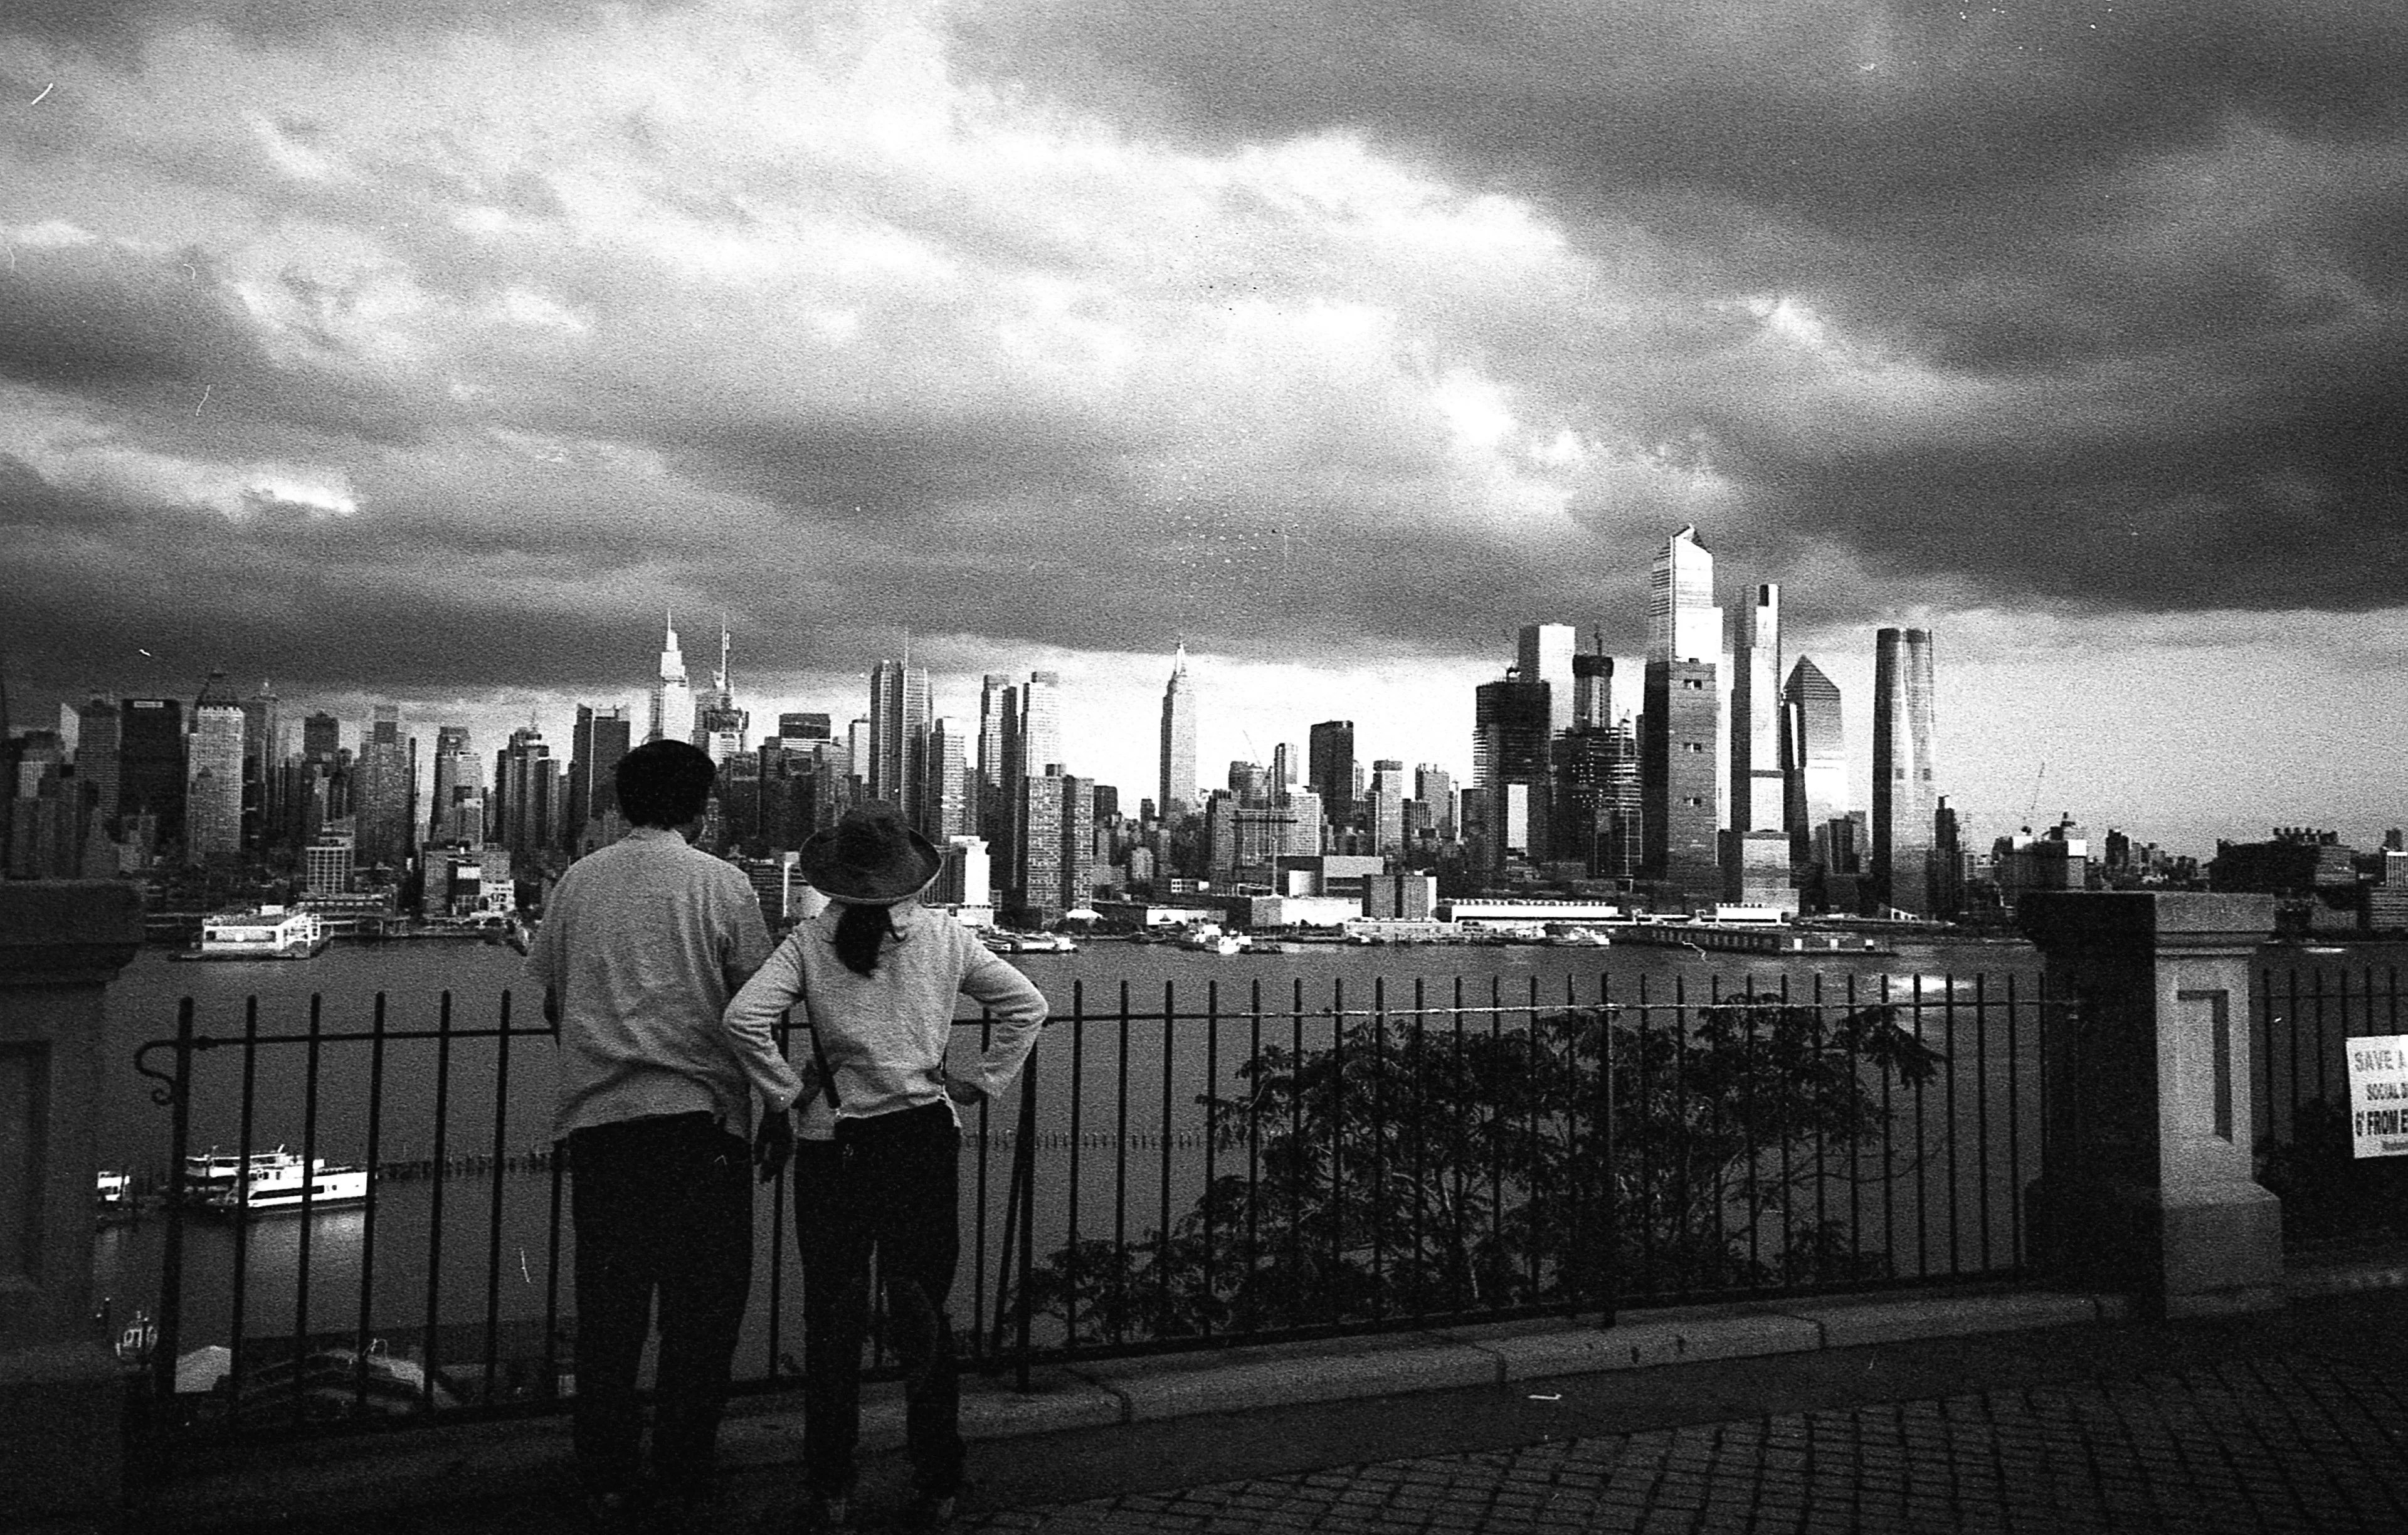
Step five: Admire your (or in this case my) results:
5 photos