4 Files App Features You Should Be Using, But Aren’t

Learn to master one of the iPhone’s most underrated apps.

the apple files app Apple

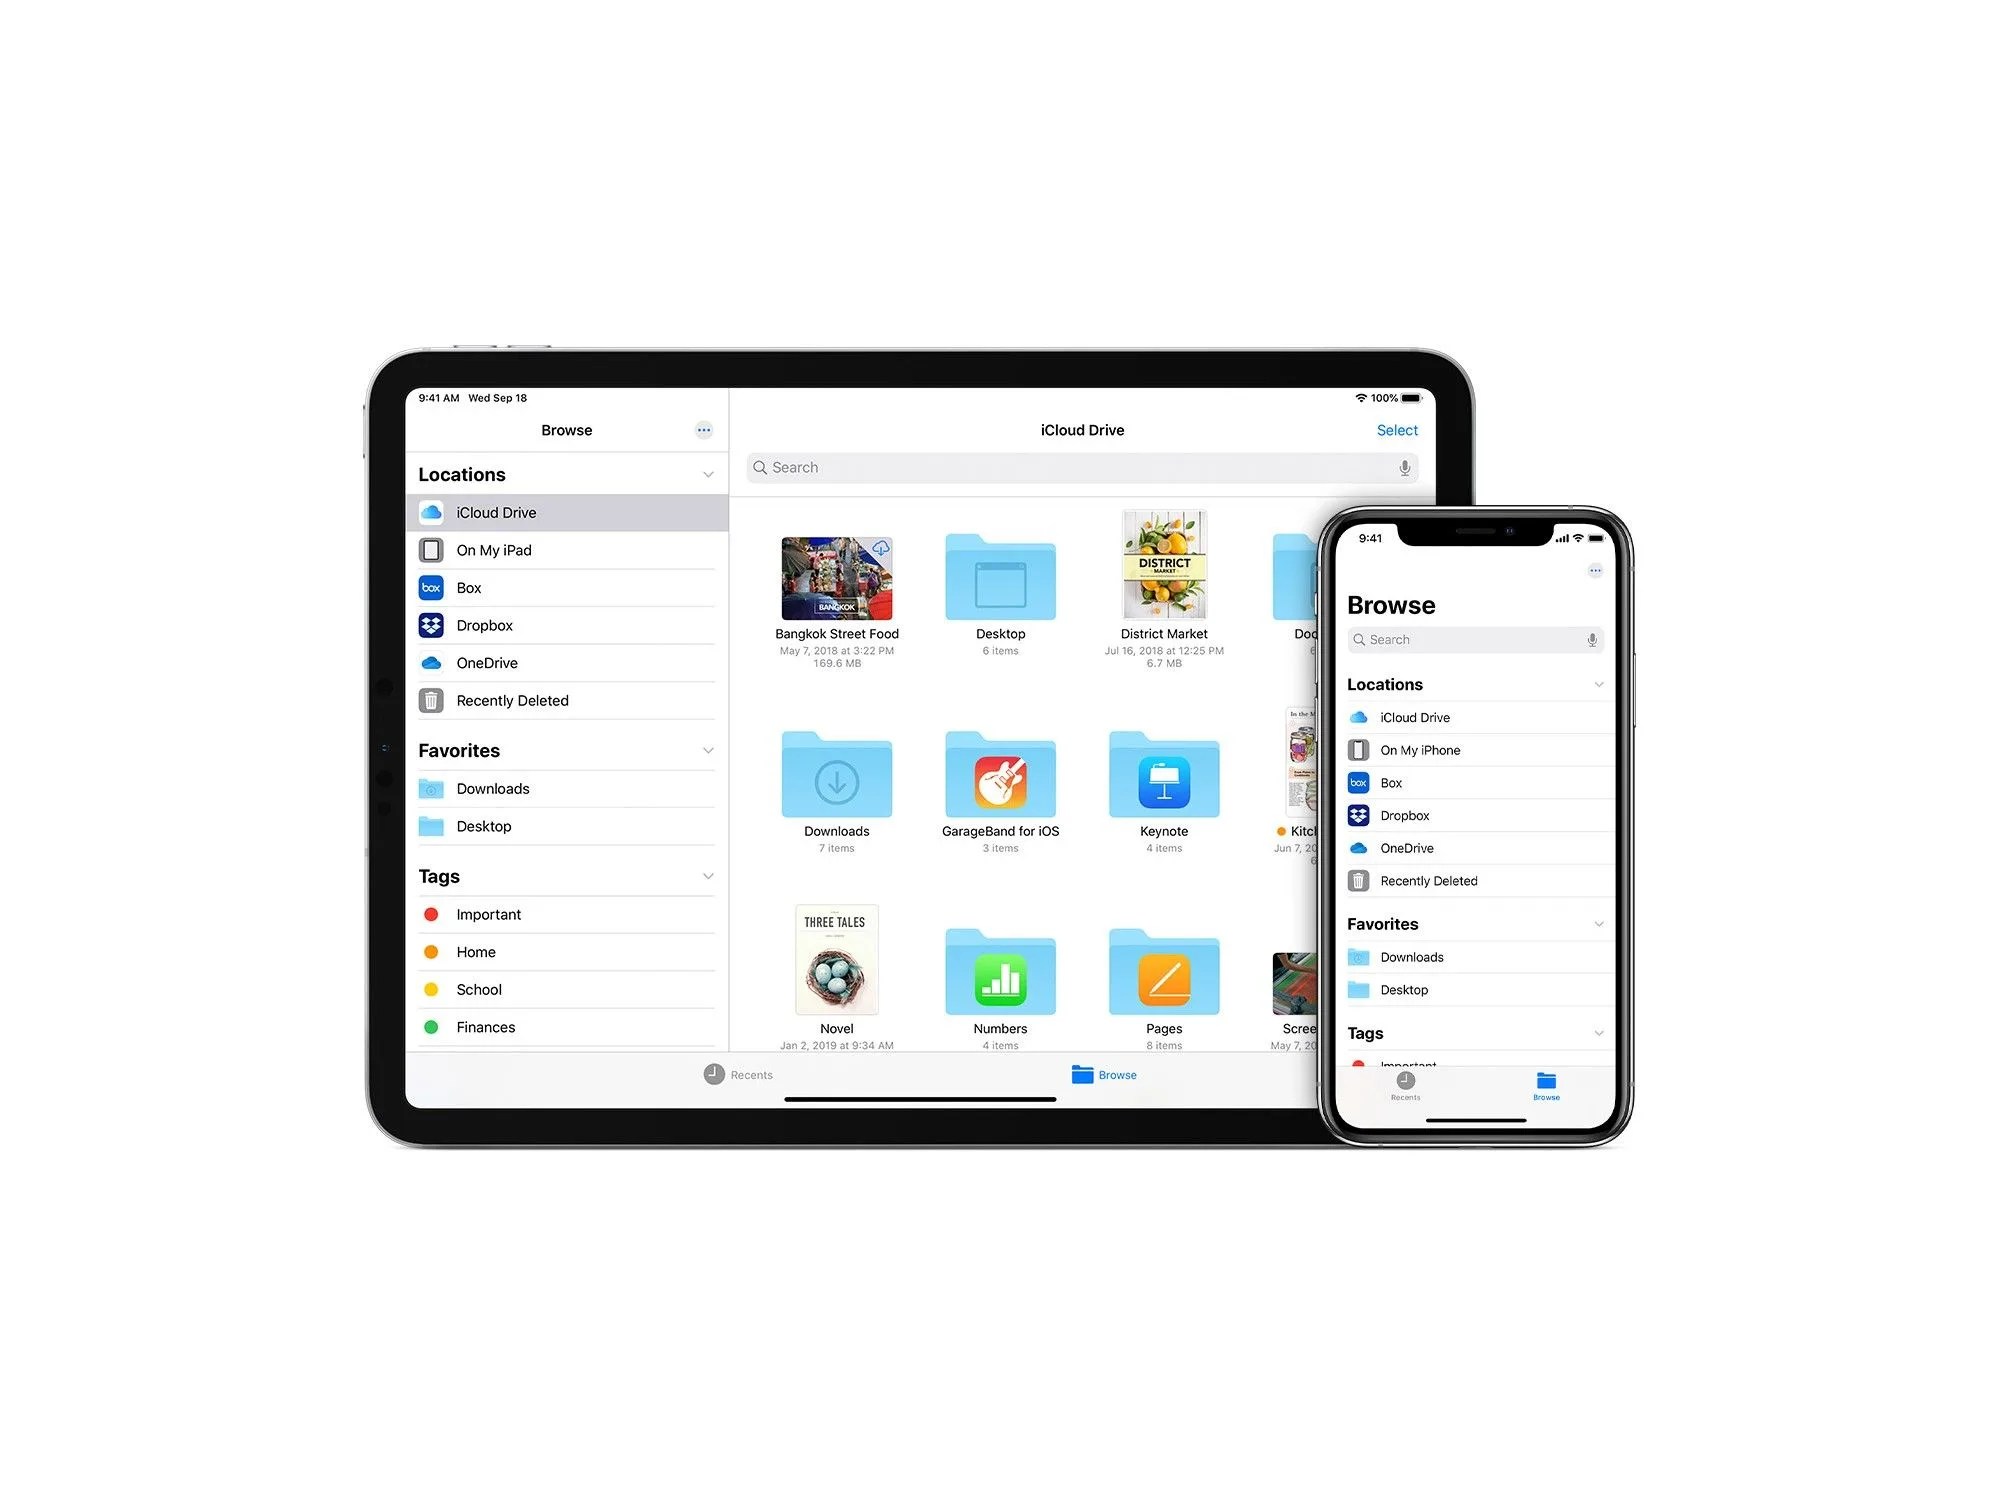
The Files app was introduced with iOS 11 in late 2017 and it has been available on every iPhone and iPad since. It lets you access and organize thevarious files that you have saved on your iPhone or iPad, in the cloud, or on various external devices, such as a USB flash drives or a portable SSD. That’s right, all your files saved in one convenient app.

The other great thing about the Files app is that it’s compatible with most of the third-party services, like Dropbox, Box, Google Drive and iCloud Drive. This means that if you’ve been using a cloud storage service other than iCloud, you can quickly sync that service and access those various saved files from directly within the Files app on your iPhone. There’s no arduous transition process.

That said, there’s good chance you don’t use the Files app because, well, change is difficult. I promise that if you start using the the Files app, it will help make your digital life a lot more organized.

To use the Files app, first download it from the App Store. Also make sure that your iPhone or iPad is running iOS 13 or iPadOS 13 or higher, respectively.

Learn to use tags — they’re super helpful.

One of the Files app’s best organization tools is its tagging system. You can add a tag to any file and then the Files app with automatically group files that share the same tag. This is ideal for grouping pictures, folders or other documents that share something in common.

The easiest way to add a tag to a file is to long-press on the file until you see a pop-up menu, then select “Tags.” From here you can select one of your existing tags or you can create a new tag. Select “Done” to complete the tagging.
https://www.youtube.com/watch

Connect your most-used services to the Files app.

If you use a third-party service like Dropbox or Google Drive, you’re going to need to give the Files app access to use it. To do this, open the Files app, select the three-dot icon in the top-right corner of your screen, and then select the “Edit.” You should see the various online services that you currently use on your iPhone or iPad. Turn on the service that you want synced.

Once synced, you can move files between your various services within the Files app in a couple ways. The easiest is using the drag-and-drop method — simply long-press on a file and drag — but not every third-party service supports it. You can also long-press a file or folder and then select “Move” or “Copy,” the later of which is a pretty straightforward copy-and-paste method.

Connect an external device.

A new feature coming to the Files app with iOS 13 and iPad 13 is the ability to easily connect and upload files from an external drive, like a USB flash drive, an SD card or an external hard drive, to your Files app. The catch is that you’ll need a dongle, like a Lightning to USB adapter ($29) or Lightning to SD Card Camera Reader ($29).

Once you have the external drive connected to your iPhone or iPad via the adapter, the device should appear in the Files app. You’ll then be able to add, move and organize those files with the other files in your Files app.

Add the Files app widget to your iPhone’s “Today View.”

If you’re just getting started with the Files app, one way to encourage you to use it more — that way you can get more proficient using the app — is for you to add it as a widget to your iPhone’s Today View. The Today View is the screen where all your app shortcuts live, and you can by swiping all the way right from your iPhone’s lock screen (or the first page or your home screen).

To add the Files app to your Today View widget, swipe right to get to your Today View and scroll all the way down and select the “Edit” button at the button. Find the Files app widget and select the plus (+) icon adjacent to it, and then drag the Files app widget to the top of your Today View (using the stacked horizontal line icon). This will allow you to see the most recent accessed files when you’re in the Today View.