
5 photos


Every commercial airline flight is an opportunity for great photography. If you haven’t claimed a window seat and parked your camera within easy reach, you’re going to miss some amazing shots. They’ll be handed to you on a silver platter with the purchase of your ticket, along with pretzels and those tiny bottles of vodka.
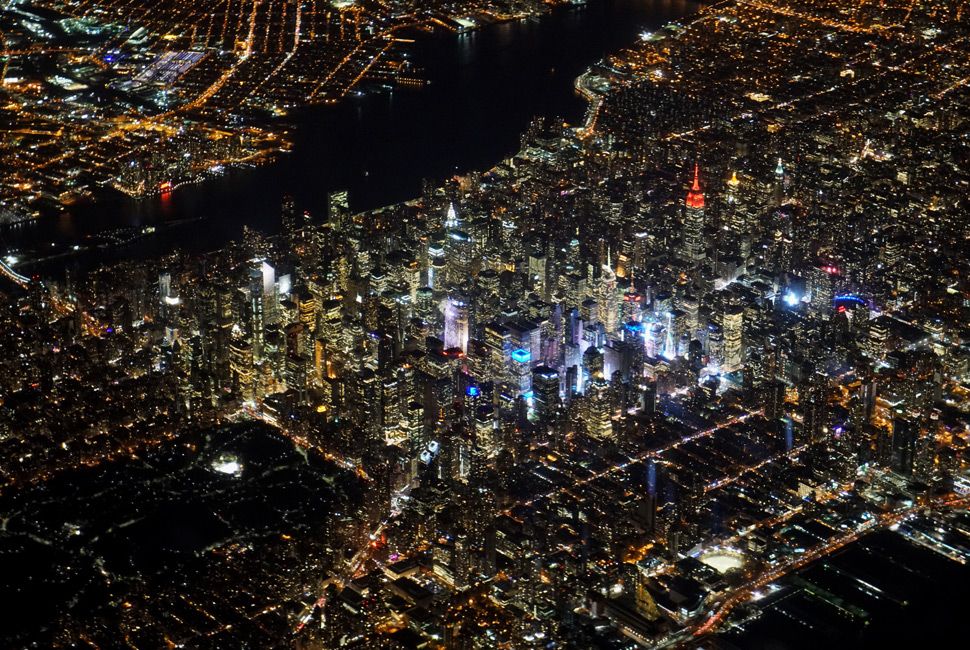
See the photo above? I took that from a commercial airliner departing Newark on the way to Europe. It took me about 30 tries before Midtown vanished under my 747’s right inboard engine, but I’m thrilled with the results. If you just pay a little bit of attention to what you’re doing, you can produce exciting stuff.
Use the Right Gear. Most cameras can take decent images from an airplane. The problem with smartphones is you can’t easily dial in the right settings, though there are apps and more that can give you manual control over shutter speed (faster, particularly at low altitude) and ISO. Also, smartphones have wide-angle lenses — probably not what you want.
I recommend a point-and-shoot or DSLR with manual controls and, ideally, a 24-70mm zoom lens. That range is pretty important: if you’re shooting too wide, it will be hard to get around window frames, wings, etc. You’re also more likely to see reflections from inside the cabin, or smudges on the window.
You also don’t want to shoot with a big zoom, because airplane windows are not optical glass. It has several layers, including plastic, which introduce not only a lot of image degradation, but also ghosting — shoot at an angle through the window and above, say, 200mm and you could end up with a bit of double-vision. Plus, with a big zoom you’ll have a hard time holding the camera still.
Do Your Homework. Whenever I fly, I research route variations with different airlines, alternate airport options, and the type of aircraft. I also sort out sunrise/sunset down to the minute, departure and arrival timing options, and takeoff and landing routes — all to set up the best views of cities, natural settings, or landmarks.