USB Digital Microphones Are the Perfect Entry-Level Recording Tool

Aspiring podcasters and DIY rockstars in training, take note: you don’t need to go whole hog on a home studio to get your feet wet with home recording. All you need to get started is the right digital microphone.

Best-digital-mics-gear-patrol-lead-full

Maybe you, like any red-blooded American man, still harbor some rock star dreams. Or maybe your friends have grown tired of your impassioned, point-by-point tirades about how Game of Thrones books are better than the TV show, and you’re thinking of confining those rants to a podcast format. Perhaps you’re trying to get some more audio/video content up and running at the website you work at (hear, hear!).

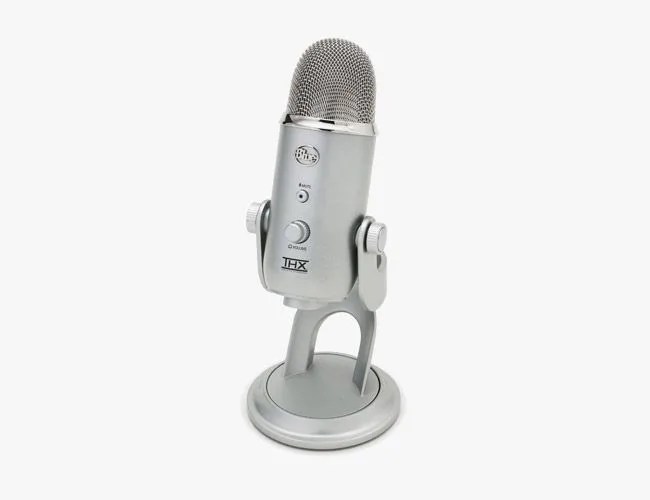
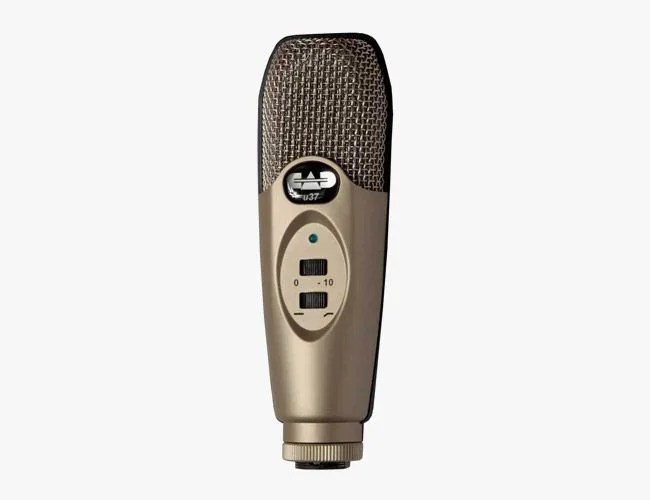
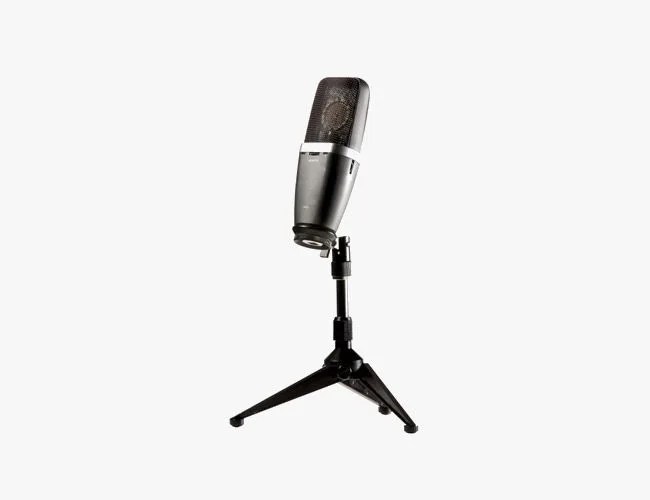
Home recording, for many reasons, is an enticing hobby — but a potentially expensive one. There’s no need to convert your basement into a recording studio if you just want to talk into a microphone or record some jams; between soundproofing ($3,000-$5,000), an analog microphone (at least a couple hundred for a high-end one), a mixing board (near $1,000 for a good one), amplification devices (again, at least a couple hundred), a home studio can easily exceed your average automotive down payment. It’s best to start small. To that end, a USB mic is a fine choice for beginners, despite the naysaying of aging audiophiles and recording technicians. (You know the type: bad ponytails, Zildjian tee shirts.) A USB microphone is a simple recording device that plugs right into any USB port 2.0 or higher — no intimidating EQ decks, no jumbles of cords. Sure, you should understand the difference between hypercardioid and omnidirectional polar patterns (it’s simpler than it sounds). But you don’t need to know everything a pro knows, nor do you need everything a pro has; a USB hub and the right USB microphone will go a long way.

How a Microphone Works

In the simplest terms possible, microphones pick up changes in air pressure — sound, in other words — and convert them into electrical signals, which feed into either a recording device or an amplifier. There are three common microphones on the consumer market that carry out this process.

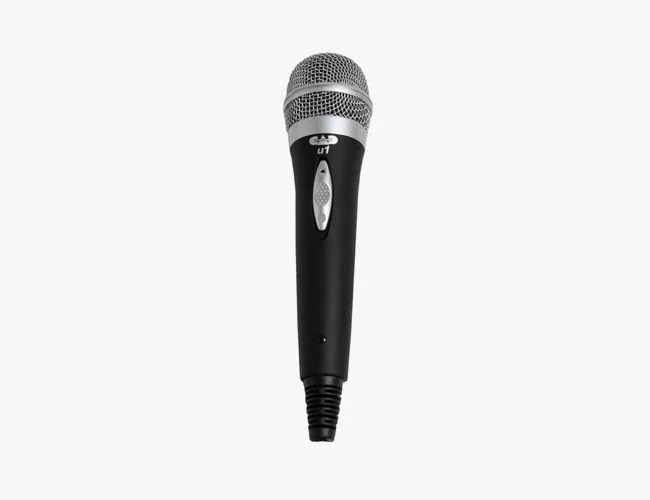
In a typical dynamic microphone, a disc-shaped metal diaphragm catches vibrations in the air. This is the part of the microphone you holler into at karaoke; the diaphragm vibrates in such a way that replicates the air pressure variations caused by your rebel yell. The diaphragm is connected to a conductive wire, which is coiled around a magnet, creating an electromagnetic current. The wires uncoil towards the end of the magnet and run to the recorder or amplifier; what they pick up is the alterations in the electromagnetic current, which is caused by the vibrations that the coil receives from the diaphragm. The other two microphones covered in this guide — the most commonly produced mics on the market — are variations on this basic mechanism.

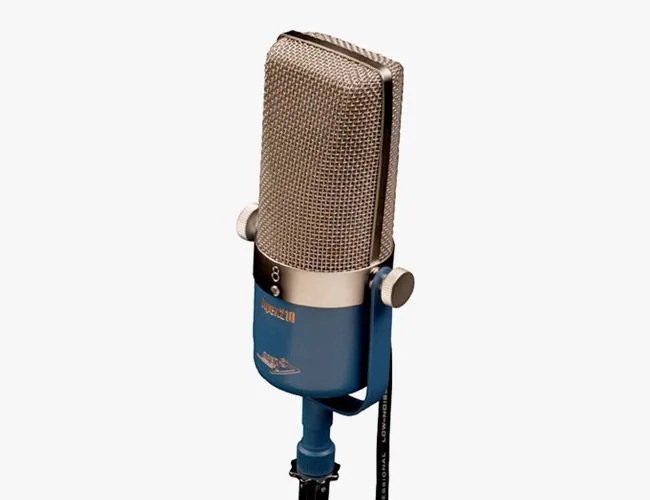
In a ribbon microphone, the diaphragm is a thin strip of corrugated conductive material (usually aluminum) rather than a disc. This diaphragm is highly sensitive to vibrations, making it highly susceptible to detailed recordings and potential damage in uncontrolled situations. (The mic was invented in the 1920s; it’s the iconic square-shaped mic seen in depictions of old radio broadcasts. The sensitivity of these microphones was, in part, what led to the development of “crooner”-style singing, as well as the typical muted sound you hear in 1920s recordings of brass instruments; you had to be careful not to blow out a mic back then.)

Like the traditional dynamic mic, single wires are attached to either end of the diaphragm; however, those wires do not coiled around a magnet, but run directly to the recorder or amplifier. Instead, two magnets stand on either side of the metal ribbon, generating a magnetic field; the ribbon acts as a conductor, producing electromagnetic currents with its vibrations, which are sent through the wires.

A condenser microphone is what most people want for home use. Whereas dynamic and ribbon microphones are powered by their magnets, condensers require a power source, referred to as “phantom power”. This is because the condenser mic uses a diaphragm and a stationary metal plate, each with a single wire attached, as opposed to a single diaphragm with two wires that produces a continuous circuit. The stationary plate stands behind the diaphragm, which functions as it always does, and the wires from the two metal pieces run parallel into your recorder or amplifier (usually the former with condensers); the catch is that the stationary plate is hooked up to your power source, creating a magnetic field in between it and the diaphragm. The variations in that field, caused by your voice, are what transmit through the wires and land in your computer.

Blue Microphones Yeti

Blue-yeti-gear-patrol

For Podcasting Beginners: For better or for worse, everyone starts with a Blue microphone. Their Snowball USB mic is an object of sentimental attachment for anyone who got into home recording in the early 2000s, when the only people who owned Apple computers owned them for creative purposes (imagine that!); the little-USB-mic-that-could was the go-to for garage and/or GarageBand musicians. While the Snowball is still commonly used, the newer Yeti is a step up in terms of both sound quality and versatility. Snowball recordings have a definite home-recording feel, with some audible distortion in the high end that is absent in the Yeti; the Yeti also welcomes beginners to play around and find their preferences more easily, with a headphone jack for latency-free monitoring (i.e., you can hear how you sound as you speak), a pre-gain control knob, mute button and the ability to switch between four “>recording patterns (stereo, omnidirectional, bidirectional, and the typical cardioid), along with a much more stable desk stand. Big spenders can opt for the Yeti Pro, which boasts a higher recording resolution.

CAD U37

CAD-gear-patrol

For Baritone Podcasting Beginners: Granted, the Snowball and the Yeti don’t always do burlier pipes justice. The CAD U37 USB condenser mic is a solid alternative if you want your recordings to give the living room subwoofers a good beating. It’s a simple microphone, so it’s well suited to simple applications like podcasting, with a much richer bass sound than the Yeti. It also one-ups the Yeti as a damn impressive mic for instrumental recording when set up properly. Though the Yeti’s pre-gain controller makes for a bit more on-the-fly versatility, the U37’s -10dB buffer switch, which lowers the mic’s sensitivity by 10 decibels, works perfectly fine if yours is a simple talk-centric podcast that gets shout-y now and then, allowing you to reduce mic sensitivity quickly; similarly, the bass rolloff switch is handy for noise reduction if your home studio’s soundproofing is less than perfect (or if you’re still in the noncommittal bedroom-recording stage).

APEX 555 Condenser

Apex-Mic-Gear-patrol

For Bedroom Musicians: APEX’s forays into USB recording are few, but specifically tailored to musical aspirers. Like the Blue Yeti, the APEX 555 boasts useful analog features that allow musicians to record with ease: a knob on the body of the mic adjusts pre-gain (mic sensitivity); a headphone jack allows them to monitor their recording as they play with, according to APEX, zero latency; and another knob allows them to adjust the level of the monitor against tracks they might be playing along with. Unlike the Blue Yeti, it was designed with instrumental recording in mind, giving users much more range; it was meant to be fiddled with. Its 192kHz sampling rate is far from studio standard, but considering most standard Spotify users are used to listening to music at 44kHz, you’ll get a pass.

Pop Screens

Pop-Screen-Gear-patrol-sidebar

Pop shields are a necessary accessory for ribbon and condenser microphones that you intend to use for vocals. As you’ve learned, air pressure and movement is everything with microphones; nothing shouts “unprofessional” like a recording scarred with ugly pops produced by plosive sounds. (In other words, the puffs of air that would come out of your mouth with every hard “P” sound if you were to read that last sentence aloud.) Pop shields protect your microphones from those disruptive sounds. They also protect them from saliva, if you’re a spitty talker.

CAD Large U1 Dynamic Microphone

Cad-U1-Gear-patrol

For Interviewers and Fidgety Musical Guests: Condenser mics will generally get you the best recording quality. The downside: the pressure’s on the speaker to train that diaphragm (the one in your gut), speak at the right distance from the mic, and generally have the patience of a public speaker. So recording a conversational podcast with a bunch of condenser mics is out; how casual can you and your friends be when you’re all sitting straight as boards? With a proper dynamic microphone, you all can lean back and talk naturally; live music recording, be it a “musical guest” or a scrappy garage band-style recording, also utilizes dynamic mics. CAD’s U1 is decently sensitive and exhibits their signature rich, booming bass response. The U1 is as cheap as a dynamic mic should be, so you can buy a handful and get things going with your friends — TV recap podcast, shitty Black Keys cover band, whatever!

Blue Microphones Mikey Digital

Blue-mikey-gear-patrol

For Field Recording: Amateur journalists: how many times nights have you spent pulling your hair out trying to transcribe an interview you recorded with a shitty iPod microphone? Based on the same technology as the unanimously recommended Yeti, this 2.5 x 2.5-inch smartphone mic has built-in distortion prevention for those windy days out in the field, three pre-gain settings, a 3.5mm line-in jack for guitars and other microphones, and micro-USB port. By the feature count alone, the Mikey is incredibly versatile; it’s equally intuitive, with lights that indicate audio clipping and a pivoting hinge, making it optimal for recording a conversation in, say, a bustling coffee shop. However, reviewers have noted that it’s not your best option for live music or for windy days. Sorry, amateur sound collagists.

APEX 205 Ribbon Mic + Blue Icicle XLR-to-USB Converter

Apex-ribbon-gear-patrol

For Obsessives: Outside of professional studios, ribbon microphones aren’t as ubiquitous as they once were. But they can still be useful; modern-day ribbon mics, in fact, are far more durable than in their hokey heyday — the age of news broadcasts and Brylcream commercials. In instrumental recording, ribbon mikes are often used to supplement dynamic and cardioid microphones, picking up finer treble details that would otherwise go unrecorded — minute details that only audiophiles could care about. Which, unfortunately, is why there are no USB ribbon mics on the market; it’s an analog-only realm of recording, and analog is as esoteric as it is expensive. To invest in a ribbon mic is to make the step from digital recording hobbyist to budding audio nerd, with preamps and mixers soon to follow.

But there is a workaround if you want to slowly dip your toes into the world of analog. A few companies, like Shure, AGPtek and of course Blue, produce affordable XLR-to-USB converters, which act as compact preamps and phantom power supplies, allowing you to connect an analog microphone directly to your computer. In this category, Blue once again shines with their Icicle, a sleek, tubular device with a handy pre-gain controller similar to the one on the Yeti. However, their Woodpecker ribbon mic, while handsome, is a steep jump in price for beginners; start instead with the APEX 210 ribbon mic. Common wisdom holds that phantom power sources like the Icicle are a death sentence for ribbon mics, but the 210’s built-in transducer prevents phantom power from reaching the sensitive aluminum filament that records sound. It gives vocals a nice radio-ready buzz, but it shines especially well with instrumental recordings. Granted, it’ll sound more impressive with analog gear splayed out across your desk. Baby steps, though.