How to Prevent (and Treat) Nicks and Cuts While Shaving

No matter how often or infrequently you shave, your skin is never fully ready for that sharp blade.

Prevent-Nicks-and-Cuts-While-Shaving-gear-patrol-lead-full Fendrihan

No matter how often or infrequently you shave, your skin is never fully ready for that sharp blade — or 3-5 blades, if you’re using a cartridge razor. That’s also assuming your blade is sharp in the first place, because no skin is ever ready for a dull, cumbersome blade, either.

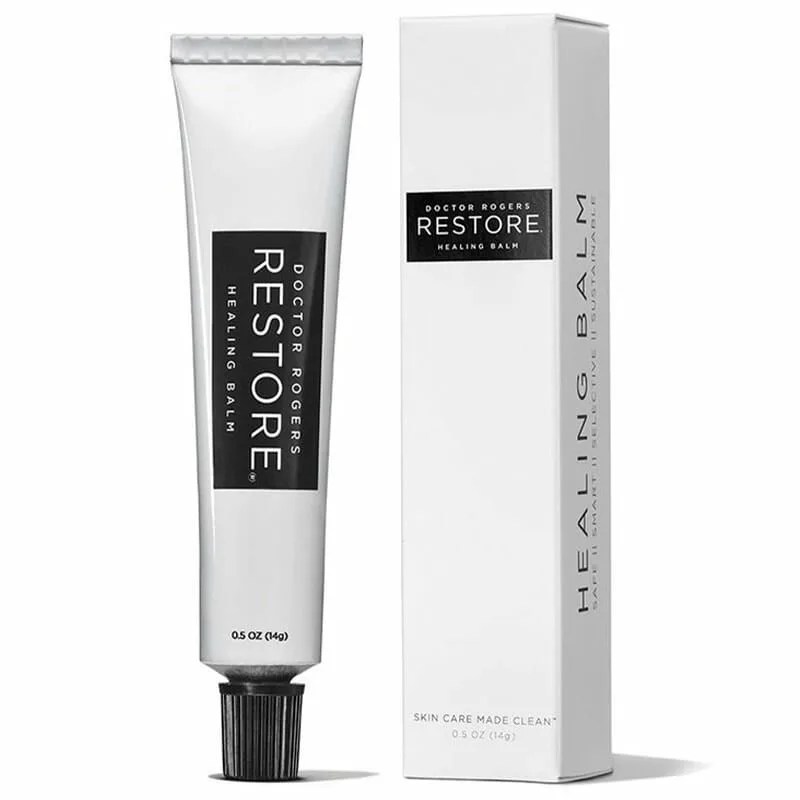
Nicks and cuts are resultant of improper preparation, hasty shave habits, poor razor hygiene and more. They’re entirely preventable, too, and the extra time and care spent will spare you the agony on the other end, not to mention the time it takes to clean up the blood and tend to the wound.

Below are our tips for preventing nicks and cuts, as well as the steps to take if you need to treat a fresh one. Act slowly with the preventative, and swiftly with the treatment. In both cases, you’re well on your way to smooth, healthy skin.

How to Prevent Shave Nicks and Cuts

Follow a full, slow shave regimen

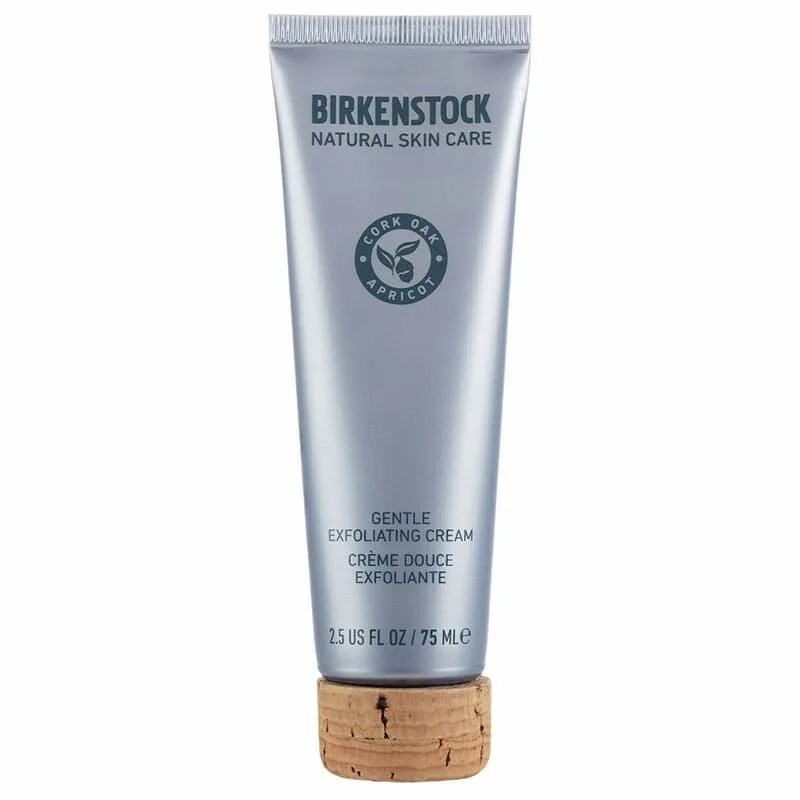
The single best answer to this question — How do I prevent nicks and cuts? — is to practice a thorough, slow shave regimen. It starts with the pre-regimen warm-water cleanse, and the subsequent application of skin-nourishing pre-shave oil, both of which are essential in making your skin receptive to the blade, and the same for the hairs you’re about to shear. And more than all, go slow. Many accidents can be avoided by simply taking the right amount of time for each step, and making no haste.

Brickell-Pre-Shave-Oil-gear-patrol

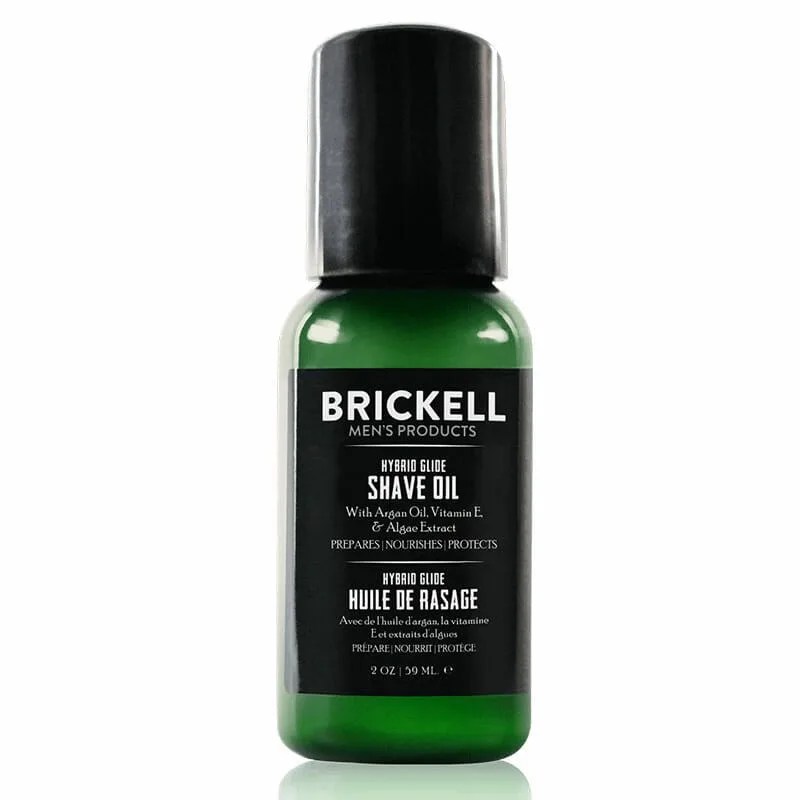
Pre-Shave Oil by Brickell $27

Maximize razor glide

These pre-shave steps don’t only assist your skin. That warm splash and nourishing pre-shave oil also slick the skin and give the razor an easy, smooth surface over which to glide. Two other ways to reduce blade friction are to trim your whiskers down to a stubble before you shave — to minimize razor drag — and to use a gentle face scrub (or dual scrub/cleanser) at the start of your regimen, to buff away dead, rough skin. This also prevents razor dragging and friction, in addition to keeping pores from clogging.

Birkenstock-Gentle-Exfoliating-Cream-gear-patrol

Gentle Exfoliating Cream by Birkenstock $42

Steady your hand

If you give your skin the proper preparation and lubrication, then you don’t need to apply much pressure while shaving. The blade should glide smoothly over everything, and you can avoid cutting open your skin as a result.

If you shave with a safety blade, the angle at which you shave is also imperative to a close, smooth, nick-free shave. The magic number is 30 degrees, to be exact. Start by pushing the rounded end of the safety head against your skin, then tilt it inward towards yourself — slowly — and the moment the razor touches your skin is more or less 30 degrees. Apply very little pressure, allowing the weighted razor to manage the pull for you.

Fendrihan-Double-Edge-Safety-Fazor-gear-patrol

Double-Edge Safety Razor by Fendrihan $45

Practice good razor hygiene

How you store and clean your razor plays a big role in whether or not you get a clean, irritation-free shave. But the other part of a hygienic shave, and one that can prevent nicks and cuts, is proper razor replenishment. You need to replace your blades every 6-8 shaves to prevent it from growing dull and dragging against the skin. (Or replace it every 2-3 weeks, whichever comes first.)

How to Treat Shave Nicks and Cuts

1. Apply a warm press

First, apply pressure and warm water to the site of the cut. This helps prevent immediate infection and slows blood loss. After 30-60 seconds, small cuts should have clogged and you can proceed with the next steps.

2. Follow that with a cold splash (and maybe ice)

Just as you would after any shave, splash cold water on your face to close your pores. Then, target the nick or cut with an ice cube, applying for 30 seconds to constrict blood vessels.

3. Disinfect immediately

Now you need to disinfect the cut entirely. Use witch hazel, a bacteria-fighting post-shave agent, or alum block (also known as a styptic block or pen) — but nothing with alcohol or over-drying astringent.

Mario-Badescu-Witch-Hazel-Toner-gear-patrol

Witch Hazel Toner by Mario Badescu $14

SheaMoisture-Tea-Tree-Oil-Post-Shave-Elixir-gear-patrol

Tea Tree Oil Post-Shave Elixir by SheaMoisture $10

Clubman-Styptic-Pencil-gear-patrol

Styptic Pencil by Clubman $3

4. Apply a dense balm

Again, this step exists in any shave regimen, and it should not be overlooked now. It neutralizes the potential for infection from the shaving process, and it creates a nourishing but defensive layer atop the skin. This “shield” prevents everyday toxins and bacteria from getting into the cut.

5. Spot check with balm

Your nick might benefit from an extra coat of nourishing balm — a liquid bandaid, if you will, and potentially even an actual bandaid — to prevent any particles, toxins, or bacteria from accumulating. This will also expedite the healing process. Use a non-petroleum emollient — sometimes even a lip balm works effectively if it hasn’t already graced your not-so-sterile lips (or any others’).

Doctor-Rogers-RESTORE-healing-balm-gear-patrol

RESTORE healing balm by Doctor Rogers $30

Note: Purchasing products through our links may earn us a portion of the sale, which supports our editorial team’s mission. Learn more here.