Is There a Right Way to Repair a Ripped Rain Jacket? Yes and It’s Shockingly Simple

From hole to whole.

a person repairing a hole in a jacketPhoto by Chase Pellerin for Gear Patrol

Every product is carefully selected by our editors. If you buy from a link, we may earn a commission. Learn more

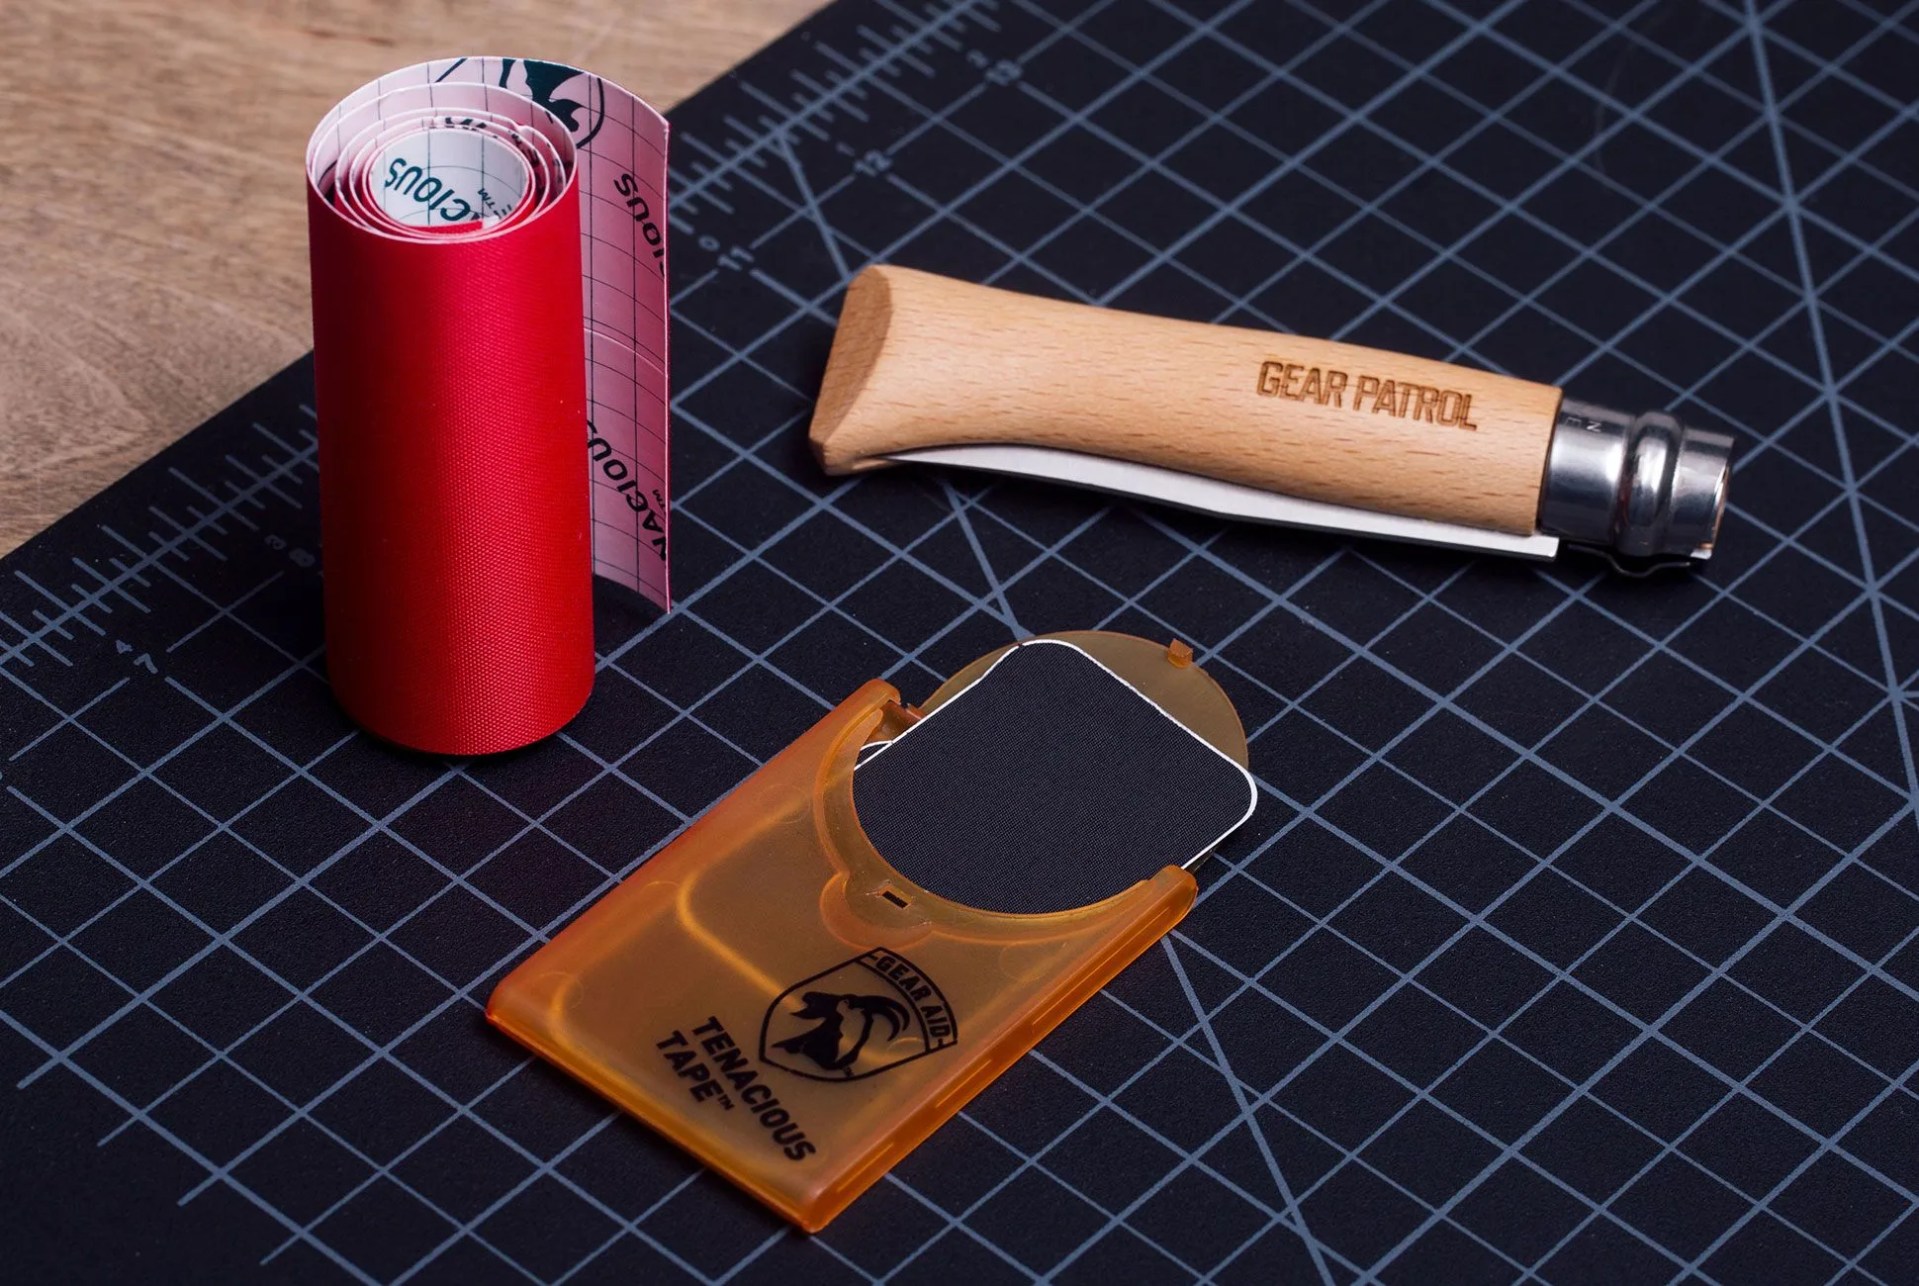
Repairing a rip in your rain jacket can save you a ton of coin, and it’s better for the environment to keep a jacket’s worth of plastic out of the landfill. It’s also dead-simple. With the right tools and know-how, even the least DIY-capable person can repair a rain jacket in about 20 minutes.

Step 1: Assess the damage

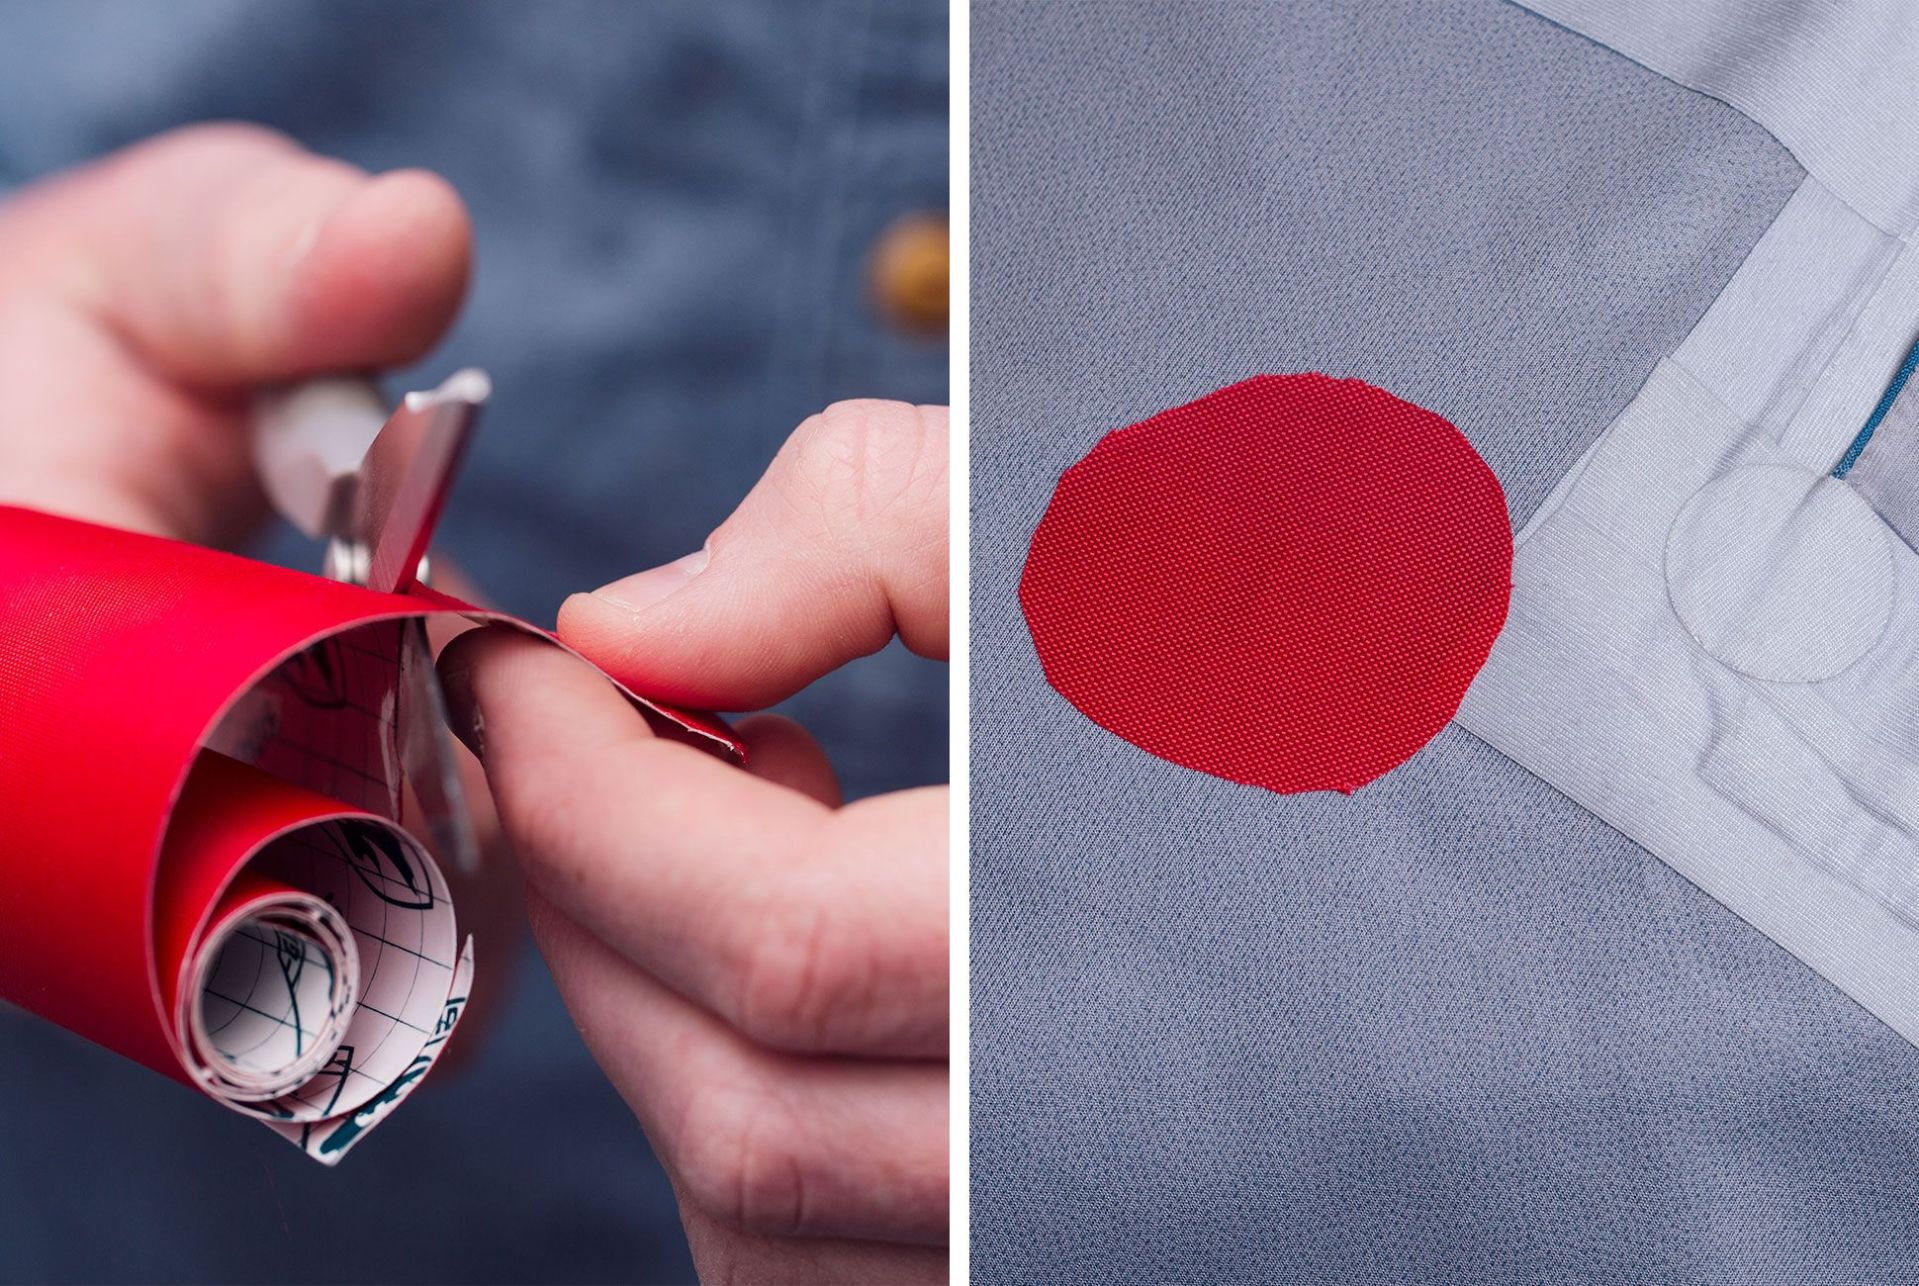
If it’s only a small tear (about the size of a quarter), you’re in luck: This is much easier to repair, and chances are it will be a lasting fix. For a larger tear (bigger than a quarter), you still have a shot.

a quarter sitting on a jacket with a hole next to an image of a person cutting a patch to repair it
Tears smaller than the size of a quarter have a higher chance of success.
Photos by Chase Pellerin for Gear Patrol

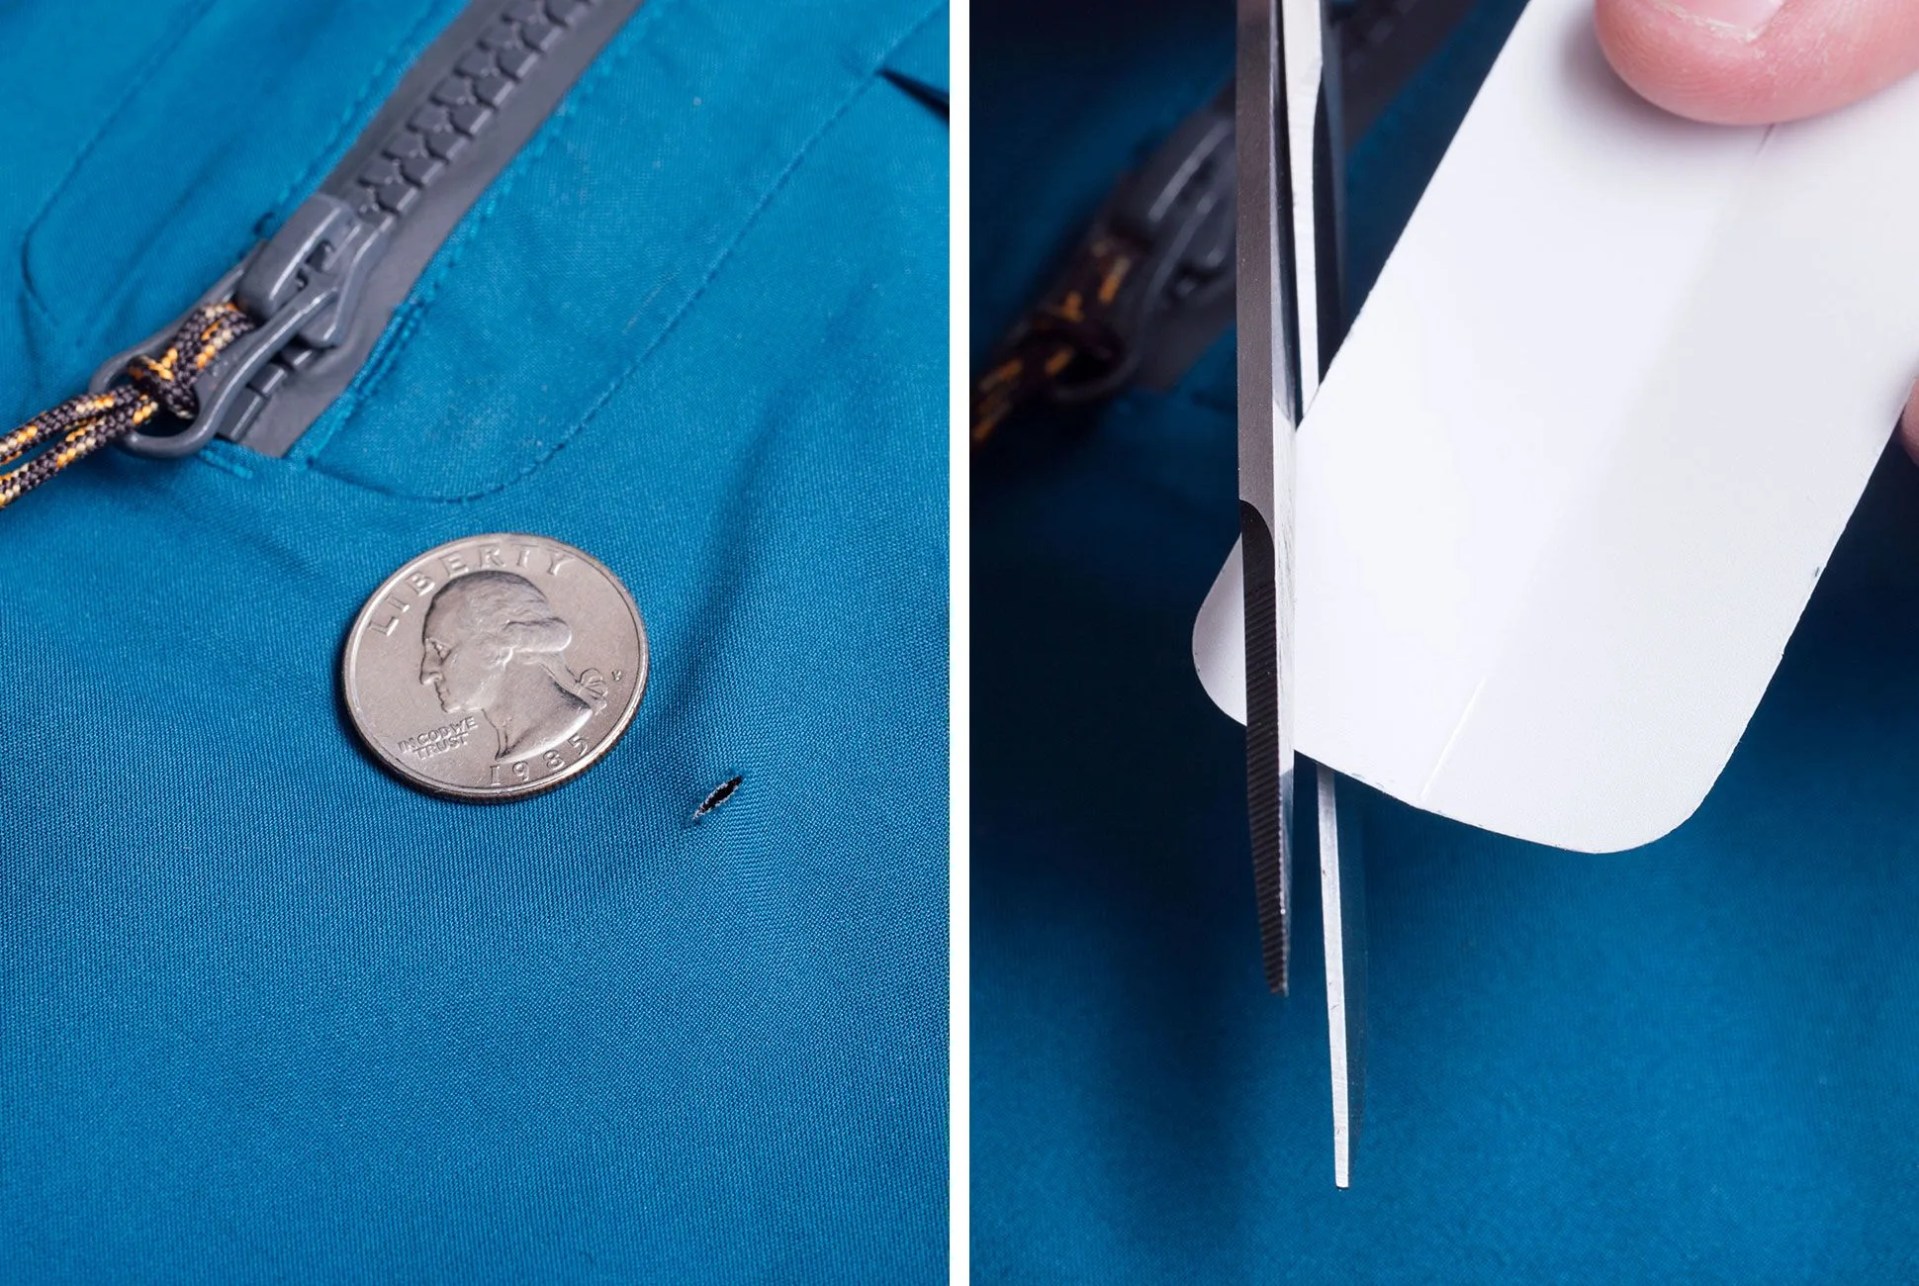
Begin by cleaning up any loose fibers with scissors. Use this time to inspect the lining of your jacket. If the lining is peeling or delaminating, then chances are your jacket isn’t worth saving.

If you can, take your jacket to a recycling center. Most Patagonia stores and some other gear shops accept well-loved rain jackets and will recycle them. Also, keep an eye out for abrasions and high-wear areas on the face fabric of the jacket, as those will be locations of future repairs.

Step 2: Clean your jacket

If you haven’t washed your jacket in a while, throw it in a washing machine. Not only does regularly washing your jacket with a specially formulated detergent prolong its lifespan, but it also gives you the opportunity to re-waterproof the jacket.

Step 3: Apply Tenacious Tape on the outside of the jacket

Tenacious Tape is a type of gear-repair tape engineered to mend rips, tears and punctures technical outdoor apparel and gear (like tents). It comes in rolls (better for larger tears) and patches.

How-to-Repair-a-Ripped-Rain-Jacket-gear-patrol-buying-guide
Tenacious Tape comes in many colors and two forms: rolls and patches.
Photo by Chase Pellerin for Gear Patrol

Peel the backing from the Tenacious Tape and carefully apply it to the outer fabric of your jacket. As you press down, start in the center and work your way out. This will help to avoid air bubbles.

For a large tear, consider using a needle and thread before patching or taping. If you aren’t any good at sewing, this is best left to the professionals. Take the jacket to a tailor or seamstress to have the tear stitched back together. This can help make for a stronger repair, but if you aren’t careful, you can further damage your jacket.

Step 4: Repeat on the inside of the jacket

While not completely necessary for small tears, adding a patch on the inside of the jacket can help to seal out water completely and make for a lasting repair. For a larger tear, this step is mandatory.

a person repairing a jacket with tenacious tape
Allow the patch to set for 24 hours before wearing it. This increases the chances that it will stay on.
Photos by Chase Pellerin for Gear Patrol

Once the inner patch is applied, allow it to set for 24 hours before wearing it.

, ,