How to Split Wood the Old-Fashioned Way

Throw on your buffalo plaid flannel, some Bean Boots and Duluth Trading Post pants.

howtochopwood-gear-patrol-LEAD-full3 Henry Phillips

There is perhaps no more manly a feeling than holding an ax high above your head and swinging down with all of the strength you can muster. This is the approach that many take when they are trying to split wood with an ax, but that’s not exactly how you should go about chopping wood. As Nick Zdon, Best Made Co.‘s resident ax expert and wood splitting aficionado, says, “It’s 100 percent accuracy.” Technique is crucial and where you strike and make contact with the wood has more to do with your chances of splitting the wood than how many protein shakes you had last week or how many small children you can bench press in one go. To find out the recommended technique, we asked Zdon to walk us through what it takes to successfully split logs that you can be proud to bring back to your campsite.

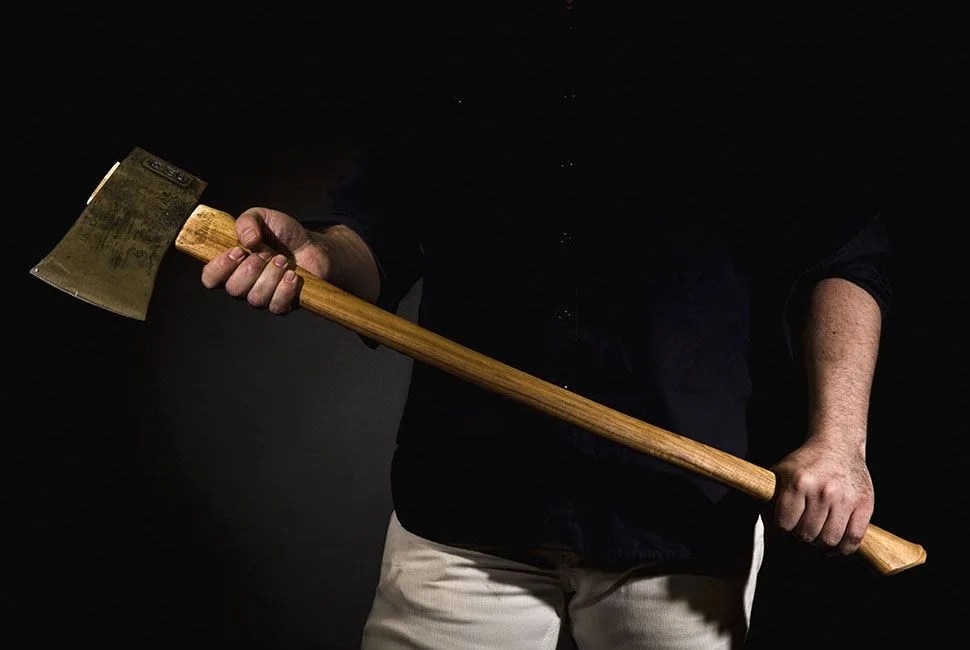
1. Get a good ax and make sure it’s sharp. Having a quality, sharp ax is key to a successful split. Zdon recommends a 36-inch handle with a 4-pound ax head (Zdon used a Best Made Co. Felling Ax for this demonstration). As an unofficial test to see whether or not the ax is sharp enough, cut through a piece a paper. If the cut is clean and easy, you are good to go. “Or you can use your arm,” Zdon says (to shave the hairs) — though that isn’t recommended.

If your ax is dull, use a sharpening stone with mineral oil. The mineral oil helps to “lubricate” the ax and keeps the metal shavings from binding and clogging the stone. Zdon likes to use a sharpening stone with Soft Arkansas stone and Black Arkansas stone on his axes. Use a back-and-forth “sawing” motion working your way up and back on one side of the blade. Then flip the blade over and do the same on the other side.

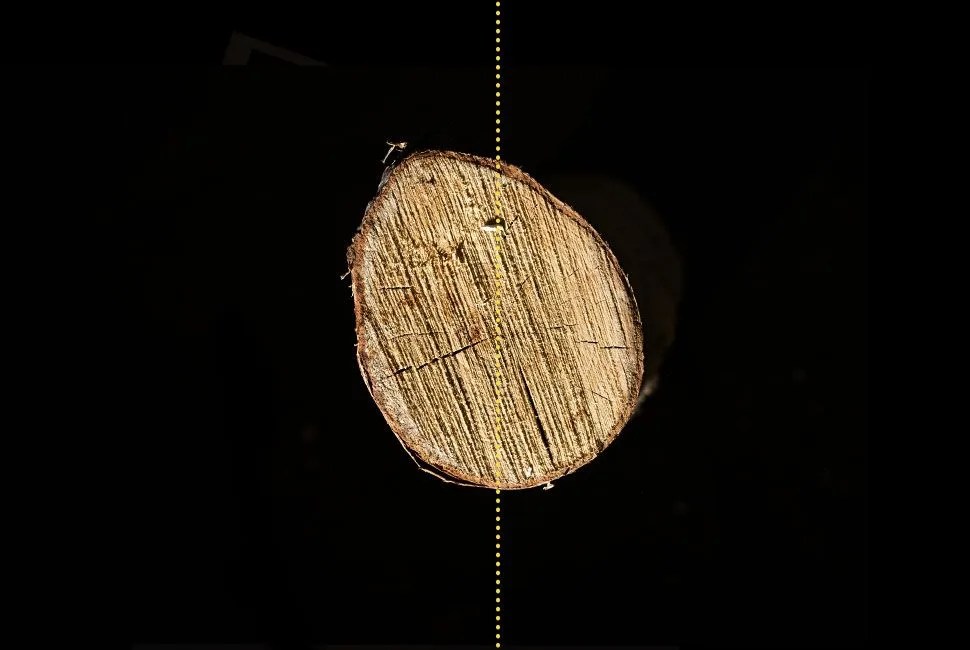
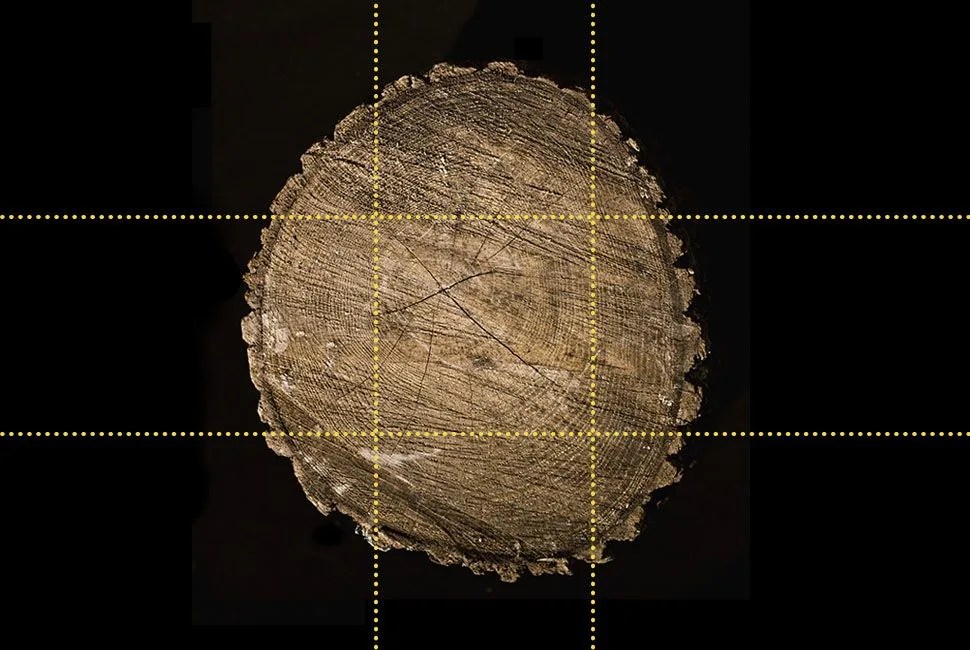
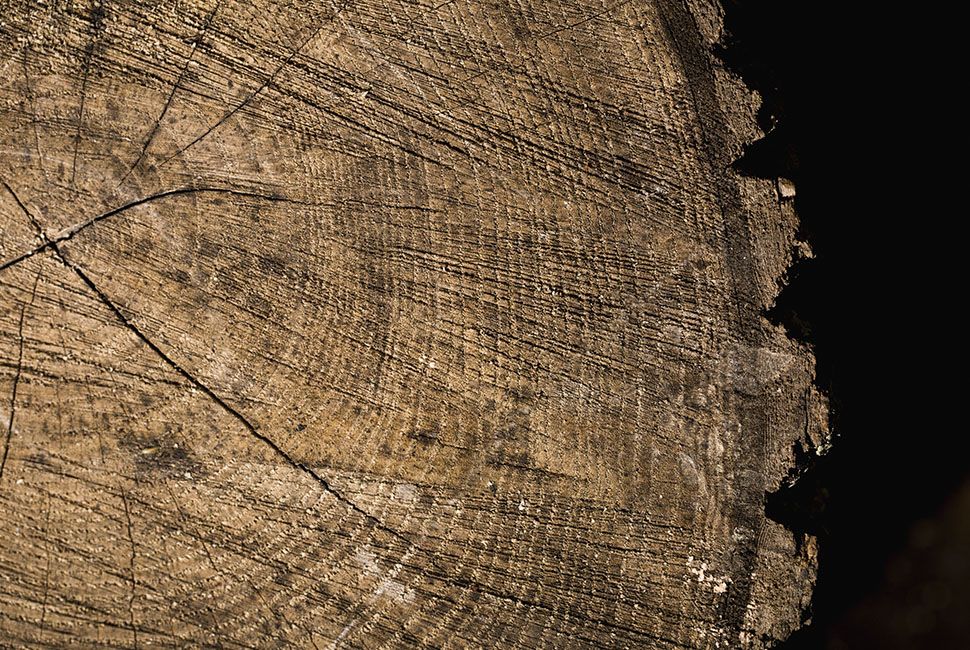
2. Pick your wood. Picking the right wood is an important part of the process. If you are looking to stock your woodpile with BTUs for your fireplace, using seasoned hardwoods is recommended. Seasoned wood has been cut down into smaller logs and left to dry out, covered, for about six months to a year.

Take into consideration what you will be using the wood for. If you are going to be putting it in your wood-burning stove, be sure to measure the size of the wood that will fit. This will determine both the size of the log you are splitting, and how many times you are going to need to split the log. To start out, Zdon recommends splitting a log roughly the diameter of a large grapefruit (about 6 inches) and about as long as your forearm. “The shorter the pieces, the easier they are to split,” he says.

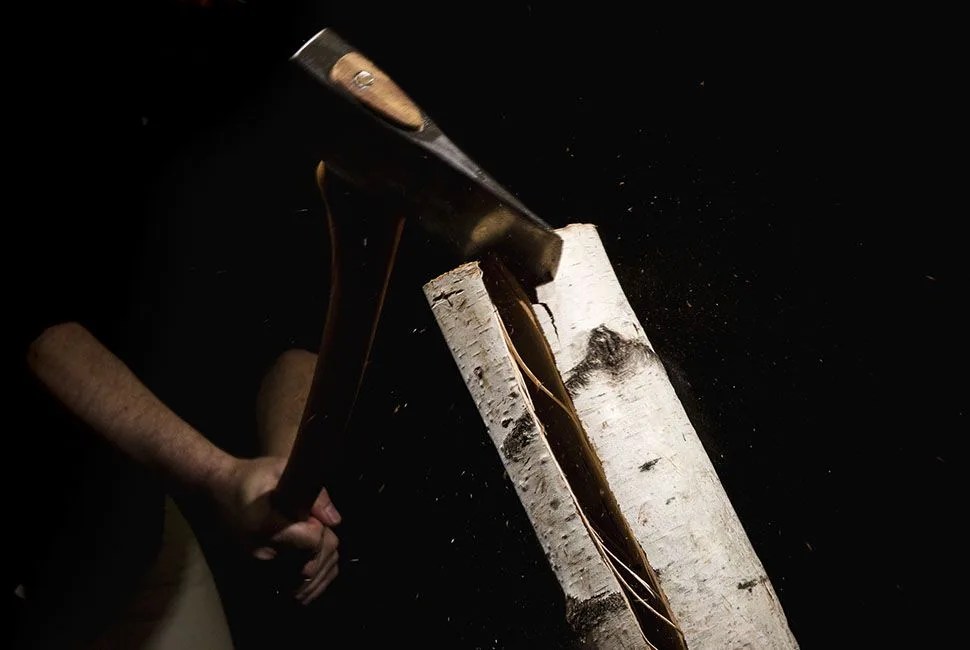
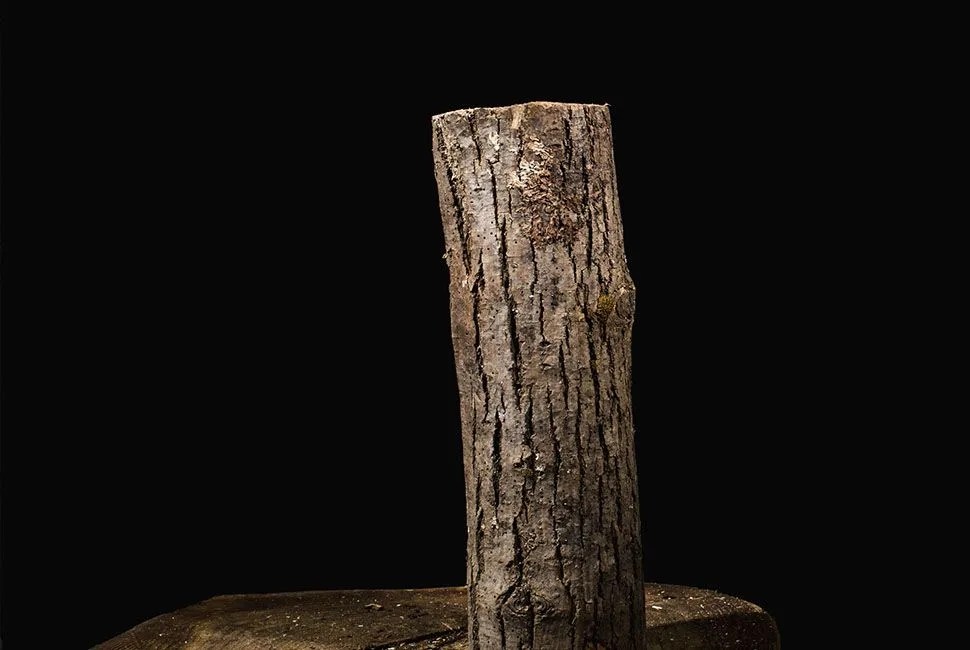
3. Place your wood on a stump or large base. The base that you place your log on should be sturdy — a large stump is ideal. Place your log on the stump close to the edge that is farthest away from you. This will give you plenty of space, if you do happen to miss, where the ax can sink into the stump instead of your leg. Make sure that the log sits sturdily on the stump so that it doesn’t fall over while you are swinging.

The Tools of the Trade

howtochopwood-gear-patrol-sidebar

Best Made Co. The American Felling Axe, $162
Best Made Co. The Pocket Stone, $42
Oil Can with Mineral Oil, $13

4. Get in your stance and grip the ax. Grip the ax with both hands. Your dominant hand should be the one gripping the ax near the head. Your non-dominant hand should grip the ax at the end of the handle. It is important to keep a relaxed grip, “but you don’t want it flying out of your hands,” Zdon says. Measure out, with the ax extended, how far away to stand from the log. There is no steadfast rule for this, but if you stand too close to the log you risk missing the head of the ax and striking with the handle — which could result in breaking the ax. If you stand too far away, you could miss the log and stump, increasing your chances of bodily injury. Measure twice, cut once.

Take an athletic stance with your feet about shoulder width apart. Zdon recommends using the twist method, in which the head of the ax makes contact with the wood at about a 30-degree angle. This technique uses the leverage of the ax head to split the wood.

5. Swing the ax straight down. As you pull the ax up above your head, slide the hand that’s closest to the ax head down to about 3/4 of the way down the handle. This will likely happen naturally as you pull the ax up above your head, but if you try to pull the ax up above your head with one hand at the ax head and one at the base of the handle, you will be in an awkward position to swing the ax and won’t generate any power. When you pull the ax up, the head of the ax should already be at about a 30-degree angle. Make sure that everything is in line — the ax is straight above your head, and in line with the log you are attempting to split.

When you swing the ax down, Zdon says that it is about 50 percent gravity and 50 percent power. You aren’t trying to throw all of your strength into it, but you want a good solid swing. Focus on making contact with the wood at the correct angle and swinging straight down. When you make contact with the wood, your hands should be stacked on top of one another, like you’re holding a baseball bat.

6. Split larger logs. If you are splitting a log that is greater in diameter than about 6 inches, Zdon recommends inspecting the log (this is good practice for smaller logs as well, but less crucial). Look out for knots in the wood and try to work around them. Start towards the edge of the log so that you aren’t trying to split it in two. Instead, take pieces off one at a time. Work your way around in a circle, splitting off pieces as you go.

7. Clean up. As with any job, cleaning up afterward is good form. “It’s not done until you stack it,” Zdon says. Tidy, neatly stacked piles are the name of the game and help to keep your wood organized and readily available. In addition, if your ax head is wet, dry it before putting it back in its case to prevent it from rusting.

Note: Purchasing products through our links may earn us a portion of the sale, which supports our editorial team’s mission. Learn more here.