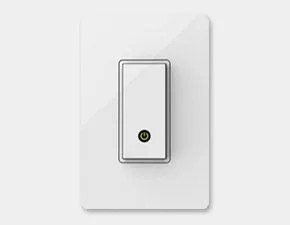
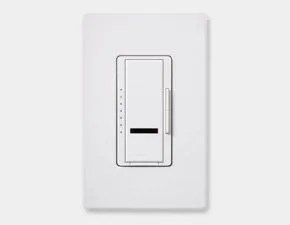
Science continues to prove that lighting affects our energy level, mood and sleep patterns more than we think — plus, it plays a tremendous role in altering the look and feel of interior spaces. Swapping out a traditional on/off switch for a dimmer is a fast home upgrade that provides immediate impact in any lighting scenario. There are also plenty of other more advanced options on the market today that provide added conveniences like the ability to adjust or shut off lighting through a remote or connected device thanks to advances in home automation.
Let’s be clear: electrical work should always be approached with caution. But installing a new light switch is a basic skill anyone can master. We’ll show you how it’s done.

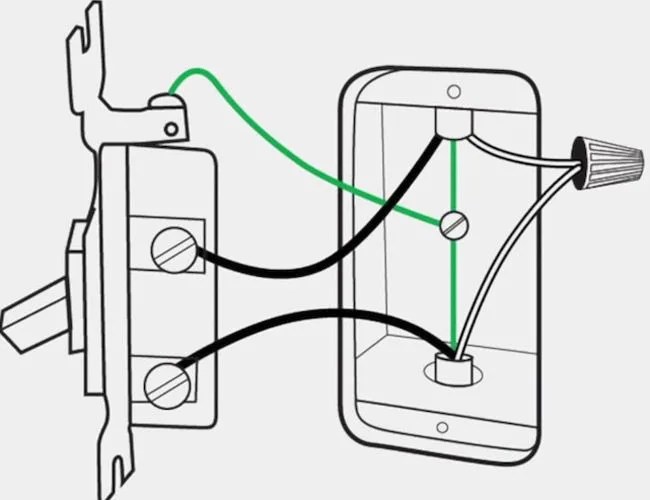
1 Count your switches. Typical 120-volt switches that turn lights on and off from one location are technically described as single pole. A double pole switch may sound like the logical step for a light controlled by more than one set of switches, but that’s not the case. Double pole switches simply feature two additional brass terminals (for a grand total of four) that allow them to control 240-volt circuits, usually for appliances or receptacles that require extra juice. Lights that are controlled by two sets of switches actually require a three-way switch.
Make sure you purchase the right switch (and bulbs) for the right job. A single pole switch uses a single pole dimmer. In the case of installing a dimmer to replace a three-way switch, you’ll need to purchase a three-way dimmer and one three-way switch. This will allow you to dim the lights from one location and turn them completely off or on from the other. Note that ordinary dimmers are not intended for use with fluorescent lights or appliances like ceiling fans. Look for CFLs with “dimmable” on the label to make sure you’ve got a match.
2 Get your tools. Exact tool lists will vary between jobs, but having all of these items at hand is never a bad idea.
- 1. Phillips head screwdriver
2. Flathead screwdriver
3. Long nose pliers
4. Wire strippers
5. Wire cutters
6. Voltage tester
7. Electrical tape
8. Flashlight
9. Masking Tape
10. Smartphone/Camera