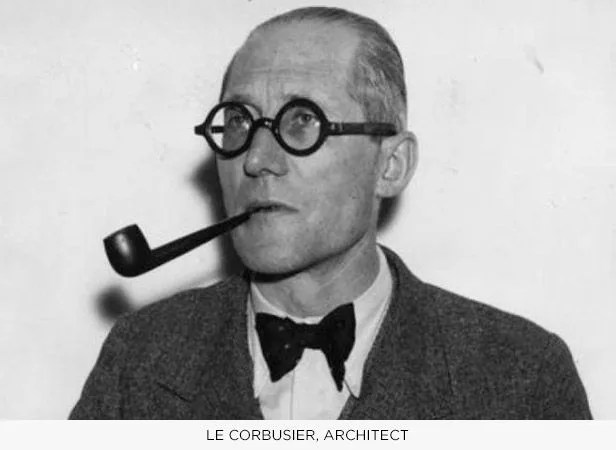
A Primer on Pipe Smoking

Pipe smoking is a gentlemanly art that’s been lost.

Pipe-Smoking-Gear-Patrol-Lead-Full

There was a time and place for men’s accessories like dress hats, walking sticks and pocket watches. In modern America, there’s little place for these — modern style has, for the most part, moved on. Similarly, smoking a tobacco pipe seems antiquated, like something relegated to Ivy League profs who wear tweed jackets, drive Jaguar E-Types, read the works of Tolstoy, journal with fountain pens and drink port after every dinner. This isn’t you and me (though it sounds pretty good, actually). But tobacco pipe smoking is a pastime worth reinvigorating. Packing and smoking and maintaining a pipe is a wonderfully different kind of tobacco experience from cigarettes and cigars, one that’s equal parts detailed method and total relaxation. Here’s how to get started.

Why Smoke Tobacco in a Pipe?

Pipe smoking is about process and experience. It requires more skill to execute properly, and results in a taste markedly different from cigars. Another advantage — though it’s still considered smoking, legally speaking — is that it’s generally more socially acceptable than cigarettes or cigars since it’s deemed a more distinguished, old-school practice. Aromas tend to be more pleasing, and frankly it reminds of lot of people of their own fathers smoking pipes, a memory that triggers nostalgia.

Pipe-Smoking-Gear-Patrol-Ambiance-1

Picking a Pipe, Tobacco and Accoutrements

Starting out, there is the temptation to go on the cheap, since you’re not committed just yet. But if pipe smoking isn’t done right, it’s not worth doing at all. Ditch the urge to buy a behind-the-counter corn cob pipe from your local drugstore; you’re not General Douglas MacArthur.

The best process is to go to your local tobacconist (pick a reputable cigar shop) to see their pipe selection for yourself. Feeling the pipes in your hand and taking a firsthand look at them will help you buy wisely (just don’t put it in your mouth). The tobacconist should be able to make good recommendations, as well. A briarwood pipe is a good way to begin; they come in all shapes and prices, plus they last long and impart good tastes and aromas if well cared for. Avoid pipes from the bargain basket, despite the fact that they’re probably a steal at $15 a pop. Keep in mind that they tend to be used steals.
Pipe-Smoking-Gear-Patrol-Ambiance-Offset

It’s wise to stay away from meerschaum (fossilized sea foam) for your first pipe, since they’re pricey and mostly for collectors. Look for a straight pipe with a conventional bowl. Styles like Billiard, Bulldog or Apple are simple but elegant and won’t make you look like a Sherlock Holmes poseur. Brands such as Peterson of Dublin, Savinelli and Dr. Grabow are solid choices, and their basic pipes won’t break the bank. Look to spend anywhere from $30 to $50.

Now, choosing your pipe tobacco is as important as the instrument in which you’ll smoke it. You’ll likely find an array of pipe tobacco in jars, pouches and cans at your tobacconist. Avoid really strong-smelling aromatic pipe tobacco that fills the air with cherry, maple syrup or rum scents. Yes, they’re fragrant, but they don’t taste anything like they smell. They bear a lot of similarity to dipped or flavored cigars that adulterate the pure tobacco taste and can discount the experience. These also tend to burn hot, making the taste of the tobacco bitter and unduly strong on the palate.

Start with something on the light-to-medium-bodied side from Balkan, McClelland or the very light Lane 1Q blend. None of these are expensive, nor are they overbearingly strong. Once you’re more established, you can transition to the more expensive and more complex blends.

The same goes with accessories for pipe smoking. Keep things affordable, since even the inexpensive pipe lighters and tampers work just as well as the pricey stuff. A basic vinyl pouch to keep your tobacco moist will only cost you a few bucks. Another required accessory is a pipe lighter, preferably one that uses butane instead of lighter fluid for minimum effect on the flavor of your smoke. A pipe lighter has a highly adjustable flame that fires horizontally at the long edge of the body so it can be aimed into the pipe bowl. Then there’s the tamper, an essential tool for the pipe smoker that both packs and loosens the tobacco in the bowl. You can spend a small fortune on a fancy-looking one or simply get one that has the basics: a tamper, reamer/cleaner and pick. The tamper compresses the tobacco, a reamer/cleaner clears out the pipe bowl and a pick loosens the tobacco. Spend under $10. Finally, get yourself a bundle of pipe cleaners.

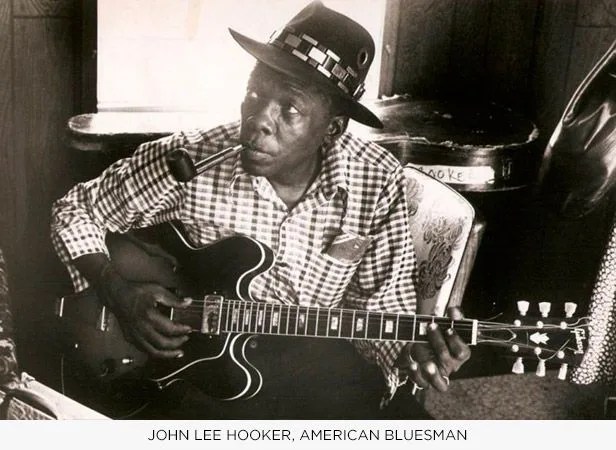
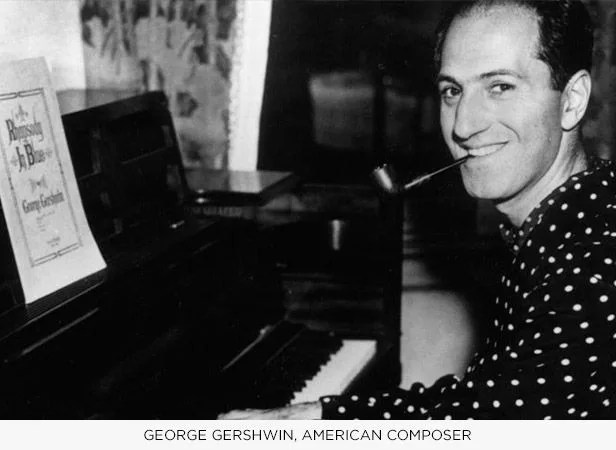
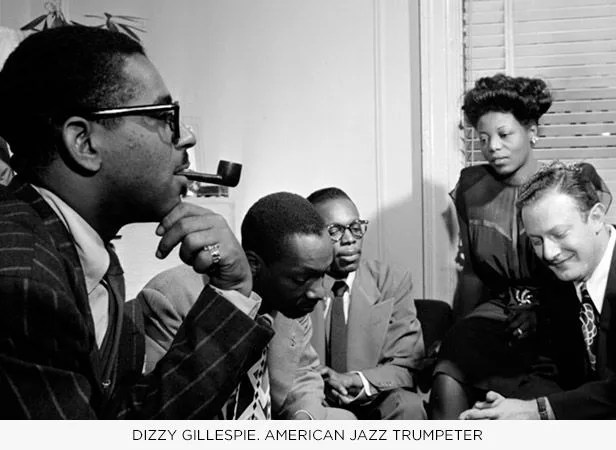
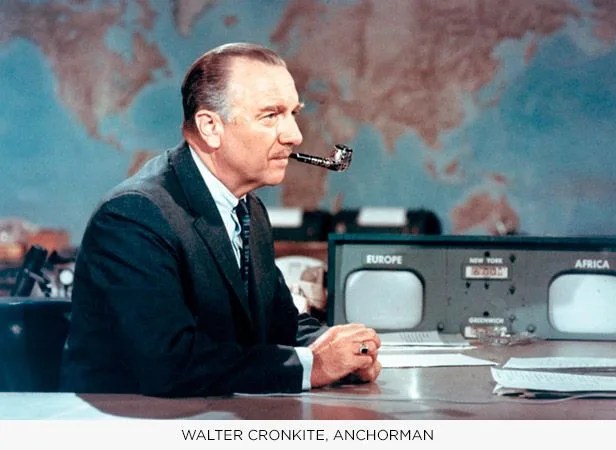
Pipe Smokers Of Note

Packing the Tobacco

Folks will tell you dozens of different ways to pack the tobacco in the bowl, but the basics are this: you’re aiming to create optimal air flow, but packing in such a way as to avoid having to re-light time and again. It’s a three-stage process, but it’s worth doing right for an enjoyable, trouble-free smoke.

Pipe-Smoking-Gear-Patrol-Ambiance-2

First pack: Take a pinch of tobacco from your tin or pouch (make sure it’s moist but not wet). Dribble some into the bottom of the bowl and then insert the rest. It should loosely fill the bowl. Use your tamper to press it down until the bowl is half full. Quickly check the draw to make sure you’re getting flow. There shouldn’t be much resistance — unless you packed it too tight. If you have, use the pick on your pipe tool to slightly loosen.

Second pack: Add a second pinch on top of the first layer, then use your tamper again to pack it down to about 2/3 height in the bowl. Check the draw again. It should have a bit more resistance, but still flow freely.

Third pack: The final pinch should be more tightly packed than the first two. This will ensure that the tobacco embers stay lit once you put flame to it. Tamp it down until it’s at or just below the rim. Check draw again. You shouldn’t have to work too hard. If you find that it’s tough to get flow, use the pick again to loosen things up a little at a time until you get your ideal draw. Keep in mind that you probably won’t get this process right the first time, but with practice, you’ll find what works best for you.

Baby, Light My Fire

Your initial lighting is to condition the entire pack by creating a top layer of ash and heat within the bowl. If you only light the top, the tobacco will extinguish and you will have to relight, making your smoke hot and bitter. Aim the tip of the flame into the bowl and puff lightly to get that top layer nice and ashen. Try not to char the rim of the pipe. Some charring is inevitable, but avoid it if you can. Once the top layer is ashen, you can add a bit more flame and start to draw heat down into the bottom of the bowl, but don’t draw too hard and don’t inhale too strongly.

Pipe-Smoking-Gear-Patrol-Ambiance-3

By now, the bowl should be well lit and you can proceed to enjoy your smoke. Cradle the pipe bowl in your first three fingers comfortably and puff in a relaxed manner. Take your time, so as not to generate too much heat in the bowl. Try to avoid having it go out on you, though, since the fewer relights, the better. You’ll find that your saliva will make its way into the mouthpiece and down into the bowl. That’s nasty stuff, and you don’t want your tobacco getting all juicy, so take the time to use your pipe cleaner to get into the stem/tenon (after separating it from the shank of the pipe) both during your smoke and whenever you’re finished.

As you smoke, the whole process will condition the bowl of the pipe by adding a layer of black carbon. Whatever you do, don’t try to clean it or scrape it out; the residue makes for a better smoking experience. Between smokes, allow your pipe to cool so you don’t beat it up with heat. Let it completely cool before you take it up again, and if you start to get hooked, it’s not a terrible idea to get a second pipe to back up the first one.