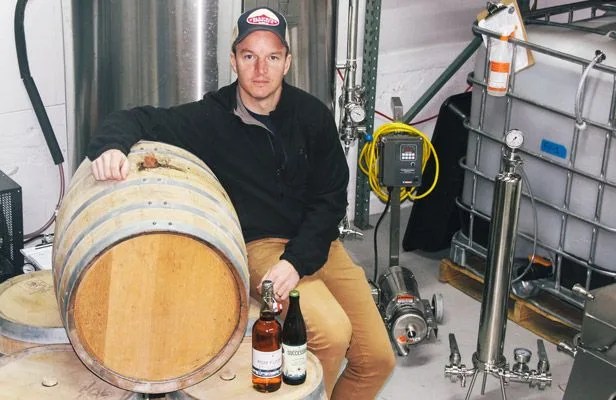
Everyone’s favorite season is around the corner. Soon, the northern leaves will start changing, last season’s Bean Boots will crawl out of the closet and cable-knit sweaters will once again be donned. Fall brings hot coffee in the mornings, cool nights, crisp air and a wardrobe of flannels and jeans. It’s also apple season, which means we’ll be drinking plenty of hard cider. The best part is, making your own is easy. But you should start early, because the whole process is going to take at least a month. With a little guidance from Jahil Maplestone, cofounder of New York’s own Descendent Cider Co., here’s how.
1Get your cider. To make cider yourself, you need the proper equipment. “A Breville juicer is not the right equipment,” said Jahil. If you do have a cider press, hit the local local orchard as soon as the season starts and pick some apples. One 40-pound bushel of apples will yield about three gallons of cider. Otherwise, buy local cider and support your local agriculture. Make sure the cider has no preservatives so that the yeast can do its job properly. Add the cider to a carboy or food-safe bucket that has been properly sanitized. If your cider has been pasteurized, you’re all set. If not, use a campden tablet to take care of the wild yeast. Consult your local home-brew shop to get the ratio right, as strength varies.
2Pitch yeast. If you’ve added a campden tablet, wait 24 hours. Then make sure your cider isn’t too cold. “Fresh-out-of-the-fridge cider will shock your yeast,” warned Jahil. Without properly working yeast, you won’t end up with hard cider at all. Once your cider is between 60 and 75 degrees, add one gram of Champagne yeast per gallon of cider. It’s optional, but you can also add a little yeast nutrient at this time to make sure you get a healthy fermentation.

3Add stopper with airlock and wait. Add your cork and airlock to the fermenter, keep it at room temperature (60 to 75 degrees) and wait. The fermentation should be visible after 48 hours; you’ll see bubbles rising to the top of the fermenter. If you don’t see bubbles, don’t panic. If you’ve sanitized properly and added the yeast, it’ll start in a couple days. This process should take somewhere between two and six weeks. After all the visible fermenting has stopped, wait one more week, then move on to the next step.
4Rack the cider. Sterilize your tubing and second carboy for racking. Move the cider from the first carboy to the second by carefully syphoning it off. Be careful not to disturb the sediment at the bottom or splash the cider, which will oxidize it. Syphoning off the cider makes it clearer, but you can also bulk age it in the second carboy for basically as long as you want (up to six months). At this point, you could add flavor, but Jahil doesn’t recommend it for first-time cider makers. “Once you’ve got the process down, then you can go nuts experimenting to see what you like,” he said. “Remember less is more. Don’t over do it.” You can and should do blending trials so you don’t ruin a whole batch if you botch the flavors.


