Is Your Family’s Old Cast-Iron Skillet an Heirloom-in-Waiting?

Vintage cast-iron skillets are smoother, lighter and highly collectible

cast iron skilletsPhoto by Chandler Bondurant for Gear Patrol

Among collectors, conversations about cast iron have a way of getting sentimental, and they often land in the same place: craftsmanship.

“Cast-iron pans used to be made by hand,” says Mary Theisen, an enthusiast-turned-businesswoman who travels the country in search of rare and collectible cookware.

In 2012, Thiesen founded a site called The Pan Handler, which sells her refurbished cast-iron discoveries for upward of $1,000 or more. (Trophy pieces of cookware can go for more than $20,000.)

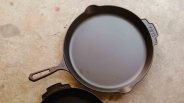
“Vintage pans are going to be lighter,” Theisen adds. “They have thinner walls. The cooking surfaces on most modern-day pans aren’t as finely polished.”

“The cooking surfaces on most modern-day pans aren’t as finely polished.”

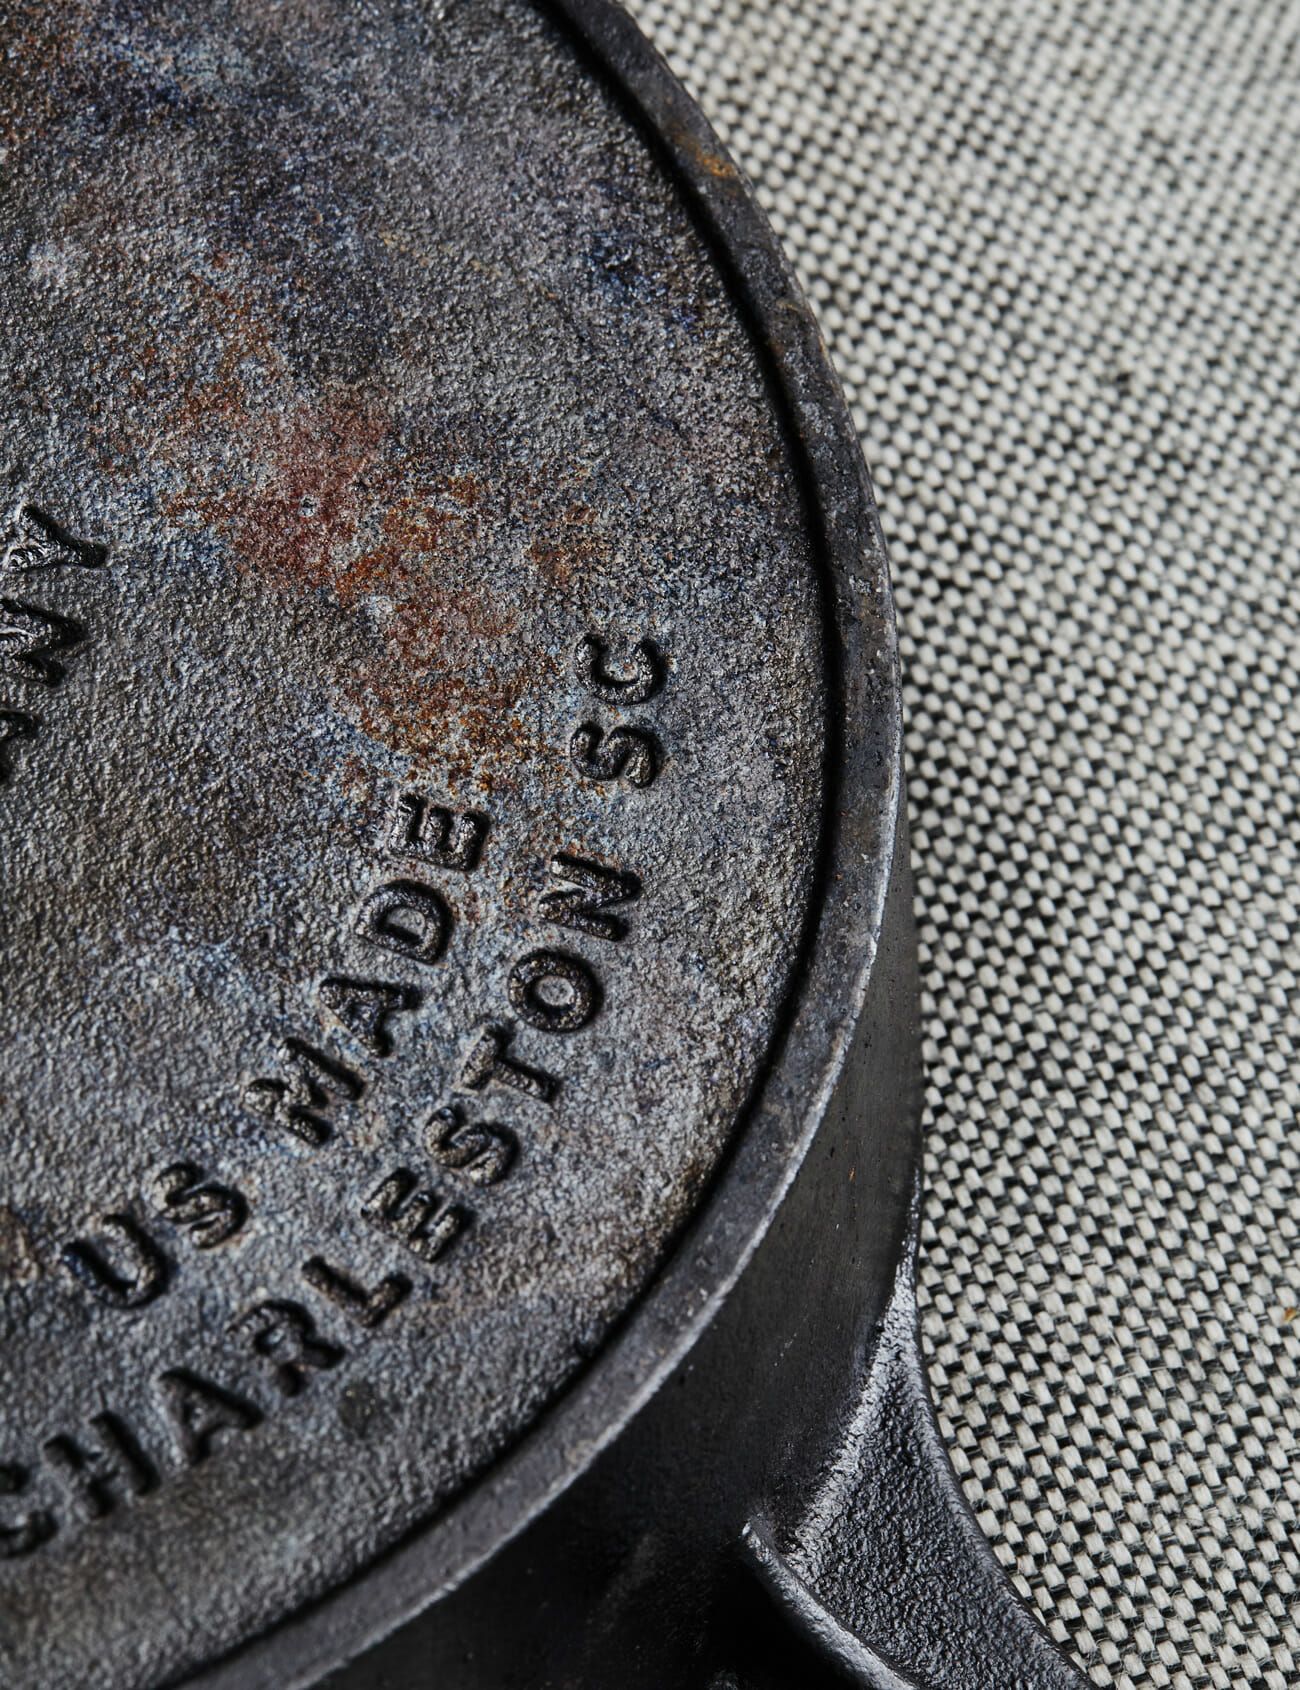
The value of an antique cast-iron skillet largely depends on the manufacturer. Due to rarity, names like Griswold, Wagner (recently rebooted) and Favorite fetch higher prices on the secondhand market.

That said, even unbranded cast-iron cookware can be desirable, since most brands in the first half of the 20th century followed the same manufacturing processes.

Cast-Iron-Heat-Ring-Gear-Patrol-Amb
Rust in and of itself is easy to address. Just be wary of pitting.
Photo by Henry Phillips for Gear Patrol

The first step in restoring an old pan involves evaluating the integrity of the pan and asking yourself, “Is it worth saving?”

For some, like Theisen, the answer goes beyond a pan’s monetary value, or even its serviceability.

“I’m taking pans that are sometimes over 100 years old and giving them new life,” she said. “Sometimes I feel like I’m helping preserve a part of American history.”

1. Evaluate the pan’s condition

There are five common problems with vintage cast-iron cookware: crud, rust, cracks, pits and warpage. If you’re on the hunt for a serviceable pan and care little about its collectibility, some issues matter less than others.

Hairline cracks, for example, still hold liquid and do not necessarily render a pan unusable. But long neglected pans can reach a point of no return, so tread with caution if purchasing one without knowledge of its origin.

“You’re taking a big gamble when you buy something with a lot of crud and rust because you don’t know what’s going to be under there,” Theisen says. “The iron may be heavily pitted. There may be cracks.”

Another common issue, of course, is warpage on the bottom of the pan, which occurs when spots of iron expand under extreme heat. “A little warpage is not a big deal,” Theisen adds. “But a pan that rocks or even spins just isn’t going to sit as well on your cooktop.”

2. Remove the crud

“My first step in cleaning is always a lye bath,” Theisen says. “But if you only have one pan, and just want to get it clean, I’d recommend Easy-Off.”

Wearing gloves, spray the pan with Easy-Off Oven Cleaner, following directions on the can. Enclose it in a jumbo plastic bag and let it sit for two days. Rinse the pan and test the leftover crud with dish soap and a stainless-steel scouring pad.


“Crud can be very tough to get off. Somebody could have used a pan for thirty years without ever cleaning it.”

“Crud can be very tough to get off,” Theisen says. “Somebody could have used a pan for thirty years without ever cleaning it.”

Ultimately, you should be able to scrub the crud off without a huge amount of physical exertion. If not, repeat this step.

3. Address the rust

Assuming the rust is not “really, really bad,” place the pan in a bucket and cover with a solution of equal parts water and white vinegar.

“It’s important to check it every thirty minutes,” Theisen says. “If it’s in there too long, the acidity of the vinegar will start eating away at the iron.”

Use a fresh stainless steel scouring pad to scrub away the remaining rust. The pan will be bare, and dark gray instead of black.

4. Season the pan

Preheat your oven to 450 degrees Fahrenheit. Turn the oven off and place the dry pan in the oven for one hour. Take it out and let it rest until cool enough to handle with an oven mitt.

Use a rag or paper towel to spread Crisco shortening around the surface of the pan, handle and all. Wipe clean, making sure to remove all the liquid.

“You don’t want it to look wet. If you have too much oil it’s going to smoke to holy hell.”

“You don’t want it to look wet,” Theisen says. “You might not think there’s oil on the surface, but there is. If you have too much oil it’s going to smoke to holy hell.”

Heat your oven to 500 degrees and bake the skillet, upside down, for another hour.

“This polymerizes the oil and bonds it to the cast-iron surface,” Theisen adds. “It gives you a hard, non-stick layer to cook on.”

,