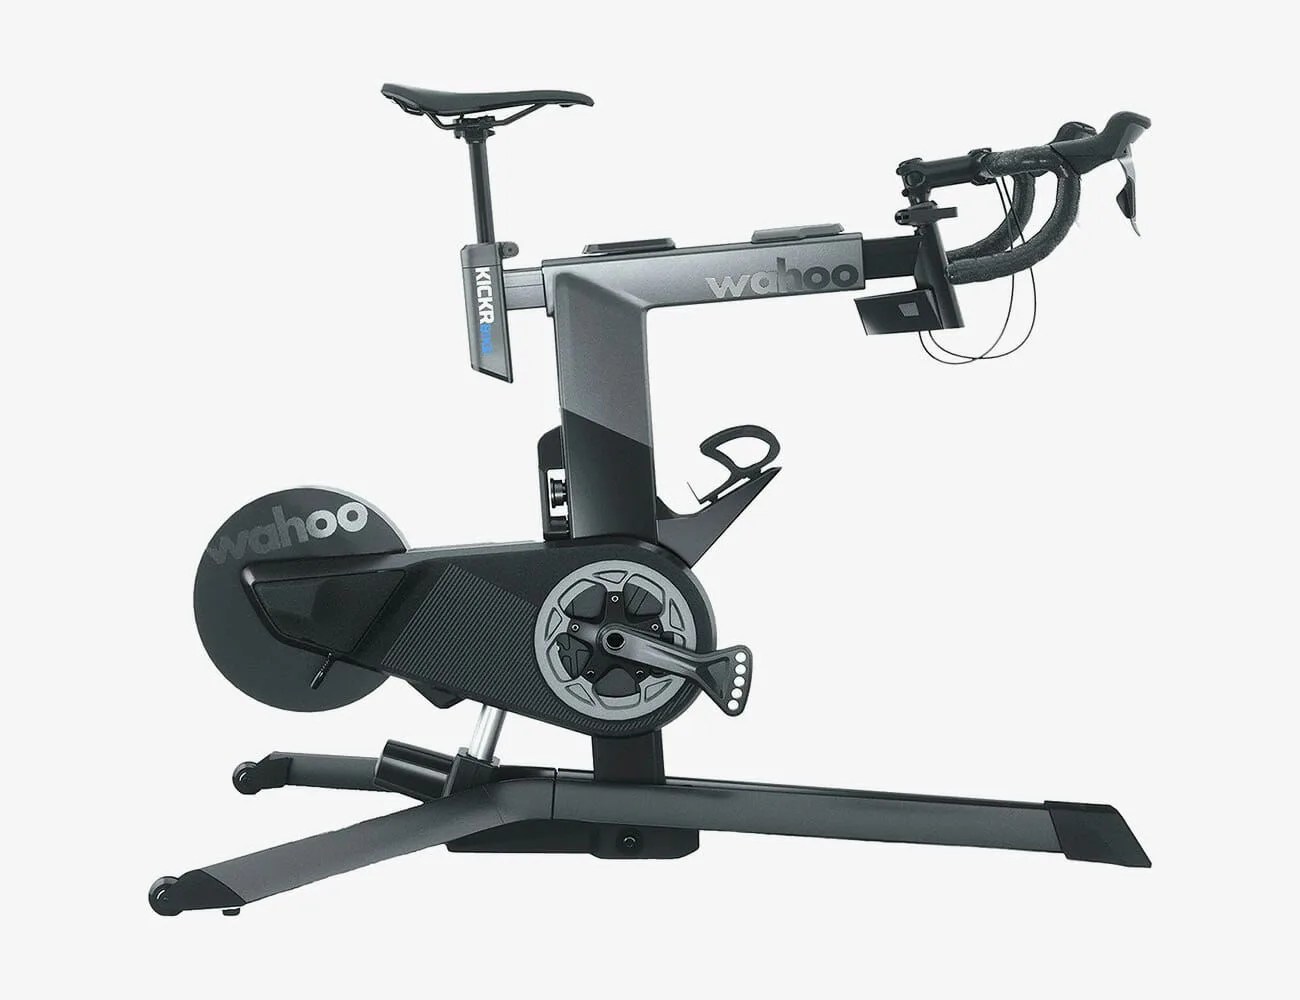
So you’re the proud owner of one of the most popular at-home fitness pieces, the indoor exercise bike. While today’s models and variations are more tech-riddled than ever before, one of the (many) benefits to indoor bikes is that they’re virtually plug and play. Sure, there’s some apps to download, minor assembly and quick start steps to be had, but what new toy doesn’t come with a few things to tweak?
Read More
Getting your indoor bike up and running may simple, but you’ll want to take setup a little more personal and get everything adjusted to your body. It’s tempting to hop right into training, but you’re less likely to stick to your newfound fitness routine if each workout leaves you cramped, aching and in a downright miserable mood. Plus, a well-fitting indoor bike can help you generate more efficient strokes and power output in your workouts, leading to better results (and higher scores on leaderboards if your bike is compatible with these services).
Every indoor bike’s adjustments can differ in terms of placement and structure, but below are a few key steps to help you achieve that optimal, cozy riding position.
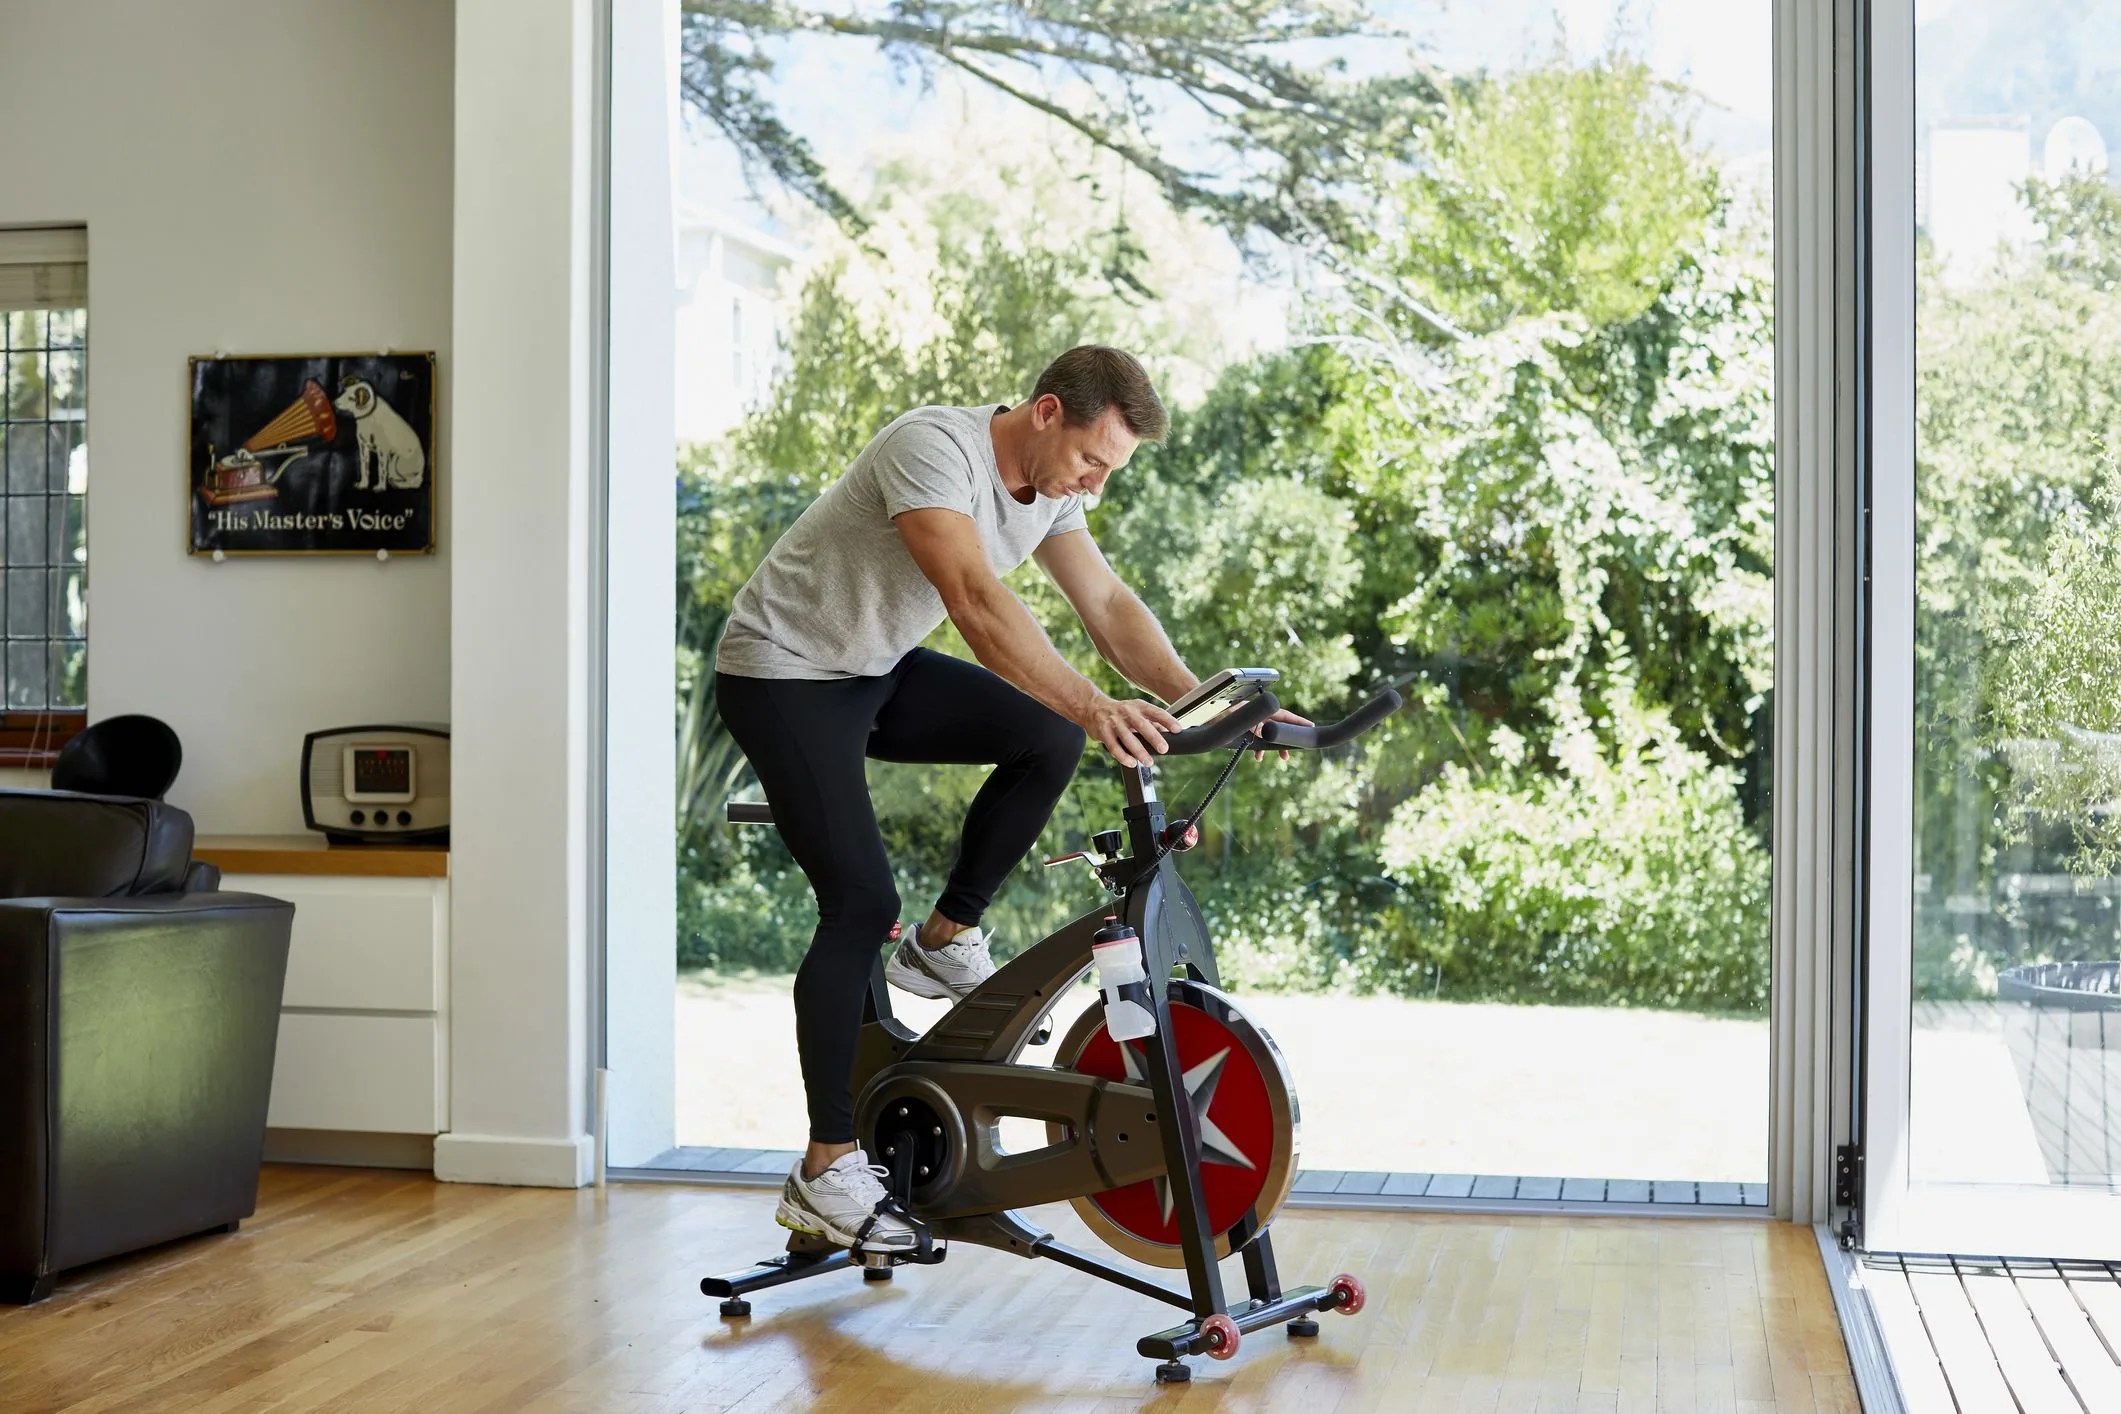
 Cavan Images
How to Set Up an Indoor Exercise Bike
There are only three adjustments you need to make to achieve the proper indoor cycling setup:
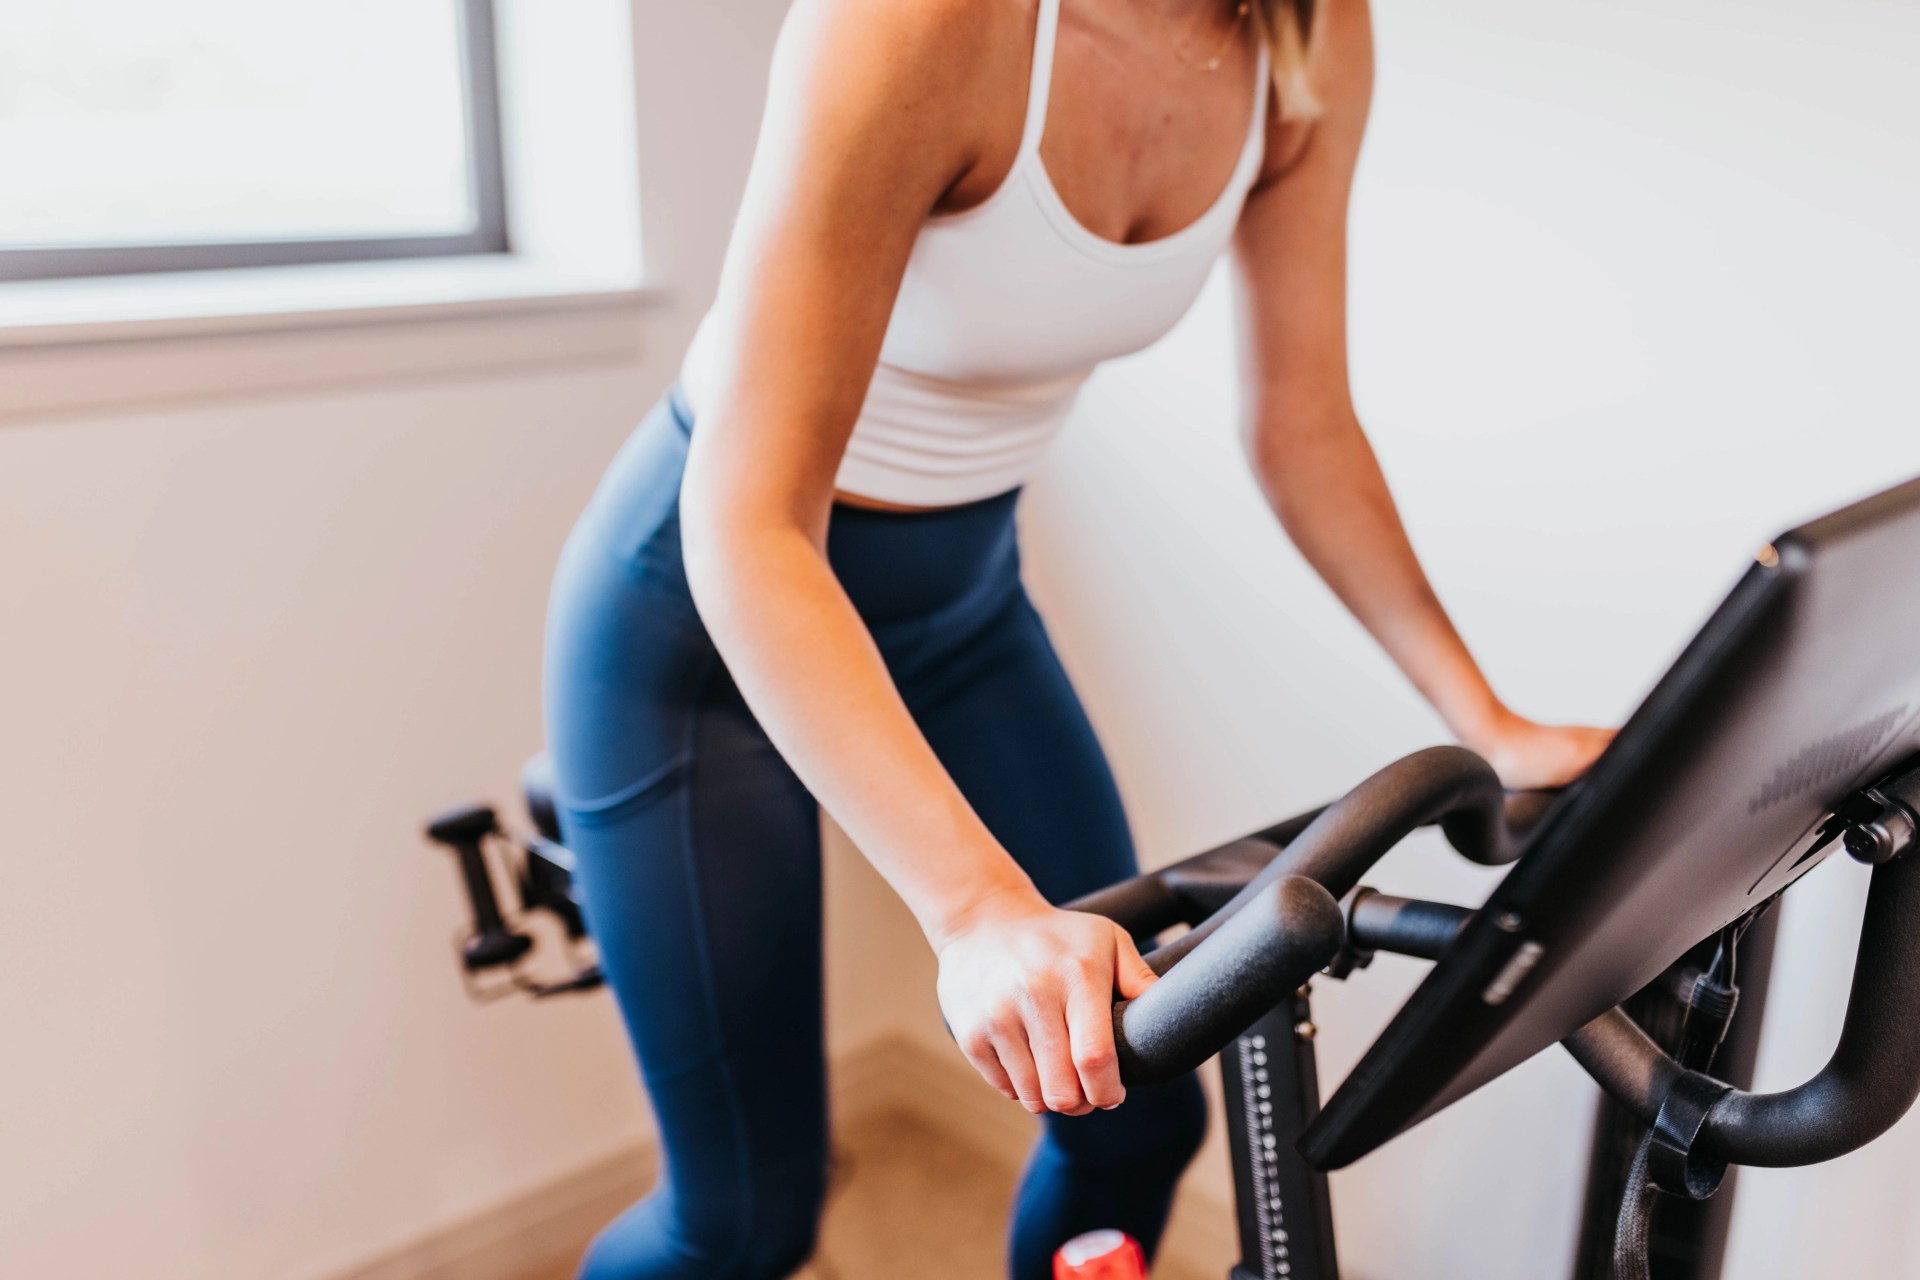
Seat Height
- Stand to the side of your indoor bike, facing the front display.
- Loosen the seat height adjustment knob or bolt.
- Raise the seat so that it’s at the same height as your hip and tighten the seat into place.
Next, you’ll want to hop onto the saddle and clip in or put your feet in the cages. Place one of your pedals at its lowest stroke setting — think 6 o’clock on a watch face — and see where your knee is in this stance. There should be a slight bend at the knee if you’re sitting at the proper height. Making sure your seat is at the right height can help take some of the strain off your knees and joints when pedaling, which is the whole point to choosing something like a bike over running outdoors or atop a treadmill.