How to Make the Perfect Cut-Off

Ditch the sleeves and let those gains breathe with this step-by-step guide.

a person cutting black t shirt with a scissorsKristina Strasunske

Every product is carefully selected by our editors. If you buy from a link, we may earn a commission. Learn more

Whether through the desire to let off perspiration or show off a pump, there’s plenty of room for a well-trimmed cut-off in any training wardrobe. Maybe your workout shirts just don’t have the ventilation you’d like. Maybe you’re enamored with your vintage t-shirt collection but are running out of day-to-day looks. Maybe you just arrived on campus for your sophomore year and need to flaunt that last growth spurt. There’s always a reason to stay a cut above the average gym-goer.

But you can’t just go slashing and hacking through your top with the hopes of creating that signature sleeveless silhouette. Like your trusted barber, you need to follow a process and use the right tools. Thankfully, we’ve sliced our fair share of sleeves in the past, and have a foolproof solution to turning that raggedy t-shirt into every gym bro’s home jersey. With the right guidance, you, too, can create the perfect cut-off that’s primed for showing off those guns this year.

A Quick Caveat…

Some may argue that a cutoff is only at home in bro-science fitness culture, but I beg to differ. There are plenty of environments outside of the gym — or frat house mixer — where a cut-off can be the perfect companion. Working in the yard yet don’t want to dirty a typical t-shirt? Cut-off. Tailgating your favorite sports team or music festival? Cut-off. Have a bunch of old t-shirts that need upcycled for continued use? Cut-off!

Do cut-offs favor the bro-centric gym goers? Maybe. Should you write it off because of that? Absolutely not. If you want to wear one, wear one. Now, let’s put the cloth-based classism aside and get into how to construct these behemoths of bicep-boasting bravado.

Step 1: Gather Your Tools

tshirt with rotary cutter and fabric pencilBen Emminger

Okay, so the process of turning a traditional t-shirt into a cut-off seems simple, right? Well, over the years, I’ve found there are a few simple upgrades you can make to ensure the process is less strenuous and time consuming. The most efficient of these upgrade comes in the form of tools, namely, your cutting tool.

While scissors or a fixed blade knife can do the trick, I recommend investing in a craft rotary cutter if you want to get serious. This equipment is designed specifically for slicing through fabric, which can eliminate any potential jagged edges or shoddy cuts in the end product. While there are multiple makers out there, I suggest the Titanium Rotary Cutter from Fiskars. Think of this as a pizza cutter for those premium pump sessions in your next workout.

Next, you want to get a solid cutting surface that can allow your cutting wheel to penetrate the fabric without ruining the structure below. Any cutting board or mat will do for this need, or if you’re tight on budget, a sturdy piece of cardboard can do the trick as well. Additionally, ensure the cutting surface is flat, as you want an even platform to lay the t-shirt across when making those arm-accentuating cuts.

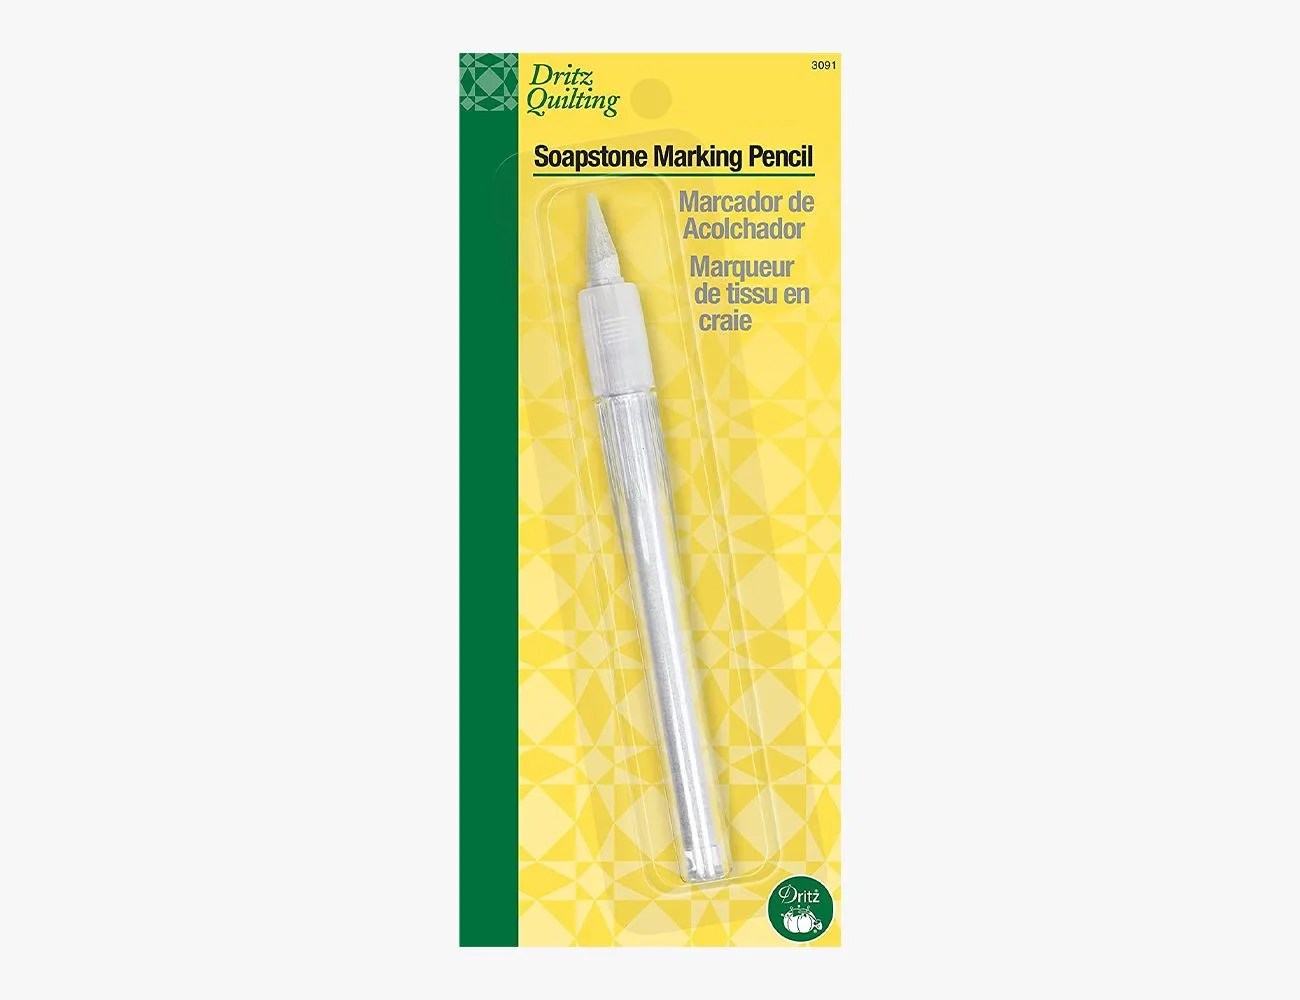
You can also add a fabric pencil to your list. It helps to mark where your cuts should flow, and these craft accessories allow for easy identification without staining your t-shirt. The Dritz Quilting Soapstone Marking Pencil, for instance, is very helpful if not an absolute must-have.

Lastly — and quite obviously — you need a t-shirt. Any top will do, but I suggest starting with an old tee that’s from a long-forgotten charity event or school function. Best case? You repurpose an apparel item that was destined for the donation bin. Worst case? You’re halfway to making serviceable patches for your grandmother’s sewing arsenal.

Step 2: Outline Your Cuts

Once you have your gear, you want to identify your cutting lines. Make an arch lat insert — where your lat muscles meet your ribcage — up to where your clavicle meets the scapula. This can provide enough coverage while still showcasing those gains, albeit with room for personalization. If you don’t know exactly where your clavicle meets the scapula, follow this simple trick:

  1. Put on the t-shirt you plan to cut into a cut-off.
  2. Straighten your arms downward and raise your elbows outward to the side, similar to performing a side lateral raise.
  3. Follow your clavicle down from your neck toward your shoulder, stopping when you feel an indent. This is where your bone structures meet.
  4. Mark this spot with your marking pencil, or make a mental note of where this indent falls along the shirt seam.

This clavicle spot can provide excellent coverage, especially for newcomers. After all, you don’t want to show off too much chest with your first cut-off.

Step 3: Create a Smooth, Flat Surface

With your marks made — either physically or mentally — it’s now time to prep the patient (ahem, garment) for surgery. Lay your t-shirt flat across your cutting surface, making sure the silhouette is uniform across the board. It’s typical to see some bunching at the armpits, so I’ve found that folding the arms up at a 90-degree angle creates a cleaner cutting landscape.

Additionally, you want to ensure the front logos are centered across the t-shirt. Once you make a cut, there’s no going back, so make sure everything is aligned before you grab your scissors or rotary cutter.

Step 4: Filet Away the Fabric

Now we’re getting into the meat of the process. I’d recommend starting your first cut from the shoulders down, as this is the thickest seam you’ll need to break through in removing the sleeves. Give enough force without ramping up to RPE 10, and simply follow your pre-determined lines. If you’re still unsure of your cutting plane, a good rule of thumb is to follow your own fingers, i.e., guide your blade in-line with the present arm seam while using your middle finger. Place your second knuckle — the closest to your palm — on the seam, and follow your middle finger tip to better gauge the distance from lat insert to clavicle point.

It’s also important to keep some tension on the fabric as you cut, in order to maintain that flat surface. This can help in creating clean, precise slashes through the fabric and eliminate any pesky jagged edges.

tshirt with one sleeve cut offBen Emminger

Step 5: An Ambidextrous Incision

One sleeve’s done, congratulations! Now, repeat steps 2–4 on the other side to complete your cut-off silhouette. The end result should be a sleeveless top that’s uniform across the grid, thanks to the measurements taken prior to cutting. If you didn’t think of the second sleeve before you dove in, don’t worry. Simply use the cut fabric as a stencil on the other side, and trace your second cut in accordance with your first. This can also be a good way to gauge your accuracy and precision — any flaws or errors made on the first sleeve can be easily seen, and thus, corrected, on the second.

tshirt with cut off sleevesBen Emminger

Step 6: Dry Up; Roll Out — err, In

Okay, so you’ve banished the bicep-constricting textiles to the trashcan and are ready to max out for a new bench PR. Well, before you grab hold of that power bar for an Instagram-worthy set, you first need to do a bit of laundry.

As a final step to the perfect cut-off, throw your newly-fashioned top in the dryer for roughly 20 minutes on high. This can help those fresh cuts roll inward, creating that premium silhouette we all desire. If you simply cut the sleeves and go, your perspiration and wear can cause these toddler-esque revisions roll outward, leaving you with a less-appealing profile that’s never worthy of praise. Take 20 minutes, grab a pre-workout, and wait. It’s worth it.

cut off tshirts laying downBen Emminger

Is the cut-off an absolute must-have for getting off the perfect fitness fit? No. But, if you do desire to show off those guns, and inevitably build your self confidence — these steps should put you on the path to workout wardrobe victory. Success is in the seams, all you need to do is cut it out and see what unfolds.

, ,