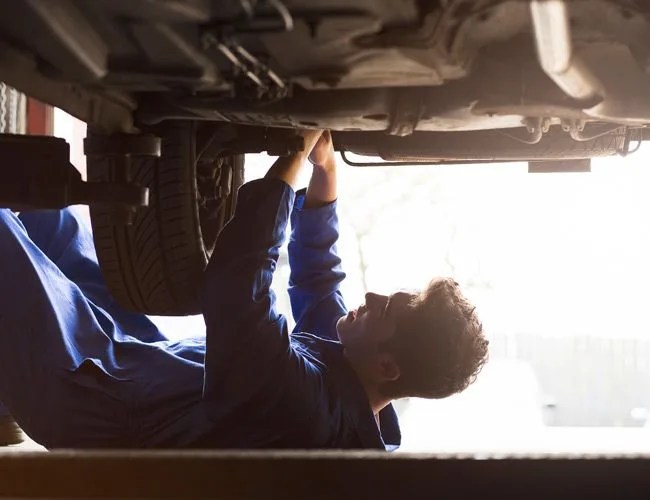
As cars get more technologically complex, the average driver’s essential knowledge is an ever-shrinking encyclopedia. Checking and changing the oil, replacing spark plugs or adjusting a timing belt all used to be common knowledge to anyone with a license. We now have cars that warn us well in advance when a service is needed so we can get to the mechanic before anything goes up in smoke. And even if you wanted to do a few of the aforementioned basic tasks, it may require you to plug into a computer and use software that only dealers and professional mechanics have. But there’s one essential piece of knowledge left that everyone should know, would benefit greatly from and won’t need an electrical engineering degree to complete: changing a tire.
Sure, you can call AAA if you get a flat, but that takes time and you may not always have cell service. So what do you do, wait it out and hope someone comes along? No, jack up your car and get to it. And, until someone comes along and literally reinvents the wheel, changing a tire is pretty universal, no matter the make or model, whether you’ve got a temporary donut or a full-size spare. Here’s how to change a tire, with a few tips and tricks thrown in to make the whole process easier.
1Always be prepared. You probably won’t get a flat every time you hit the road, but that doesn’t mean you’re immune to shitty luck. In your trunk, always keep a wrench (every new car should come with one that fits its own lug nuts), a jack powerful enough to lift your car, jack stands, tire blocks to stop your wheels from rolling, a tire-pressure gauge and, for really dire situations, a flashlight and a poncho.
2Find a safe spot. If you have a blowout or a slow leak that’s gotten too dangerous to continue driving on, slow down and find a safe place to park. If you’re on the freeway, take the nearest exit or, if that isn’t possible, pull as far onto the shoulder as possible. Also, make sure the spot you choose is flat as possible, as adding extra slant to to the situation makes things increasingly more difficult and dangerous.
3Gather your tools. Before you get out of your car, turn on your hazards if you haven’t already. Then get all your tools and bring them to the wheel with the flat. This is where you’ll be setting up camp.
4Brace yourself. Before you jack up the car, make sure the emergency brake is on, leaving manual transmissions in gear and automatics in park. Place the tire blocks under the end opposite your flat tire. (When the car is jacked up at an angle, all that prep will keep a couple tons of steel and aluminum from coming down on you and rolling away.)
5Loosen up. Loosen the lug nuts while the car is still on the ground, but don’t completely remove them. If you have hubcaps, take them off and keep them handy. If the lug nuts are being stubborn, try standing on the wrench arm or use a mallet/something else heavy to hit the wrench arm to unstick them.