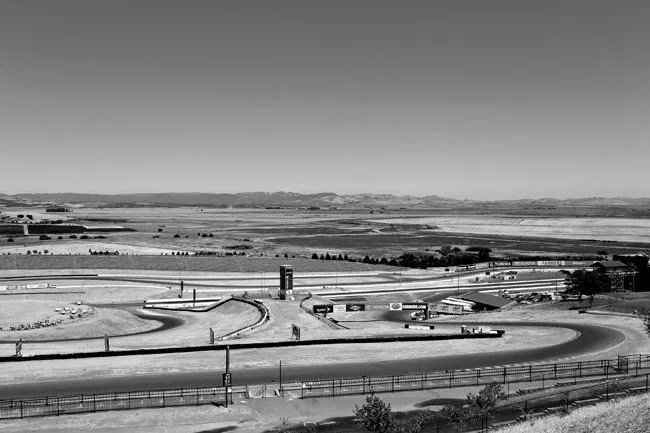
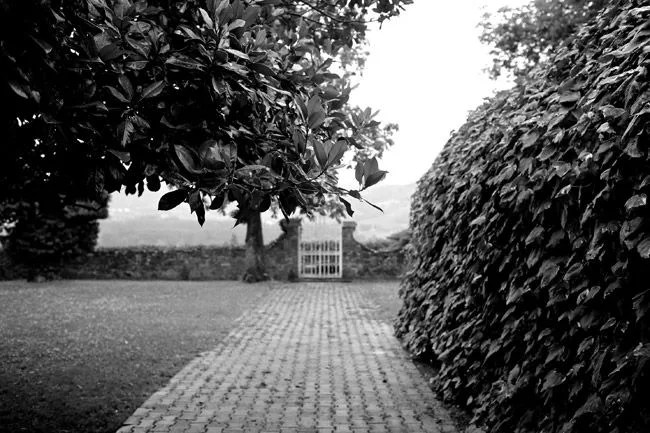
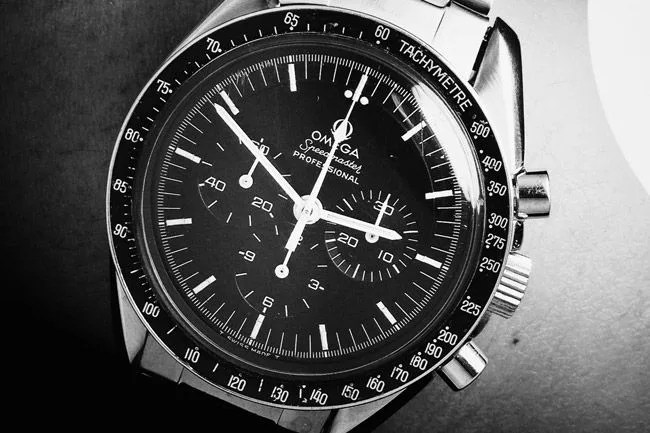
Sharp Shooter: How to Shoot Black & White

Shoot smarter, shoot better

sharp-shooter-5-gear-patrol-lead GP
sharp-shooter-5-gear-patrol-leadGP

We see color all around us: on our screens, big and small and in real-life. It’s the norm. Black & white, however, evokes an emotion. With less to consume and consider, we begin to see drama, contrast and subjects. For our fifth Sharp Shooter article, we’re tackling the process of shooting black & white photography.

Though digital has brought an immense ability for great photography en masse, it has also put a heavy emphasis on color photography and post processing. Where we once chose color or black & white film and left the results of our rolls to a mix of chemistry — and hope — most advanced digital cameras have relegated black & white photography to post-processing or in-camera digital filters. But just because a shot looks great in color doesn’t mean it will translate well to B&W. Here are our suggestions to take better black & white photos.

Learn more after the jump.

canon-logo

Special thanks to Canon for helping make this photography post series possible. Canon, Long Live Imagination.

Our Setup

canon-gear-setup-black-and-white

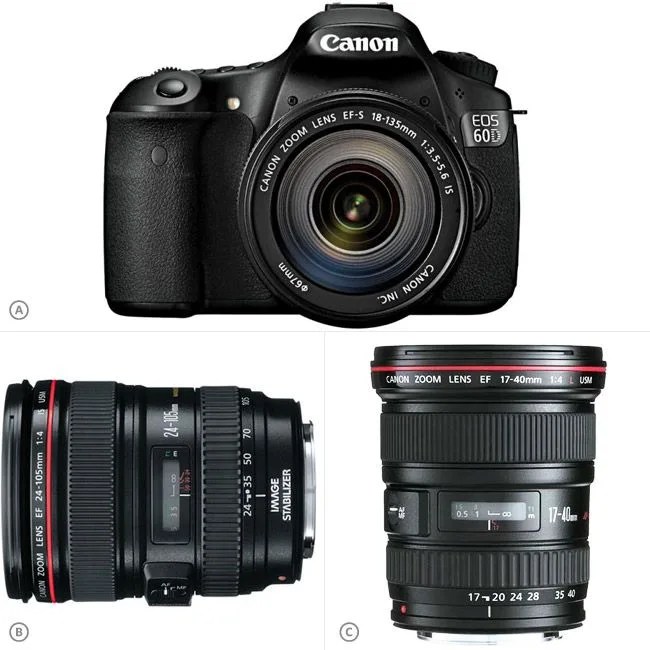
A. Canon EOS 60D ($999), B. Canon EF 24-105mm f/4L IS USM lens ($1,149), or C. Canon EF 17-40mm f/4L USM lens ($839)

To shoot in black & white, we’ve purposefully kept our setup simple. A Canon EOS 60D camera is not only priced well, but features a 3-inch articulating screen and a large 18 megapixel sensor, and a wide ISO range — all at under $1,000. We’ve paired the Canon EOS 60D with the Canon EF 24-105mm f/4L IS USM lens, which offers a nice mid-range and zoom distance. For a wider lens, also consider the lower-priced Canon EF 17-40mm f/4L USM lens.

Color

sonoma-black-and-white-gear-patrol

There are three important settings you’ll want to set for shooting the best black & white photos: Color, RAW and ISO. It may sound contrary to what you might think, but when you’re using your Canon DSLR, you’ll want to start shooting in color. Avoid any monochrome mode, which uses in-camera digital filtering. The camera’s sensor is designed to grab a wider range of tones (the sensor sees three channels of color: red, green and blue) so you’ll want to utilize that. Equally important, you should set your capture/quality mode to shoot in RAW — refer to your camera’s manual for exact steps, but most are just a button press or two away. Finally, be sure to set your ISO to a low-level, but one you can still comfortably shoot in. ISO 200-400 is a good place to start. You can always add a nice layer of grain during post production.

Composition

slovenia-black-and-white-gear-patrol

Converting your photo to black & white doesn’t necessarily equate to art. It’s tempting to do as an easy solution for less-than-stellar photos, but taking a moment to frame and compose a photo before capturing means less sorting headaches later during post-processing.

Look for: Contrast in your subjects. For people: avoid patterns or prints on clothing, but do look for texture. For scenery: look for lots of tension between foreground and background subjects and shapes. Keep an eye out for moving clouds as well, which add a degree of dynamism. These relationships will create contrast perfect for black & white photos, and may not otherwise be seen in color photographs.

Elements to avoid: Direct lighting in front of you — position yourself so light is addressing your subject at an angle.

Additionally: Overcast days can be a black & white photographer’s best friend. Diffused light created from clouds and fog is ideal for creating low contrast situations, and poor lighting creates a sense of drama.

Contrast

colorado-train-black-and-white-gear-patrol

Beyond your composition, it’s equally as important to look for contrast. When shooting photos, it’s easy to hone in on only the subject, but train yourself to also look for the “blacks” and “whites” of your photo. Try to keep the two in equal amounts within your viewfinder so your photo doesn’t become unbalanced (unless you’re specifically looking to achieve that effect). Unlike color photography, it’s perfectly okay, if not something to strive for, to have pure black or white in your photos — too many medium grays will result in an unexciting photo.

Exposure

skywalker-theater-black-and-white-gear-patrol

It’s much easier to judge a color photograph’s exposure, but when you’re shooting black & white, exposure becomes a matter of subjectivity. Some prefer their photos darker, others lighter. Use your Canon DSLR’s exposure control to over- or under-expose your color photograph to your desired preference, keeping in mind that you’ll be converting the photo to black & white during post-processing.

Post-Processing

omega-black-and-white-gear-patrol

Photoshop is ubiquitous, but there are a lot of other tools and apps to help you convert your photos to black & white. If you are working in Photoshop, avoid using the built-in “black and white” or “desaturate” modes, which approach photographs in a calculated, average manner — leaving the most important parts of the equation out of the picture: contrast and range. We prefer using a combination of the Channel Mixer tool, which lets you choose the best tones within the red, green and blue channels to create an ideal black & white photo. Afterwards, clean up the contrast using the Level tool.

Beyond Photoshop though, there are a lot of great apps out there that make conversion an easier process. For iPhone or iPad users, consider using an app like SnapSeed or the new iPhoto for iOS to make easy adjustments.

lljublana-black-and-white-gear-patrol