How to Break In a Baseball Glove

Don’t let a foul ball slip through your glove. Break it in properly with help from a glove expert.

Break-In-A-Glove-Gear-Patrol-Lead-Full Henry Phillips

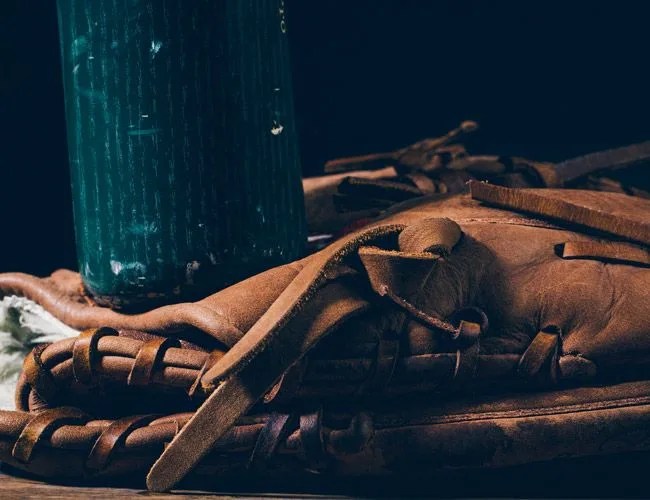
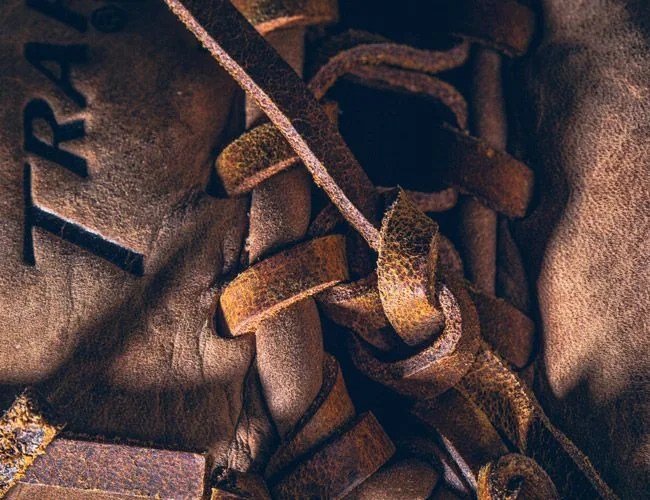
I got my first glove when I was five years old. Braced for tee ball, wearing my new snapback ball cap with a violently bent brim and a purple t-shirt with a local sponsor on the back, my dad and I took on the challenge of breaking it in. A metal flask of glove oil, handed down from his dad was the first step. A couple drops — but just a couple. Then we rubbed it in, pounded the pocket a few times, stuck a baseball in it, and threw it under my mattress. I was so excited to see the result that I checked on it more than once during the night, imagining the Derek Jeter-esque plays I would soon be making. We weren’t wildly off in terms of process, but we didn’t nail it either.

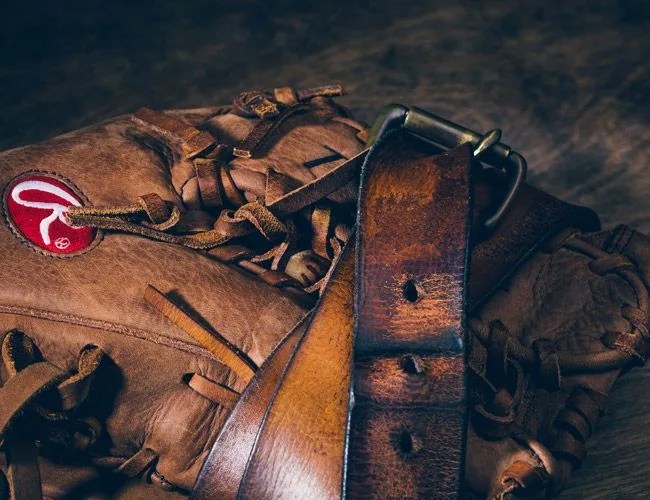
As an adult, wanting to do it the right way, I chatted with glove expert Jim Barberine of Zombie Glove. The first thing Jim told us, and the underlying philosophy to all leather work, is that you have to “treat leather like you treat your skin“. After all, leather is skin. So even though your neighbor or a YouTube video said you should put your glove in the oven, you shouldn’t. It may soften up in the short term, but you’re burning the leather and that will make it dry out, crack and deteriorate much more quickly, meaning you won’t be able to use it too long or hand it down to your kid once you throw your back. Here are all the other tricks we learned.

Break-In-A-Glove-Step-1-Gear-Patrol

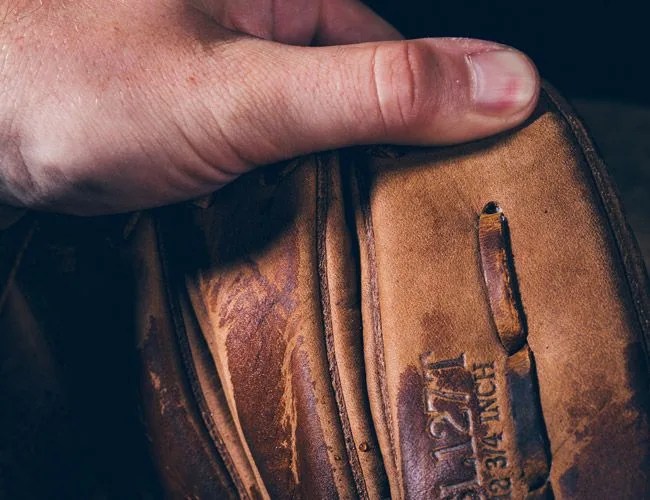
1Soften the leather. If you’re breaking in a non-leather glove, skip this step. Heat some water to 150 degrees Fahrenheit and, using a cup — not submerging — pour a couple splashes over the pocket side of the glove. You will feel the leather soften as it moistens, so go slow and don’t overdo it or get too much water on the back of the mitt or the inside.

Break-In-A-Glove-Step-2-Gear-Patrol

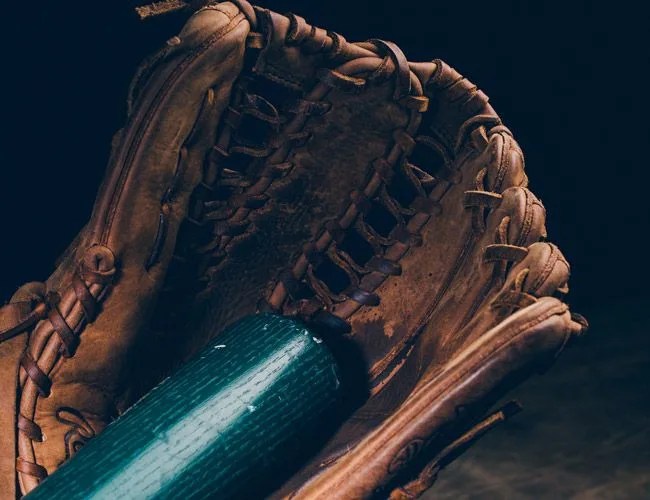
2Do an initial shaping. Once the leather is soft, do a preliminary shaping of the glove by putting it on and bending the fingers and crease the way you want them. If you don’t know what you want, we recommend flaring out the pinkie and thumb and slightly folding over the webbing. This will direct the ball toward the pocket and keep it in the glove.

Break-In-A-Glove-Step-3-Gear-Patrol

3Break the crease. The crease is the part of the palm of the mitt where it will fold when you close it around the ball. It runs from the heel, where your hand goes in, between the two curved seams towards the pocket, and it is the only factory designed breakpoint. Start by folding your glove over as it folds naturally. This will probably be thumb to ring finger or so. Using a rubber mallet or small rubber dumbbell, pound the fold point, just like you’re trying to crease a folded piece of paper. After you’ve pounded a few times, move the thumb down the palm towards the pinkie, one finger at a time, pounding it a few times as you go until the crease closes easily and the glove naturally closes thumb to pinkie.

Break-In-A-Glove-Step-4-Gear-Patrol

4Soften the crease. Hold the glove so that the pocket is facing away from you, with one hand on the thumb and one on the pinkie. Shift the glove back and forth to loosen the leather in the crease by first pulling the thumb away from your body and the pinkie towards your body, then the opposite. Repeat that motion quickly until there is less resistance. To keep the crease from hardening up, you can continue working your glove like this from time to time.

Break-In-A-Glove-Step-5-Gear-Patrol

5Reshape. Put the glove back on and reshape the fingers the way you want them. Try closing the glove and check the resistance in the crease. If you want the crease at a different spot than how it naturally closes, take the glove off and force it closed the way you’d like. Then pound the crease again as you did in step three.

Break-In-A-Glove-Step-6-Gear-Patrol

6Shape the pocket. Grab a softball (or a baseball if your glove is on the small side) and place it in the pocket. Hold it in place and fold the glove over so that the pinkie meets the thumb. Strap it closed with a belt or bandage. Try to pick a strap that is wide and keep it flat to the leather to avoid leaving unwanted marks on the mitt. You can do this every off-season to keep the glove in the right shape.

Break-In-A-Glove-Step-7-Gear-Patrol

7Play ball! After a day or two you’re done with the boring stuff. The next step is breaking in the glove naturally. While playing catch is a great way to do this, you can get in a few more reps per minute by throwing the ball straight into your glove or hitting the pocket with the end of a bat.

Break-In-A-Glove-Step-8-Gear-Patrol

8Do maintenance. Once you’ve been playing with your glove for a couple months, it might be time for some maintenance treatment. Treating the glove with a bit of glove oil — not shaving cream or some other home remedy — can help keep the leather in good condition. We recommend Pecard Baseball Glove Dressing. Keep working the glove and pounding the pocket. Treat it right, and it’ll keep getting better over the years.

ABOUT OUR EXPERT

Jim Barberine works for MLB.com, is left handed and is the founder and sole employee of Zombie Glove. When he found his high school baseball mitt in ruins after years of disuse, Jim was astounded by the beauty of the old glove. He took to fixing it. Over time, his hobby became a business as more and more guys brought him their — or their dad’s — old mitts that had seen better days. Zombie Glove was born. Though restoring and breaking in a glove aren’t the same, the two have overlap. Jim has seen the way improperly broken-in gloves age poorly, like burnt leather from the oven treatment. He also has a total understanding of gloves’ construction, from the seams and ties to the thick felt pads in the thumb and pinkie. Check out his website for more information on the art of glove restoration.