Fire-Starting Tips for Warming the Hearth

In the wild, a simple fire can save your life.

camp fire Sung Han & Chase Pellerin
Build-A-Fire-SLATE

Eagle Scouts aren’t the only ones who need to know how to build a campfire. It’s a necessary art form for all those looking to explore the wild. After all, anybody can get lost. In dire times, a fire will keep you warm, help you cook, dry your clothes, elevate your spirits and help rescuers pinpoint your location. In these ways, knowing how to make a fire can save your life. Fortunately building one doesn’t require a ton of practice — just a bit a knowledge. We asked Demyan Hryciw, an instructor and administrator at REI’s Tri-State Outdoor School, to guide us through making two basic (and safe) campfires. Happily, he obliged.

Know Thy Wood

Know-your-woood-Gear-Patrol

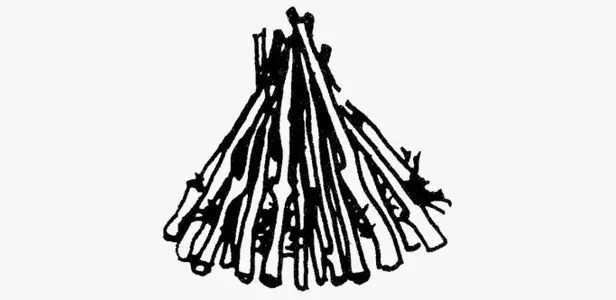
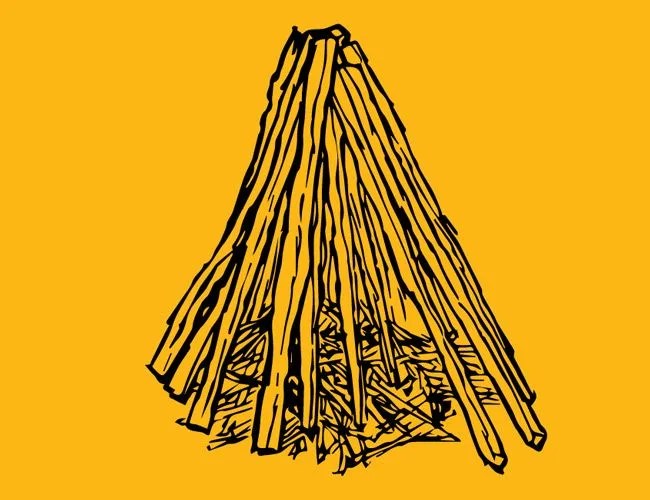
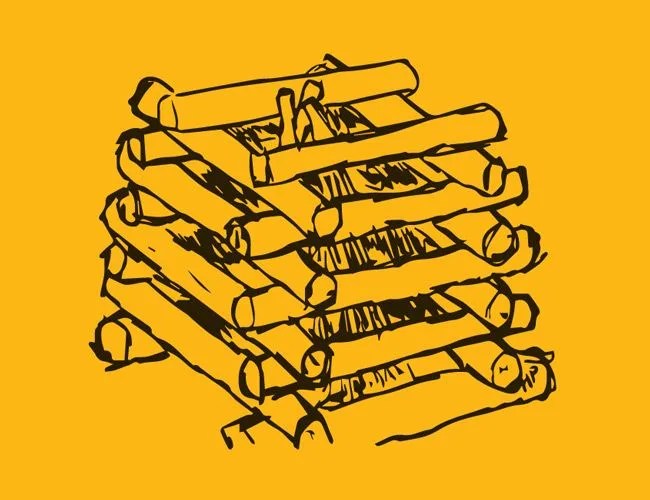
“There are three parts to a fire”, says Hryciw: “the tinder, the kindling and the fuel.”

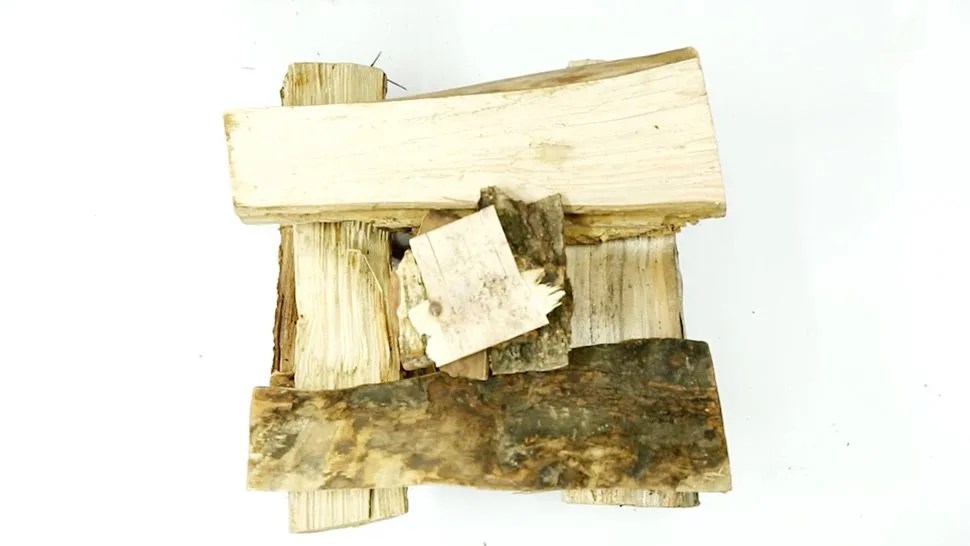
Tinder: Tinder is the smallest fuel type. According to Hryciw, “the best materials for tinder are bark, wood chips, dried grass pine needles, etc.” Another good fire starter, although not organic, are Doritos chips.” Leaves make horrible tinder because they don’t burn; they just smolder and create a lot of smoke.
Kindling: Dead twigs and branches that are no bigger than a ballpoint pen, which should be found on the ground.
Squaw Wood: Longer and thicker than kindling, this type of fuelwood is closer to the size of a human’s wrist.
Bulk Firewood: Anything larger than squaw wood, this fuelwood is usually too large to break. It should be added to the fire only after the fire is ablaze. Large fuelwood can smother a fire if added too soon, so make sure the fire is fairly self-sustaining.

guide-to-life-promo-bar

The Teepee


There are two ways to build a teepee campfire. The first way involves three sticks leaning on and supporting each other. The other way is to use a center stick. According to Hryciw, the center stick method is more stabile and slightly easier to build.


FINAL-TEEPEE-650

1Scout a location. The spot should be away from trees, brush, overhanging branches and anything that could potentially catch flame and spread. The fire should be constructed over a gravel, dirt or sand surface, and shielded away from potential wind and weather. “The best way to control for this is to dig a fire pit, surround it with rocks, and remove all flammable material from the vicinity”, says Hryciw. “Depending on the width of the fire, dig a pit between 6 and 12 in. deep.”

2Collect all your fuel. Before lighting your fire, be sure to collect all your wood. Otherwise, you’ll have to go out looking for fuel and maintain your fire at the same time (which can get frantic). To help kickstart your fire, it’s always a good idea to have some dry kindling (toilet paper or newspaper) on your person. Before going hiking or camping, throw some kindling in your bag as a sort of failsafe. After all, it’s not guaranteed that you’ll be able to find something dry when out on the trail.

3Locate your center stick, and stick it in the ground. The center stick should be sturdy, as thick of your wrist and the length of your arm. Ideally it should have a bifurcation at its top, to provide better stability for future sticks. If the center stick has too many smaller branches, simply break them away. If needed, use a mallet, back of a hatchet or another piece of wood to bang it in the ground.

4Spread the tinder. Grab your tinder, preferably a fire-starter, and place it around the center stick’s base. If you have newspaper, ball it up and slide it underneath the teepee frame and around the center stick. Dried grass, bark and other fire starters will work as well.

5Form the teepee, then light the tinder. Start leaning various sticks of kindling against the center stick. These sticks should be around the same size as the center stick. Rest them all around the center stick so it looks like the frame of a teepee. Light tinder on fire. You can blow gently to oxygenate the flame and add kindling on top once lit. Gradually add larger kindling as your fire swells. And then add fuelwood.

The Log Cabin

FINAL-LOG-CABIN-650

1Scout a location. Just like any fire, the location should be safely away from anything that could potentially catch flame and spread. A gravel, dirt or sand surface is also vital to prevent an unruly fire.

2Collect all your fuel. Nobody wants to look for wood, while maintaining a fire. Plus your fire could go out, nullifying all your previous efforts. Be sure to collect every type of wood: tinder, kindling and fuelwood.

3Establish the log cabin’s base. Place two logs of fuelwood on the ground, parallel to each other. Then stack two other logs (usually smaller) on top. They should be perpendicular to the first set of logs.

4Add kindling and tinder. “Once you’ve reached the middle of your log cabin in height”, says Hryciw, “you then begin to place your kindling.” The kindling rests in the middle of the log cabin. Then you place your tinder on top of the kindling, still inside your log cabin. This is known as your tinder box.

5Finish constructing your log cabin. Then light. Add one or two more layers of fuelwood to the log cabin’s structure. Note that if the log cabin is constructed too tightly it will constrict airflow and smother the fire. After the log cabin is three or four layers high, you can proceed to light the tinder box. Once the fire is in full swing, added logs shouldn’t be placed in a log cabin formation. Simply toss them on top of the fire.

About our Expert: Demyan Hryciw

Fire-Expert-gear-patrol

Demyan Hryciw is an administrator and instructor at REI’s Tri-State Outdoor School. His areas of expertise include environmental ethics, wilderness survival, backpacking, and orienteering among hobbies such as paddling, rock and ice climbing and cycling. He is largely influenced by the tradition of experiential education and shares his knowledge with students across North America and Europe. He is also an Eagle Scout and has been mentoring scouts for 10 years.